Shop the Father's Day Sale — Free shipping $75+ (before tax) — Lower 48
Shop the Father's Day Sale — Free shipping $75+ (before tax) — Lower 48

Select your boat, and we'll show you products that fit your Make & Model.
Our product is made from at least
75% recycled polyester fibres.
Our product is made from at least
75% recycled polyester fibres.
Our product is made from at least
75% recycled polyester fibres.
Please select your local RAILBLAZA website.
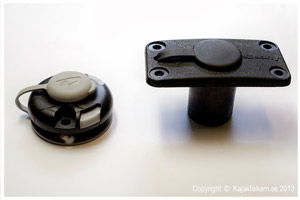
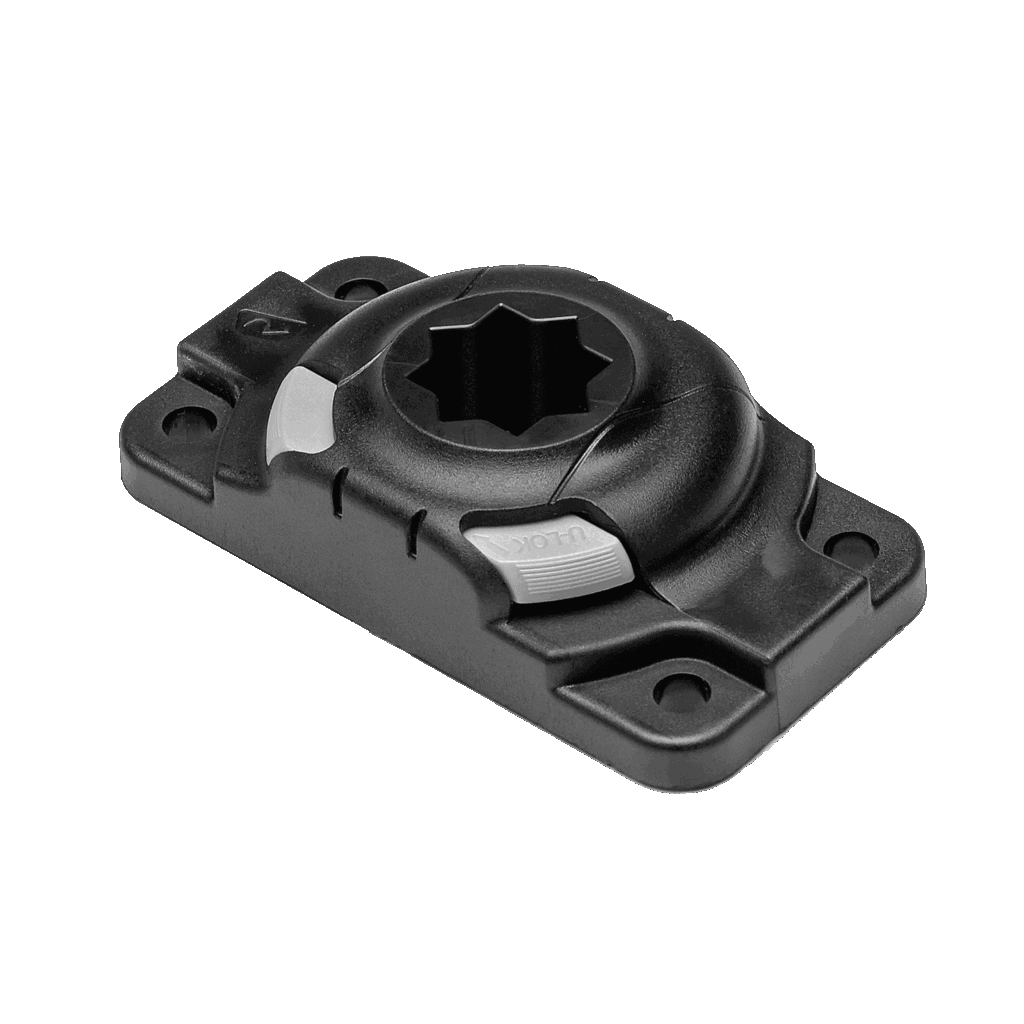
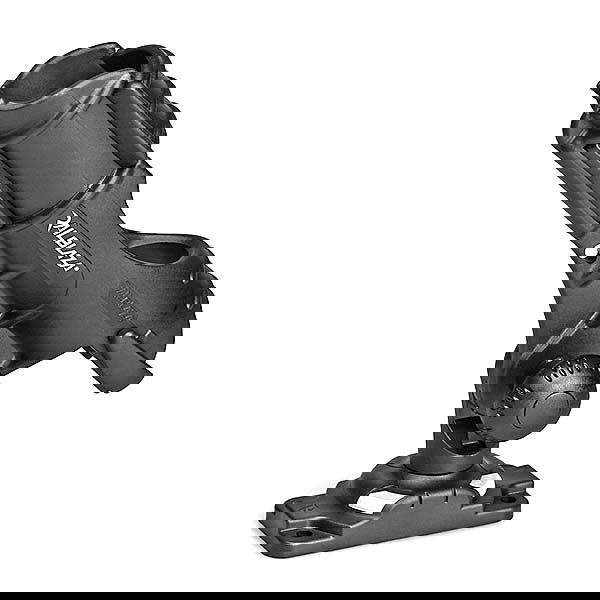
Railblaza Starport (no flange) in comparison with Scotty Flush Deck Mount. The form factor is significantly smaller.
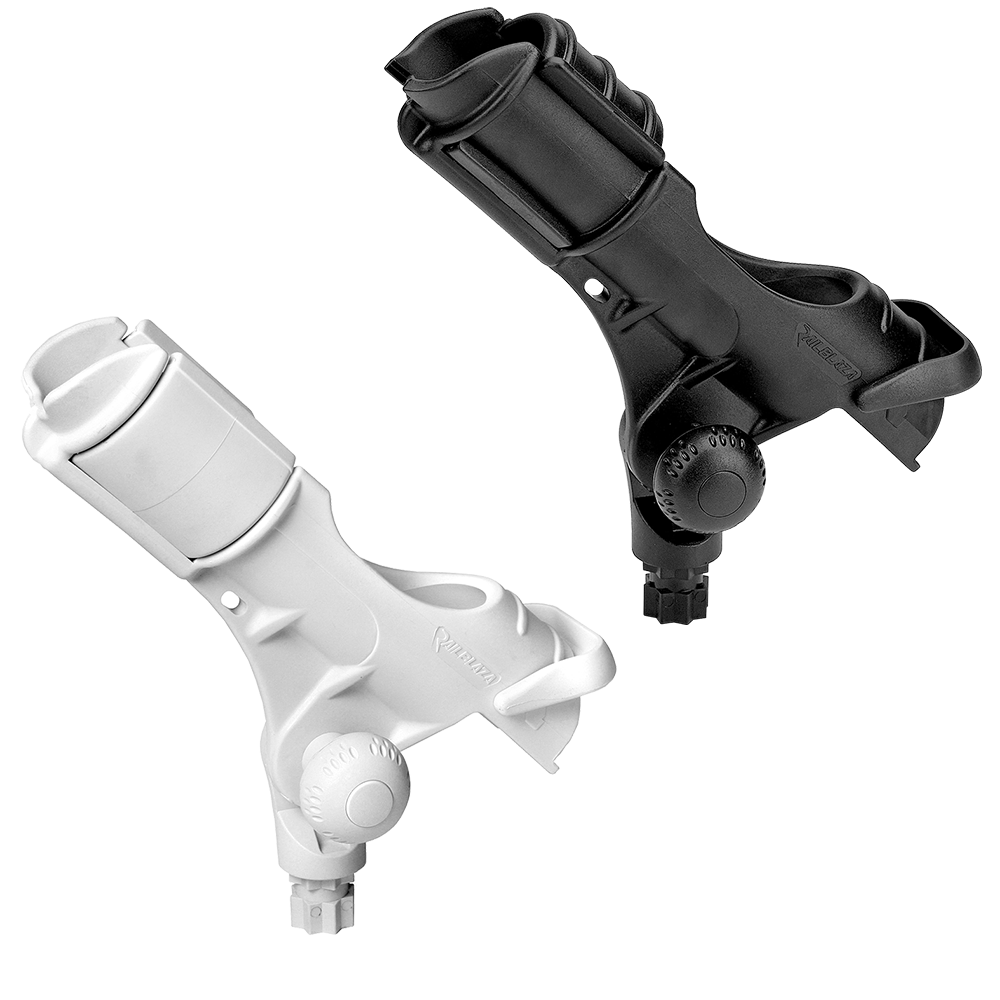
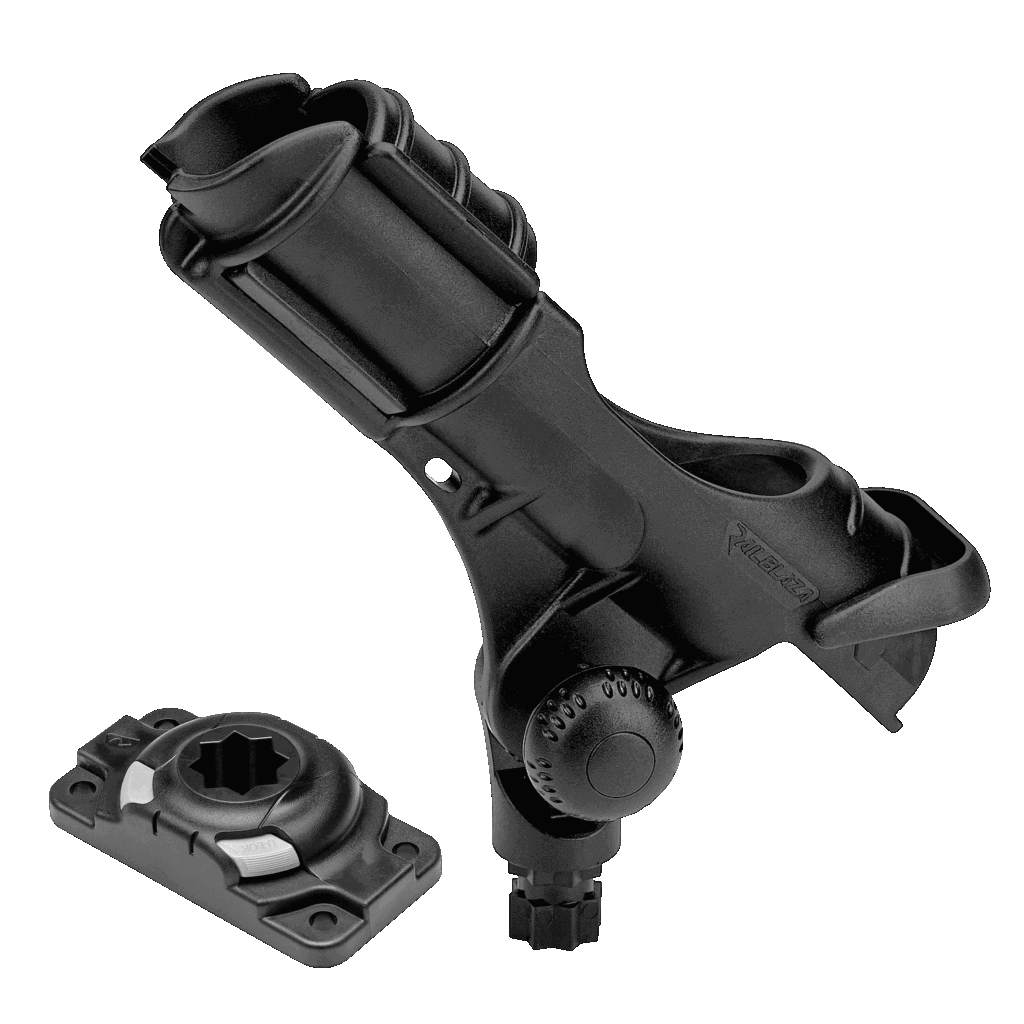
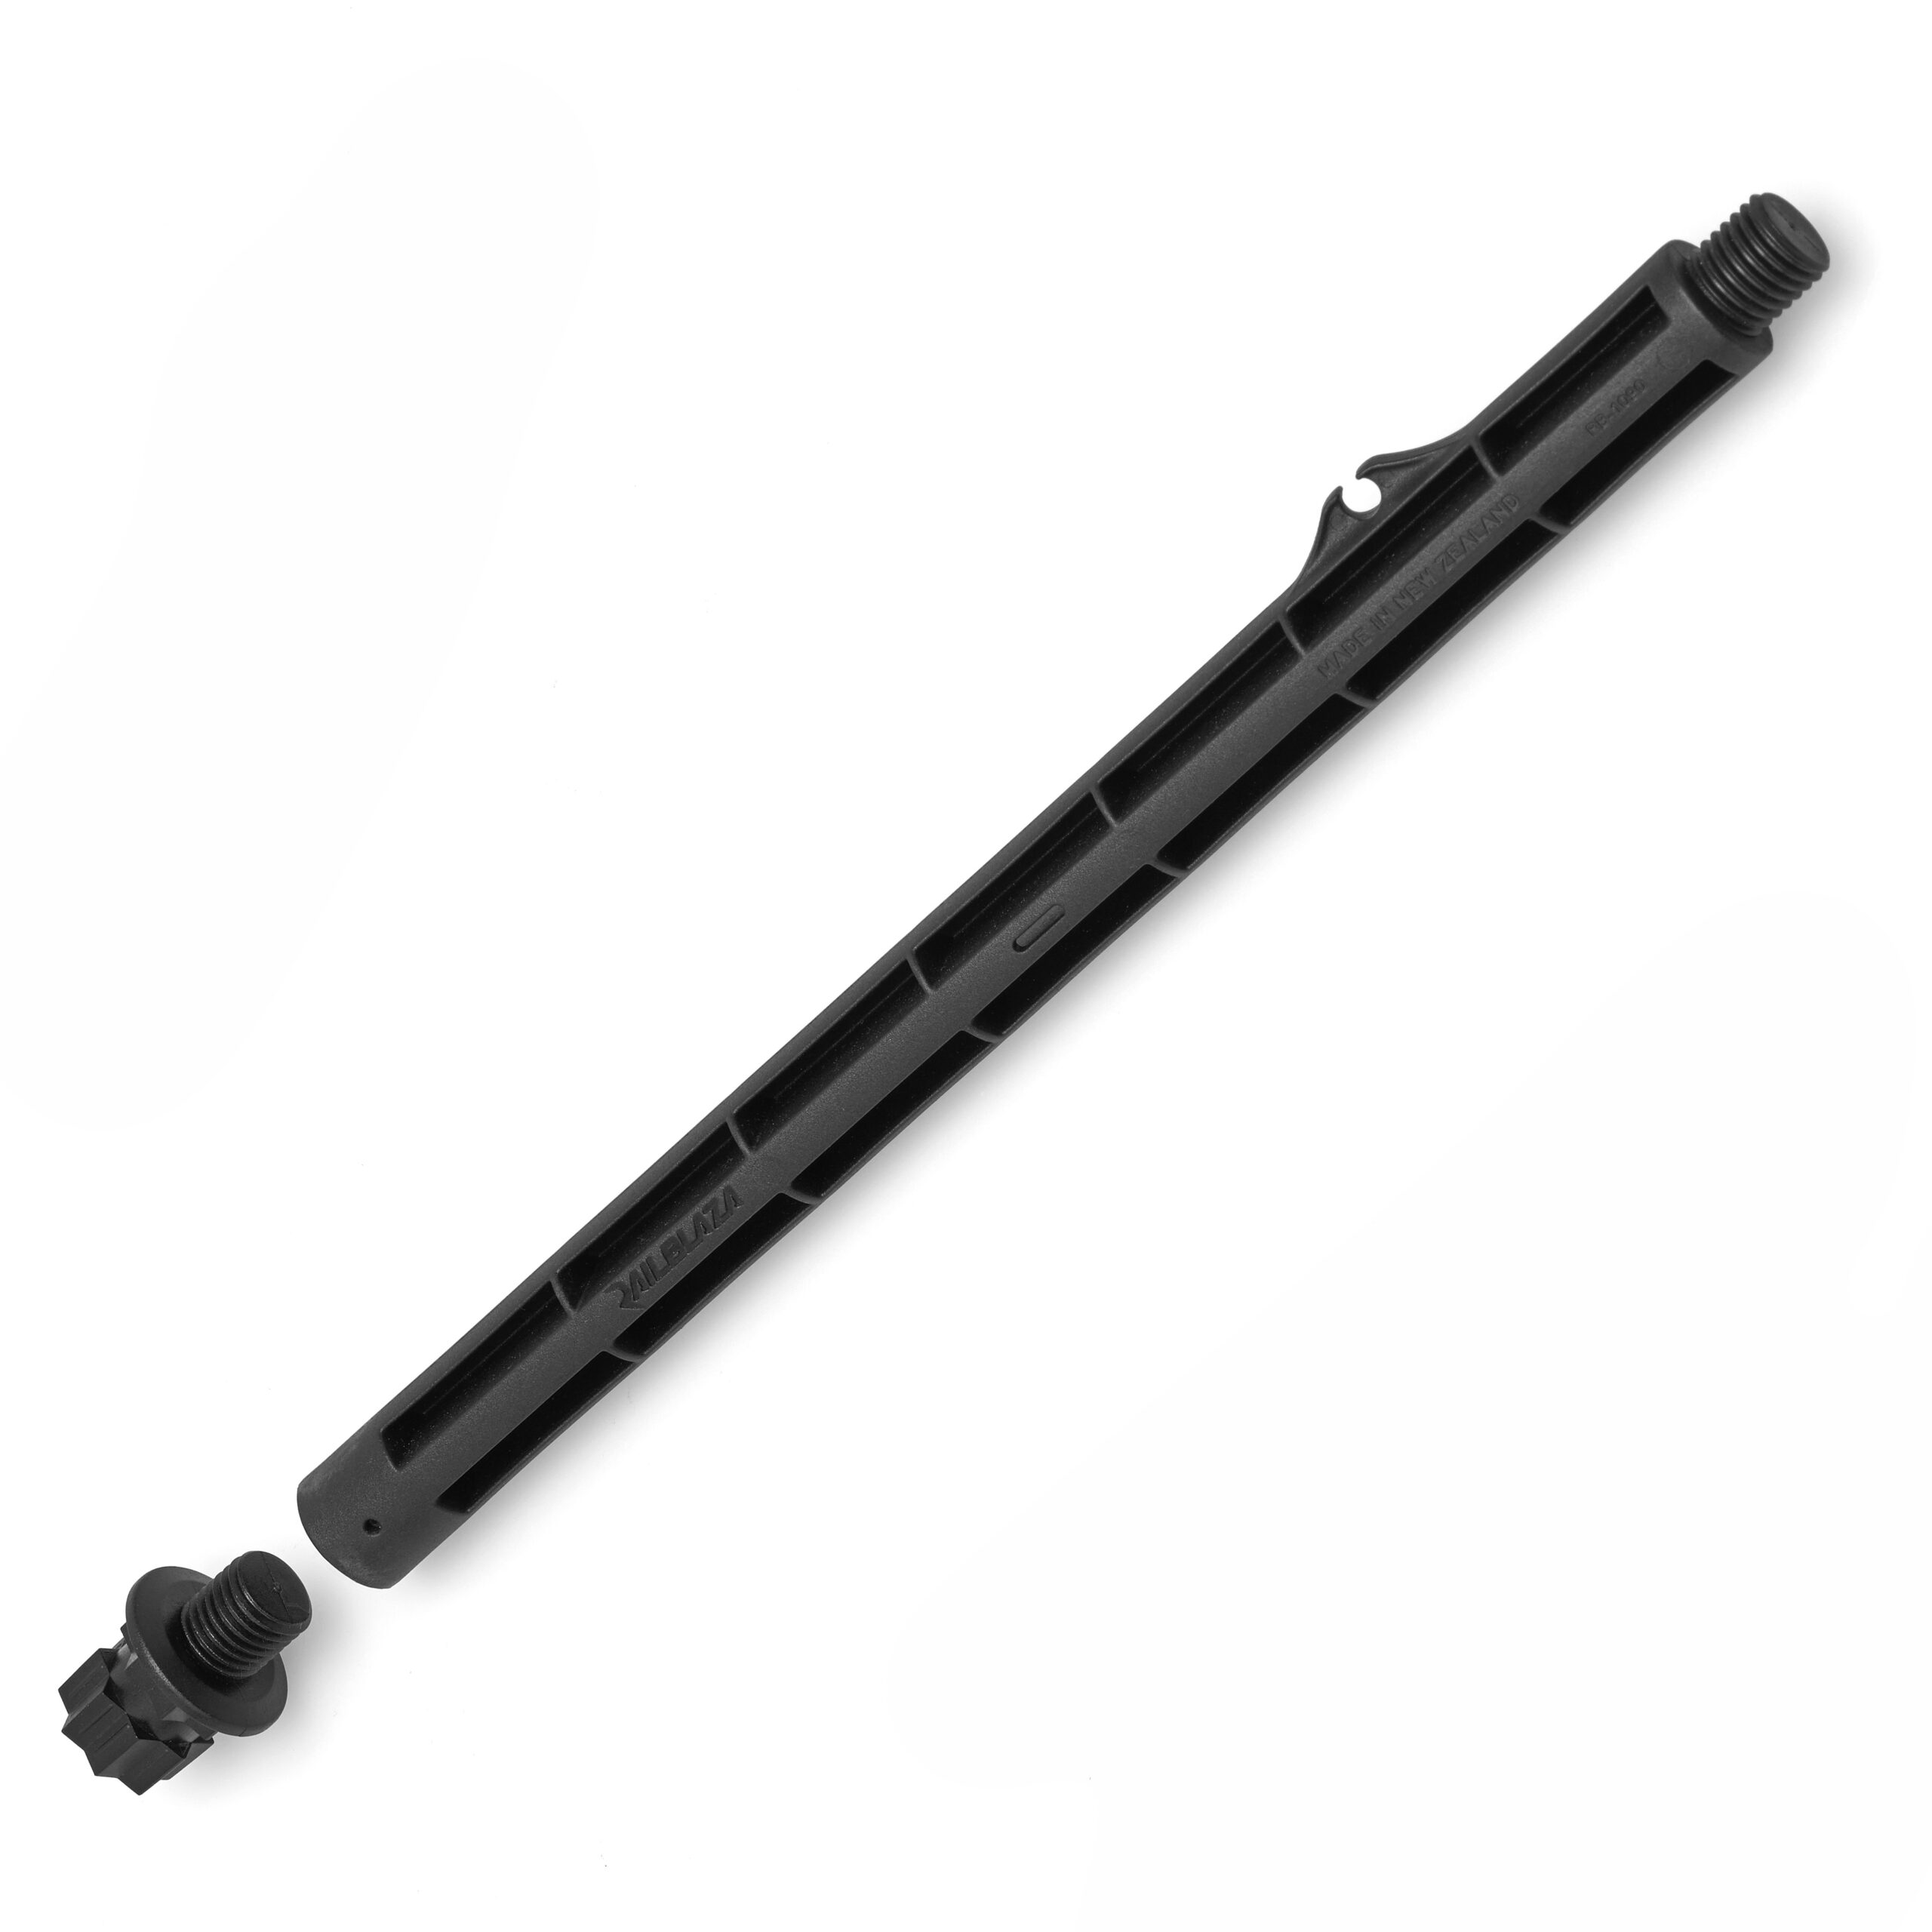
Should you develop as a person you have to have a still open mind and be willing to try and learn new ideas and things. So even if one is to build the car faster, or extra gear fishing kayak 😉 I recently got reason to test alternative assembly from New New Zealand RAILBLAZA and here are initial thoughts, and an installation guide to the system’s cornerstone: the bracket Starport.
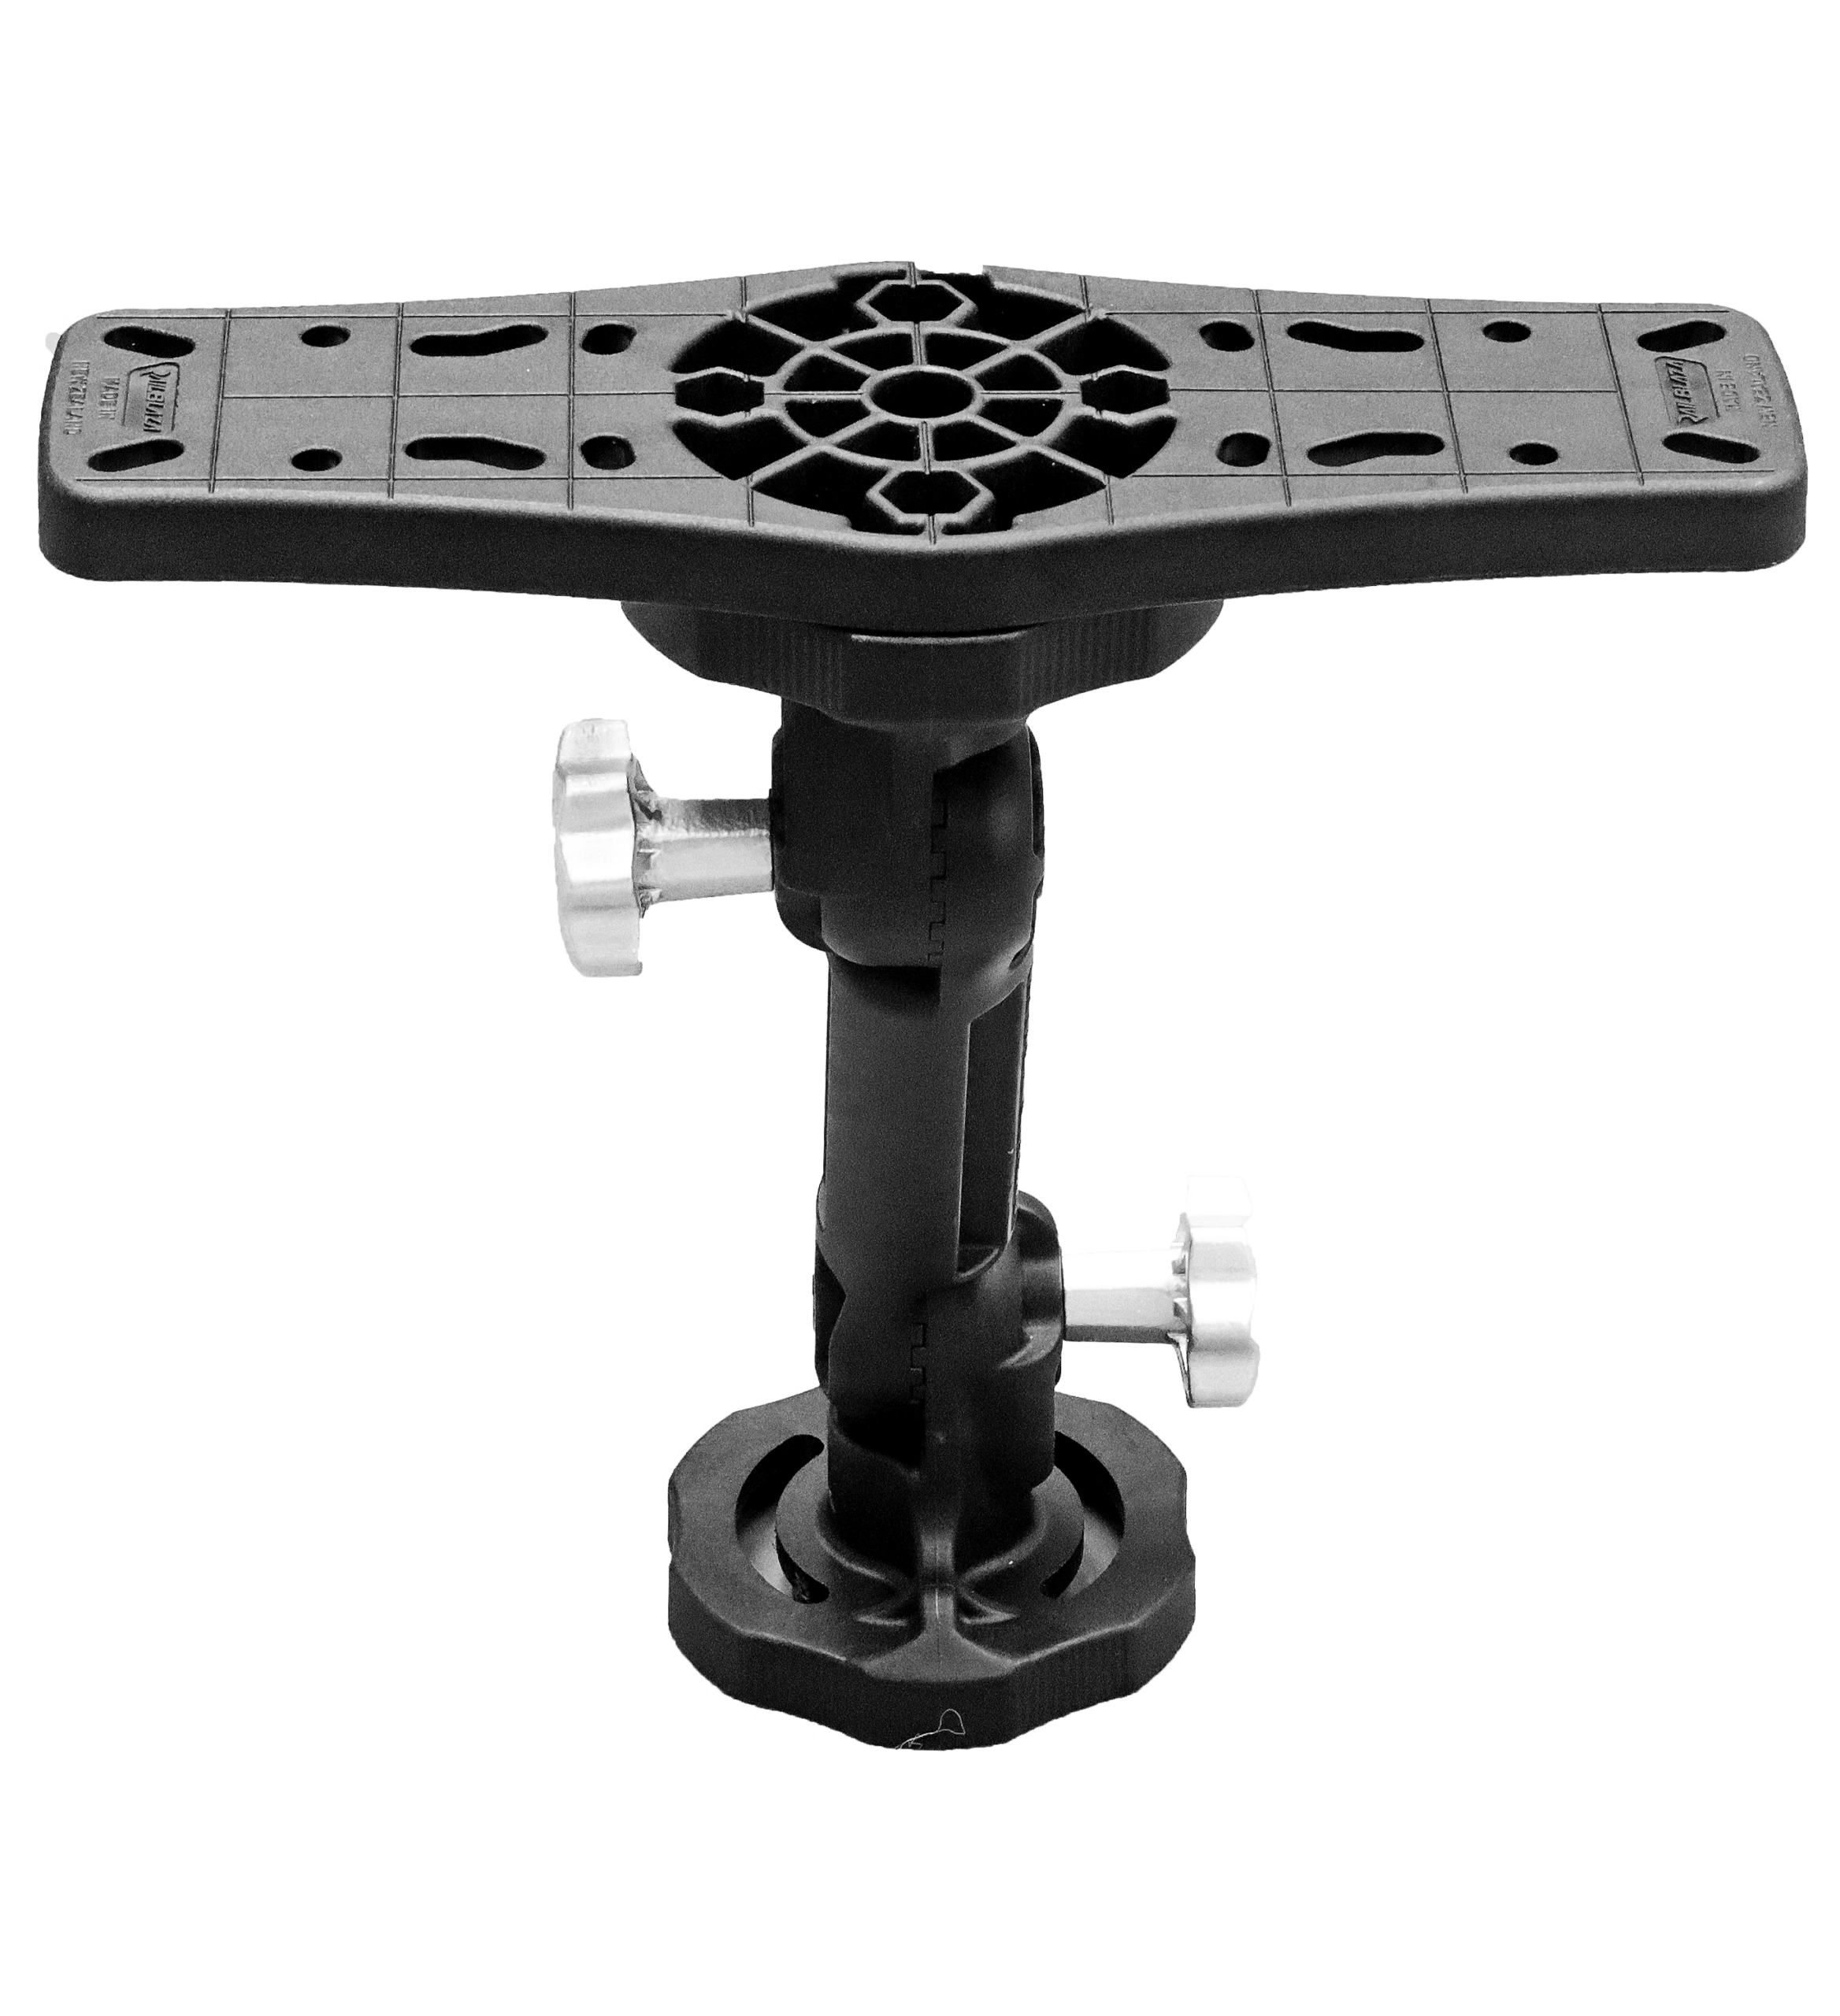
Like the assembly from Scotty and Cannon is Starport from Railblaza a user-friendly system with virtually unlimited uses. Like its rivals are StartPort well thought out and built into a solid plastic. Aesthetic design has received significantly more attention in Railblaza than Scotty and Cannon and I will certainly little “yacht-feeling” when I look at the range (for better or worse). It has also not compromised in terms of function and the system feels both stylish and practical.
Railblaza gives you more choice by offering almost all products in alternative colors: black or white (yacht feeling comes again!). While accessories from Cannon can be mounted in brackets for Scotty (I’m guessing that production is shared), the Starport system proprietary and supports only its own products.
One clear advantage is that Starport bracket has a low profile and small footprint, while the high load. Another interesting and overall detail is that almost all Railblaza accessory has a molded loop so that they can be secured with rope to the kayak. Obviously there thereto a locking function in the bracket. Retailers are in Sweden.
Railblaza Starport can be fitted with either a supplied flange or submerged in the mounting surface. In the former case, the case requires installation only two screws but the profile becomes simultaneously 5mm higher. In the latter case, the profile and the weight lower, but you have to drill or cut bigger hole for an included template. I chose to lower the bracket to save marginal weight and to increase stability. Whichever method you choose, the challenge is the same: to find a flat surface to mount on! To install (immersed), determine an appropriate plan space for your Starport. Drill or cut out the larger circle first test install bracket. Then drill holes for screws with your Starport as template. Remember that you need to reach the underside of the surface to attach the washers and nuts. The mount is not suitable for riveting (!) The bracket comes with its own rubber, but extra seal against moisture does not hurt and it may therefore be desirable to apply a layer of silicone before the bracket snaps. With this done, the bracket is pushed down and then screwing in the supplied bolts and nuts.
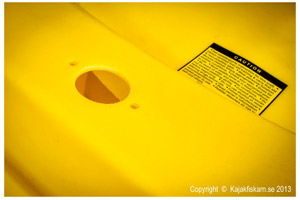 Drill / cut the larger circle first. With Starport as a template, drill a further two holes
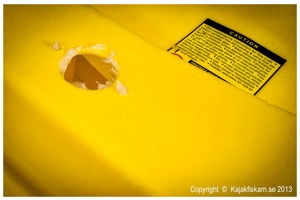 Put a layer of silicone for extra sealing against moisture
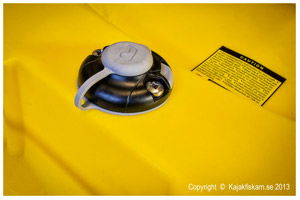 Turn down the supplied bolts and lock washers and nuts from below.
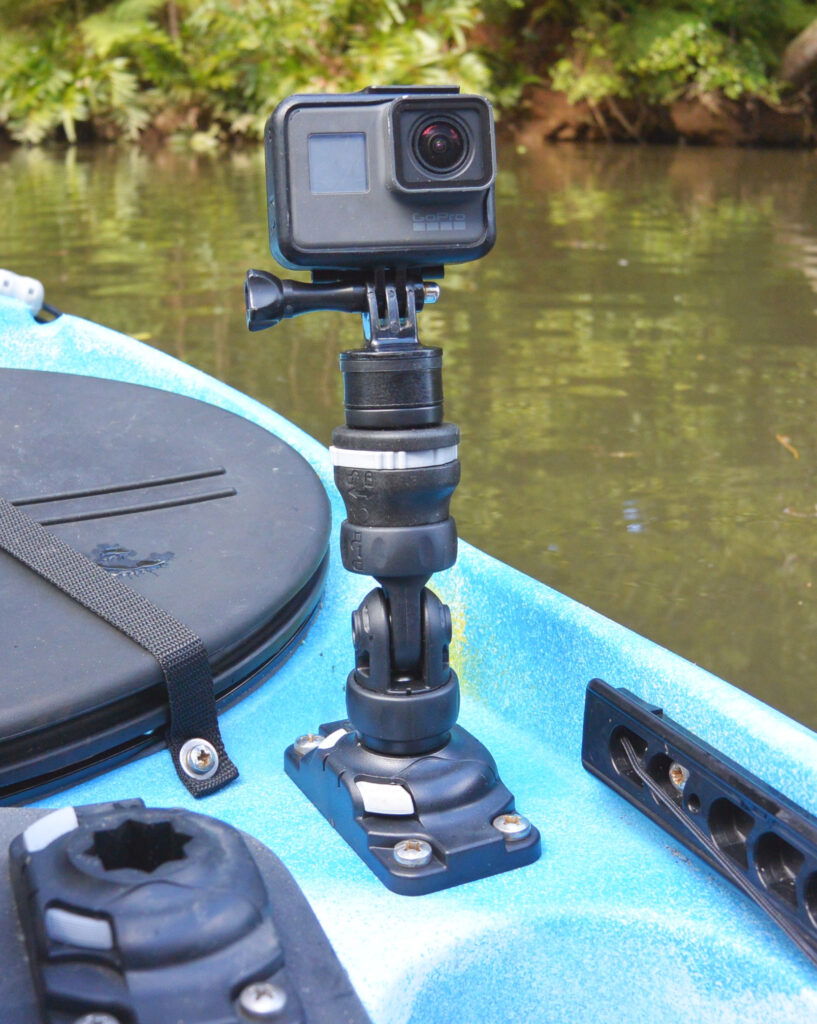
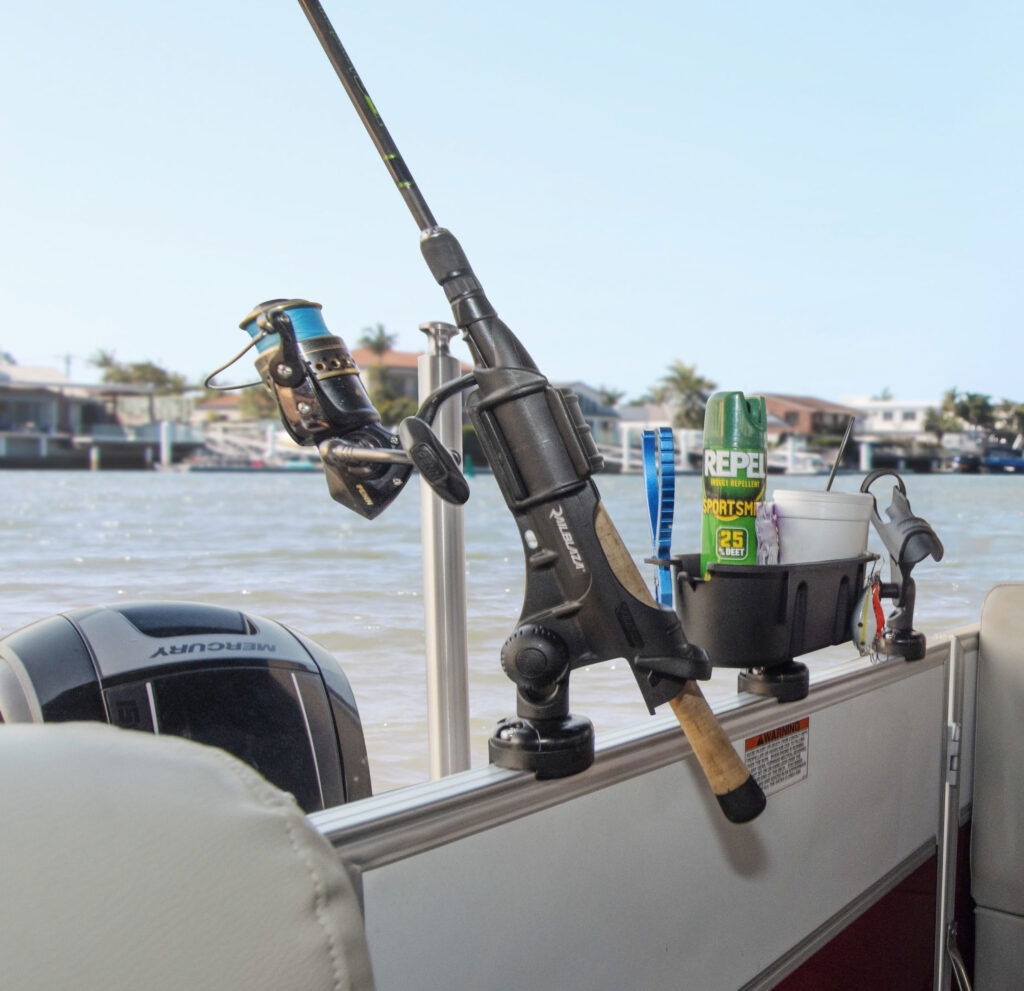
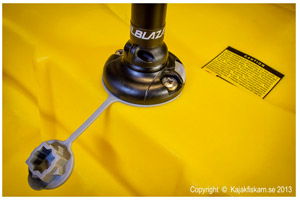 Installation is complete and a Railblaza accessories fitted. More on this in a later blog post.
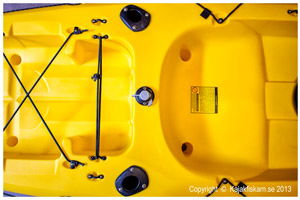
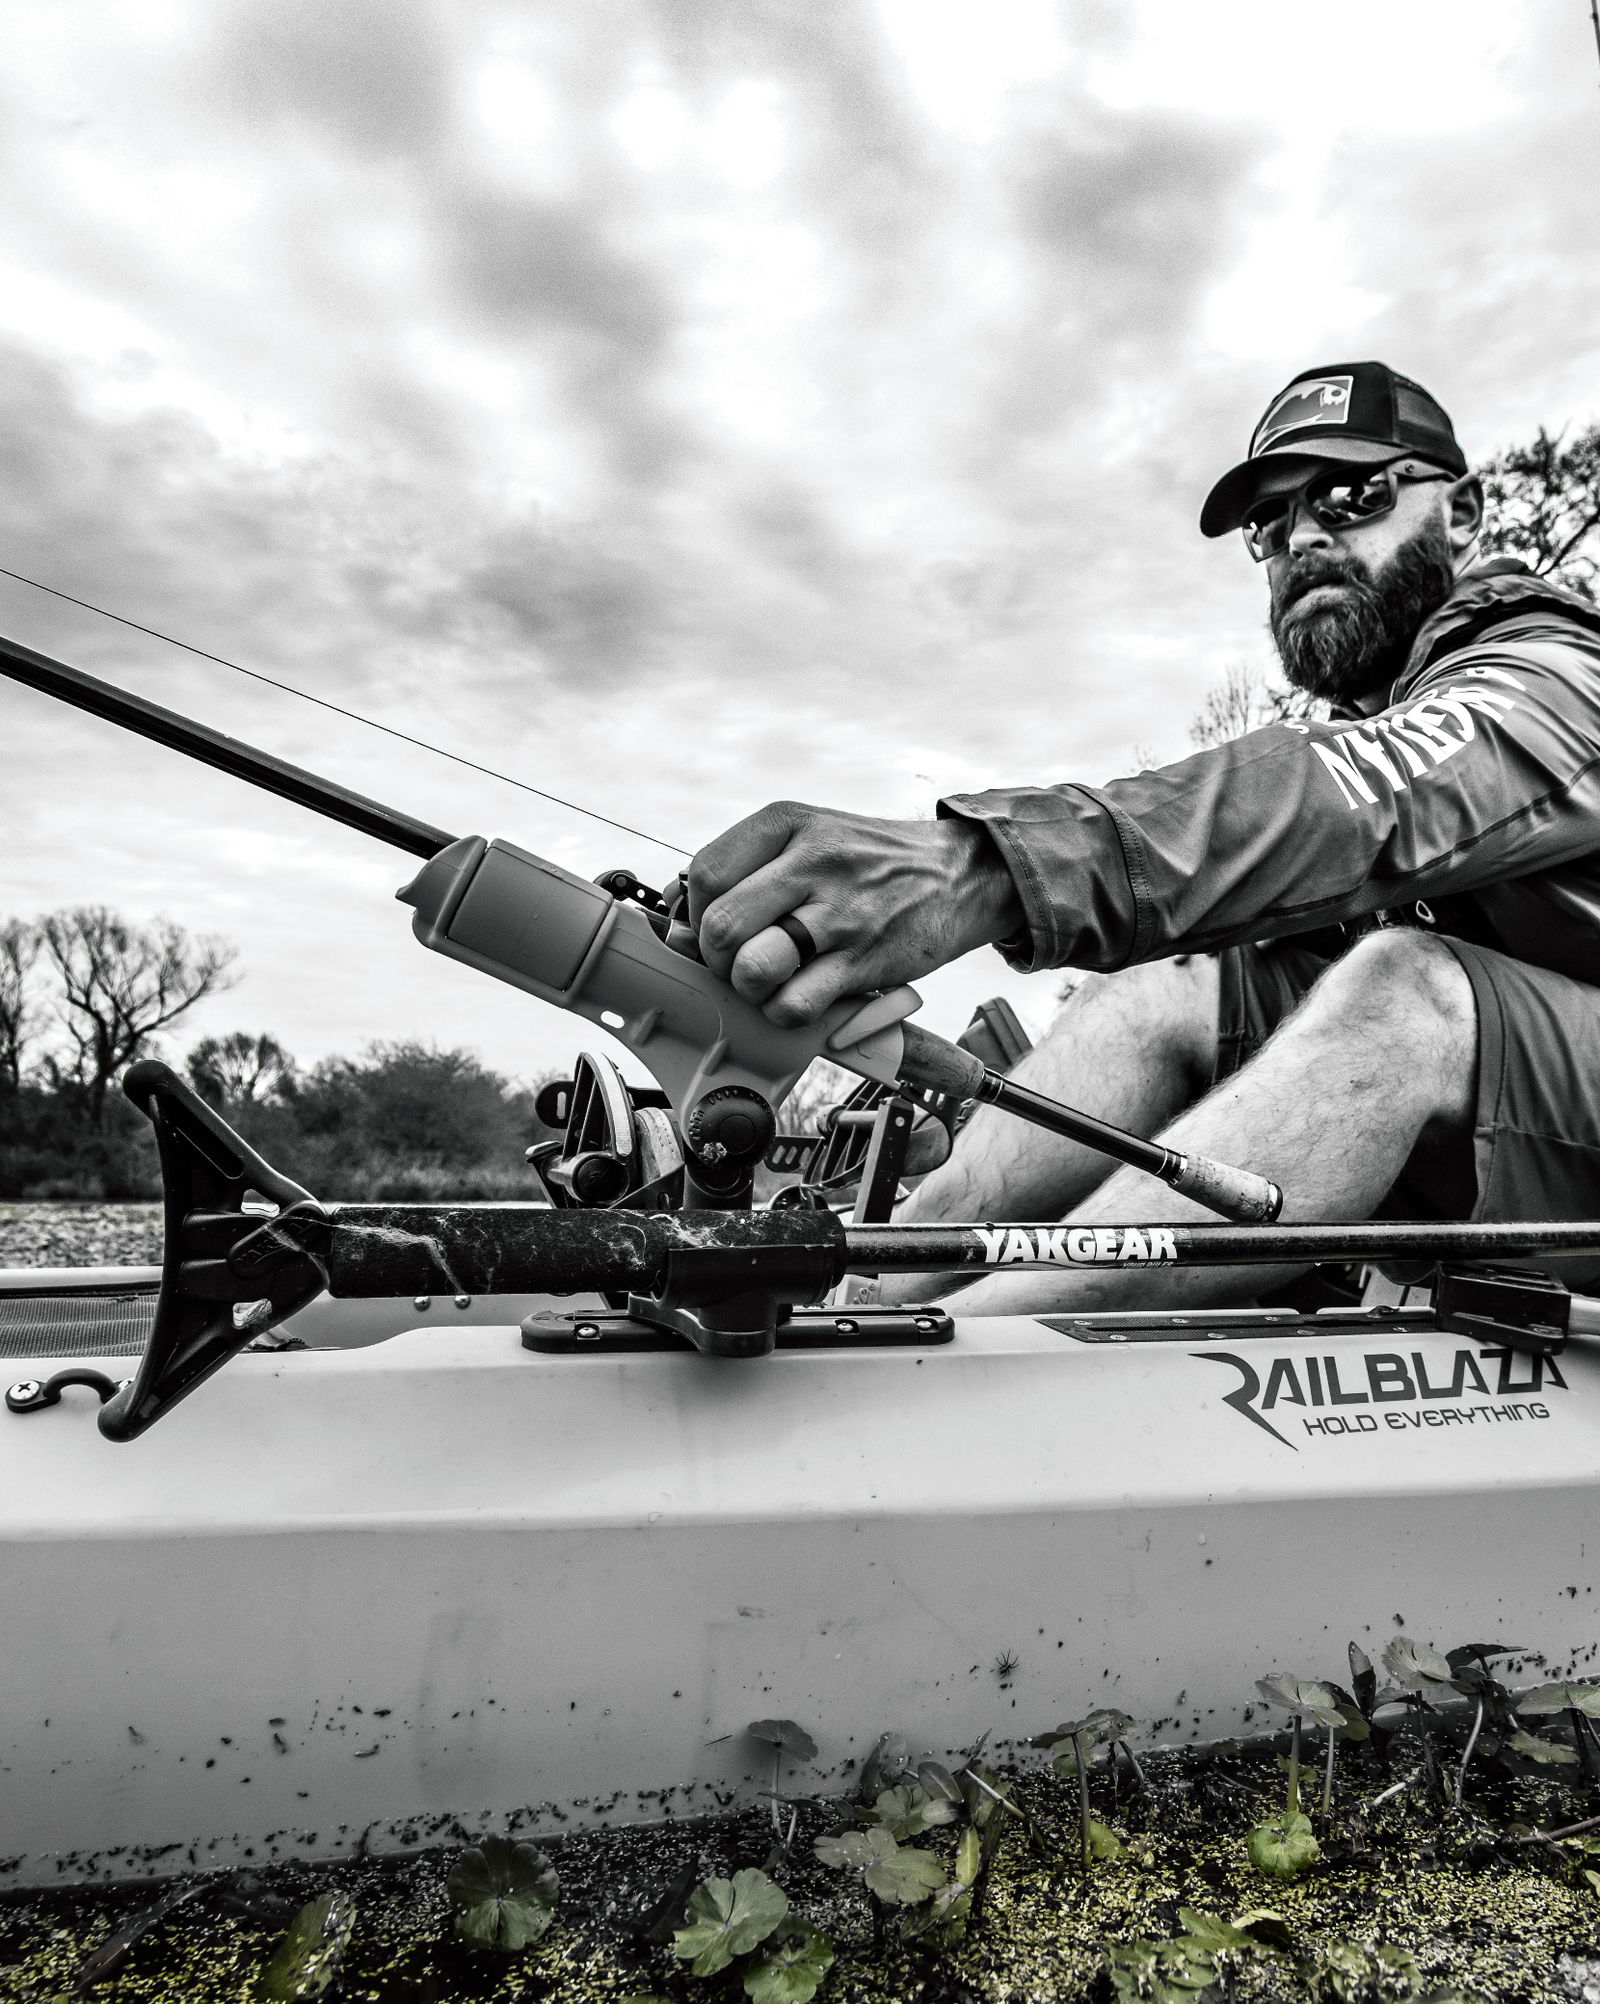
Railblaza Starport installed in the center.