Free shipping $100+ (before tax) — Lower 48
Free shipping $100+ (before tax) — Lower 48

Select your boat, and we'll show you products that fit your Make & Model.
Our product is made from at least
75% recycled polyester fibres.
Our product is made from at least
75% recycled polyester fibres.
Our product is made from at least
75% recycled polyester fibres.
Please select your local RAILBLAZA website.

This is a quick-view picture guide, on how I installed the Lowrance Elite-4 DSI Sounder to a Malibu Kayak Sierra 10. There were so many different ways that I could have setup the sounder but I found that this design was the most interesting and most customisable. It was also the quickest and easiest to remove.
I wanted to be able to access my transducer on the go, but didn’t want it to impact on my paddle space either. I also wanted the kayak to have maximum legroom and didn’t want the battery and cords depriving me of space in the front where I need it most.
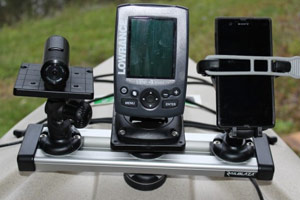
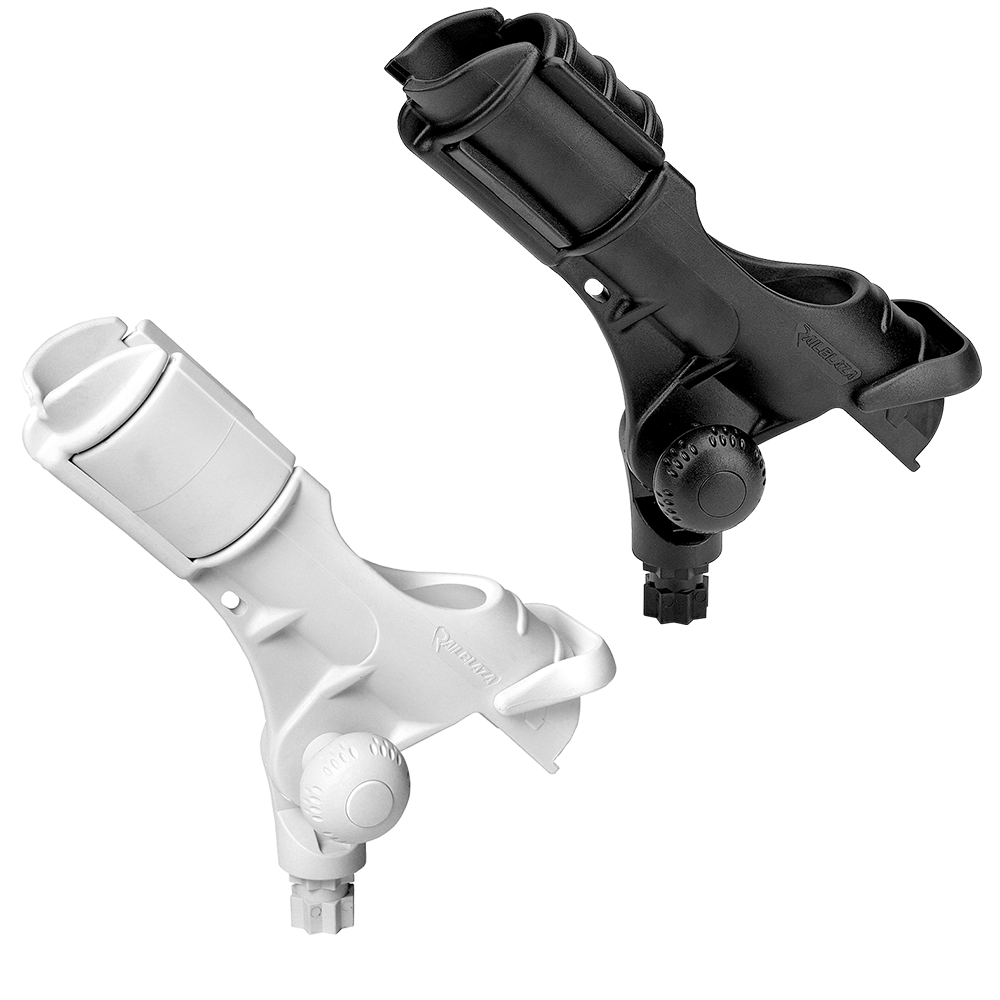
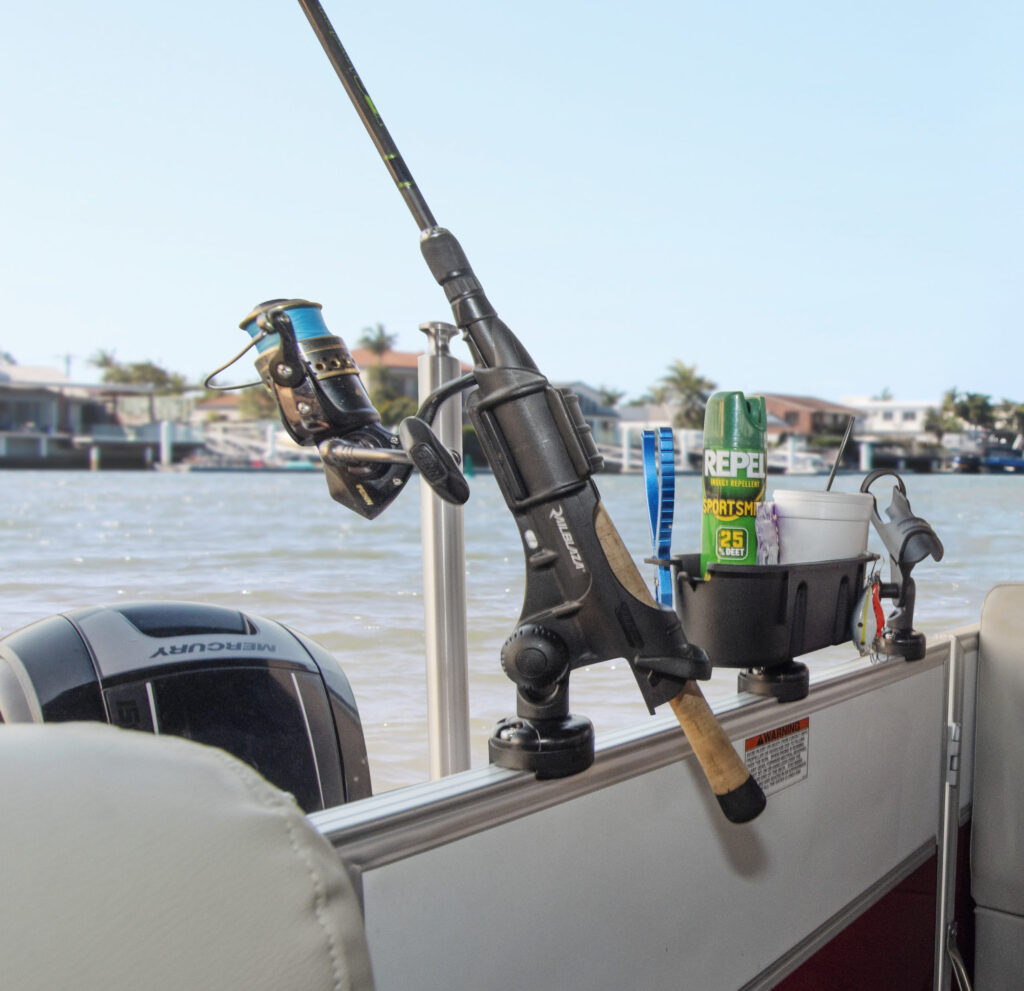
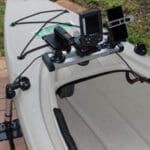
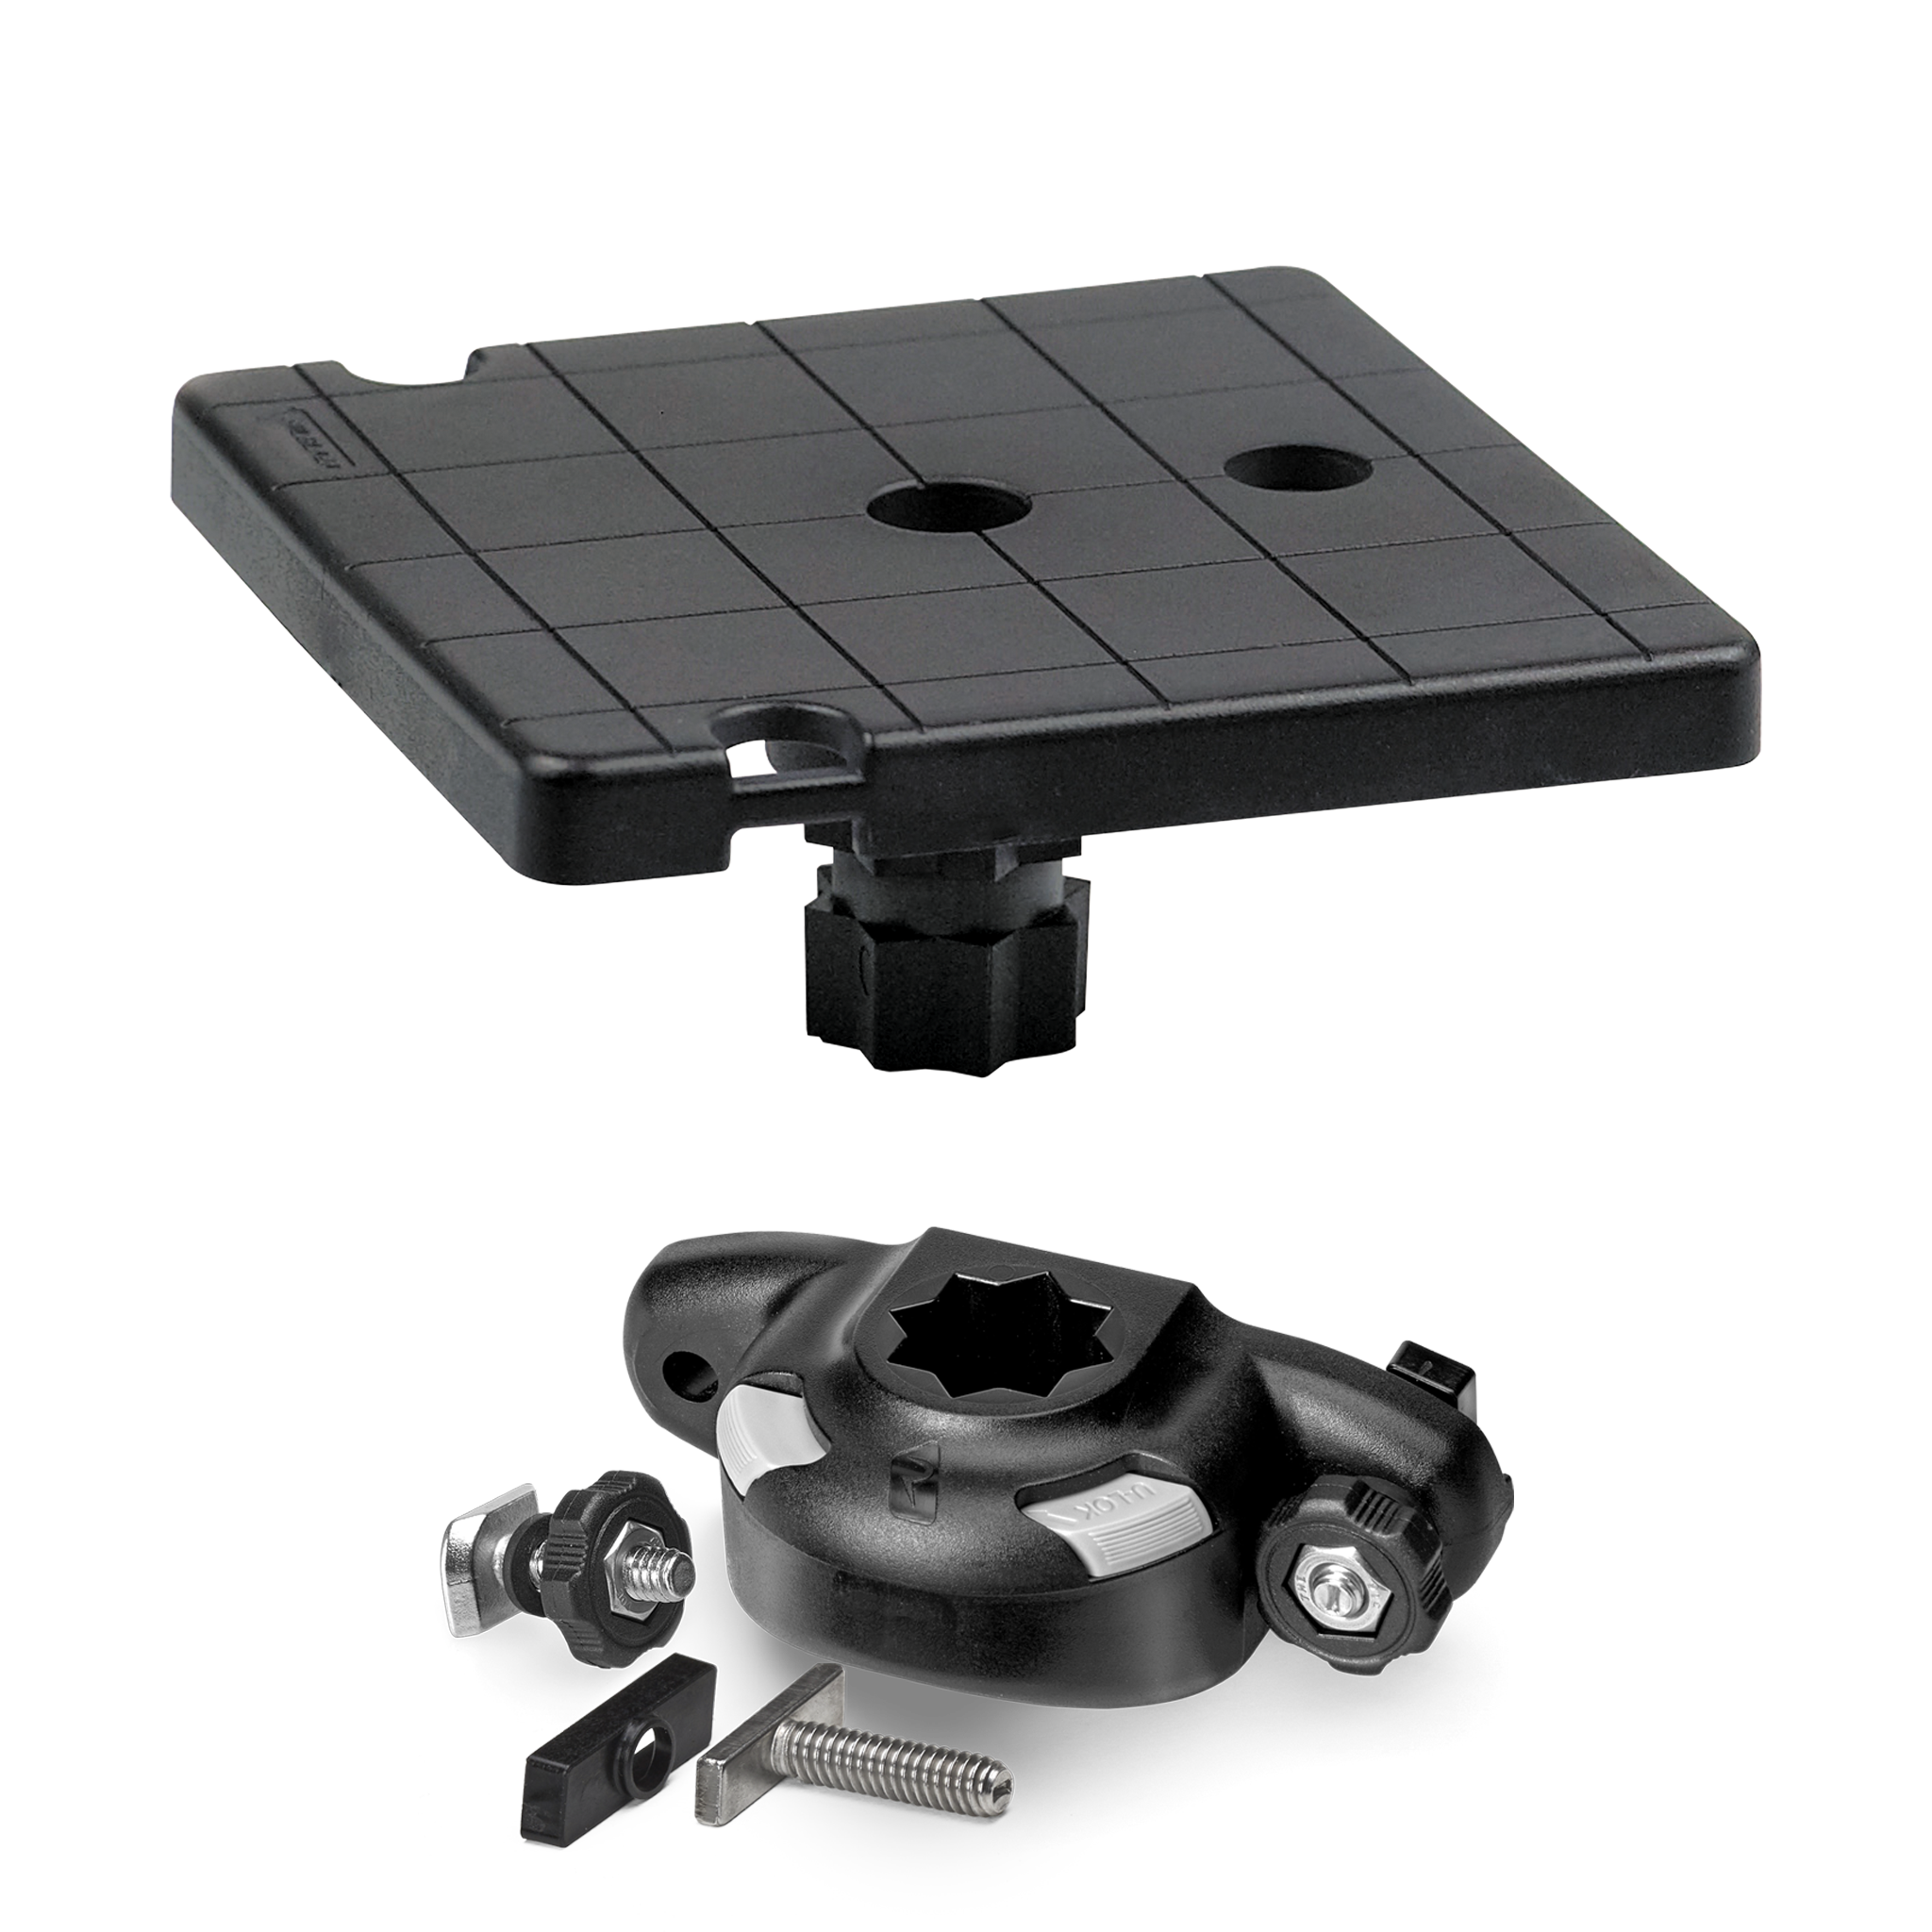
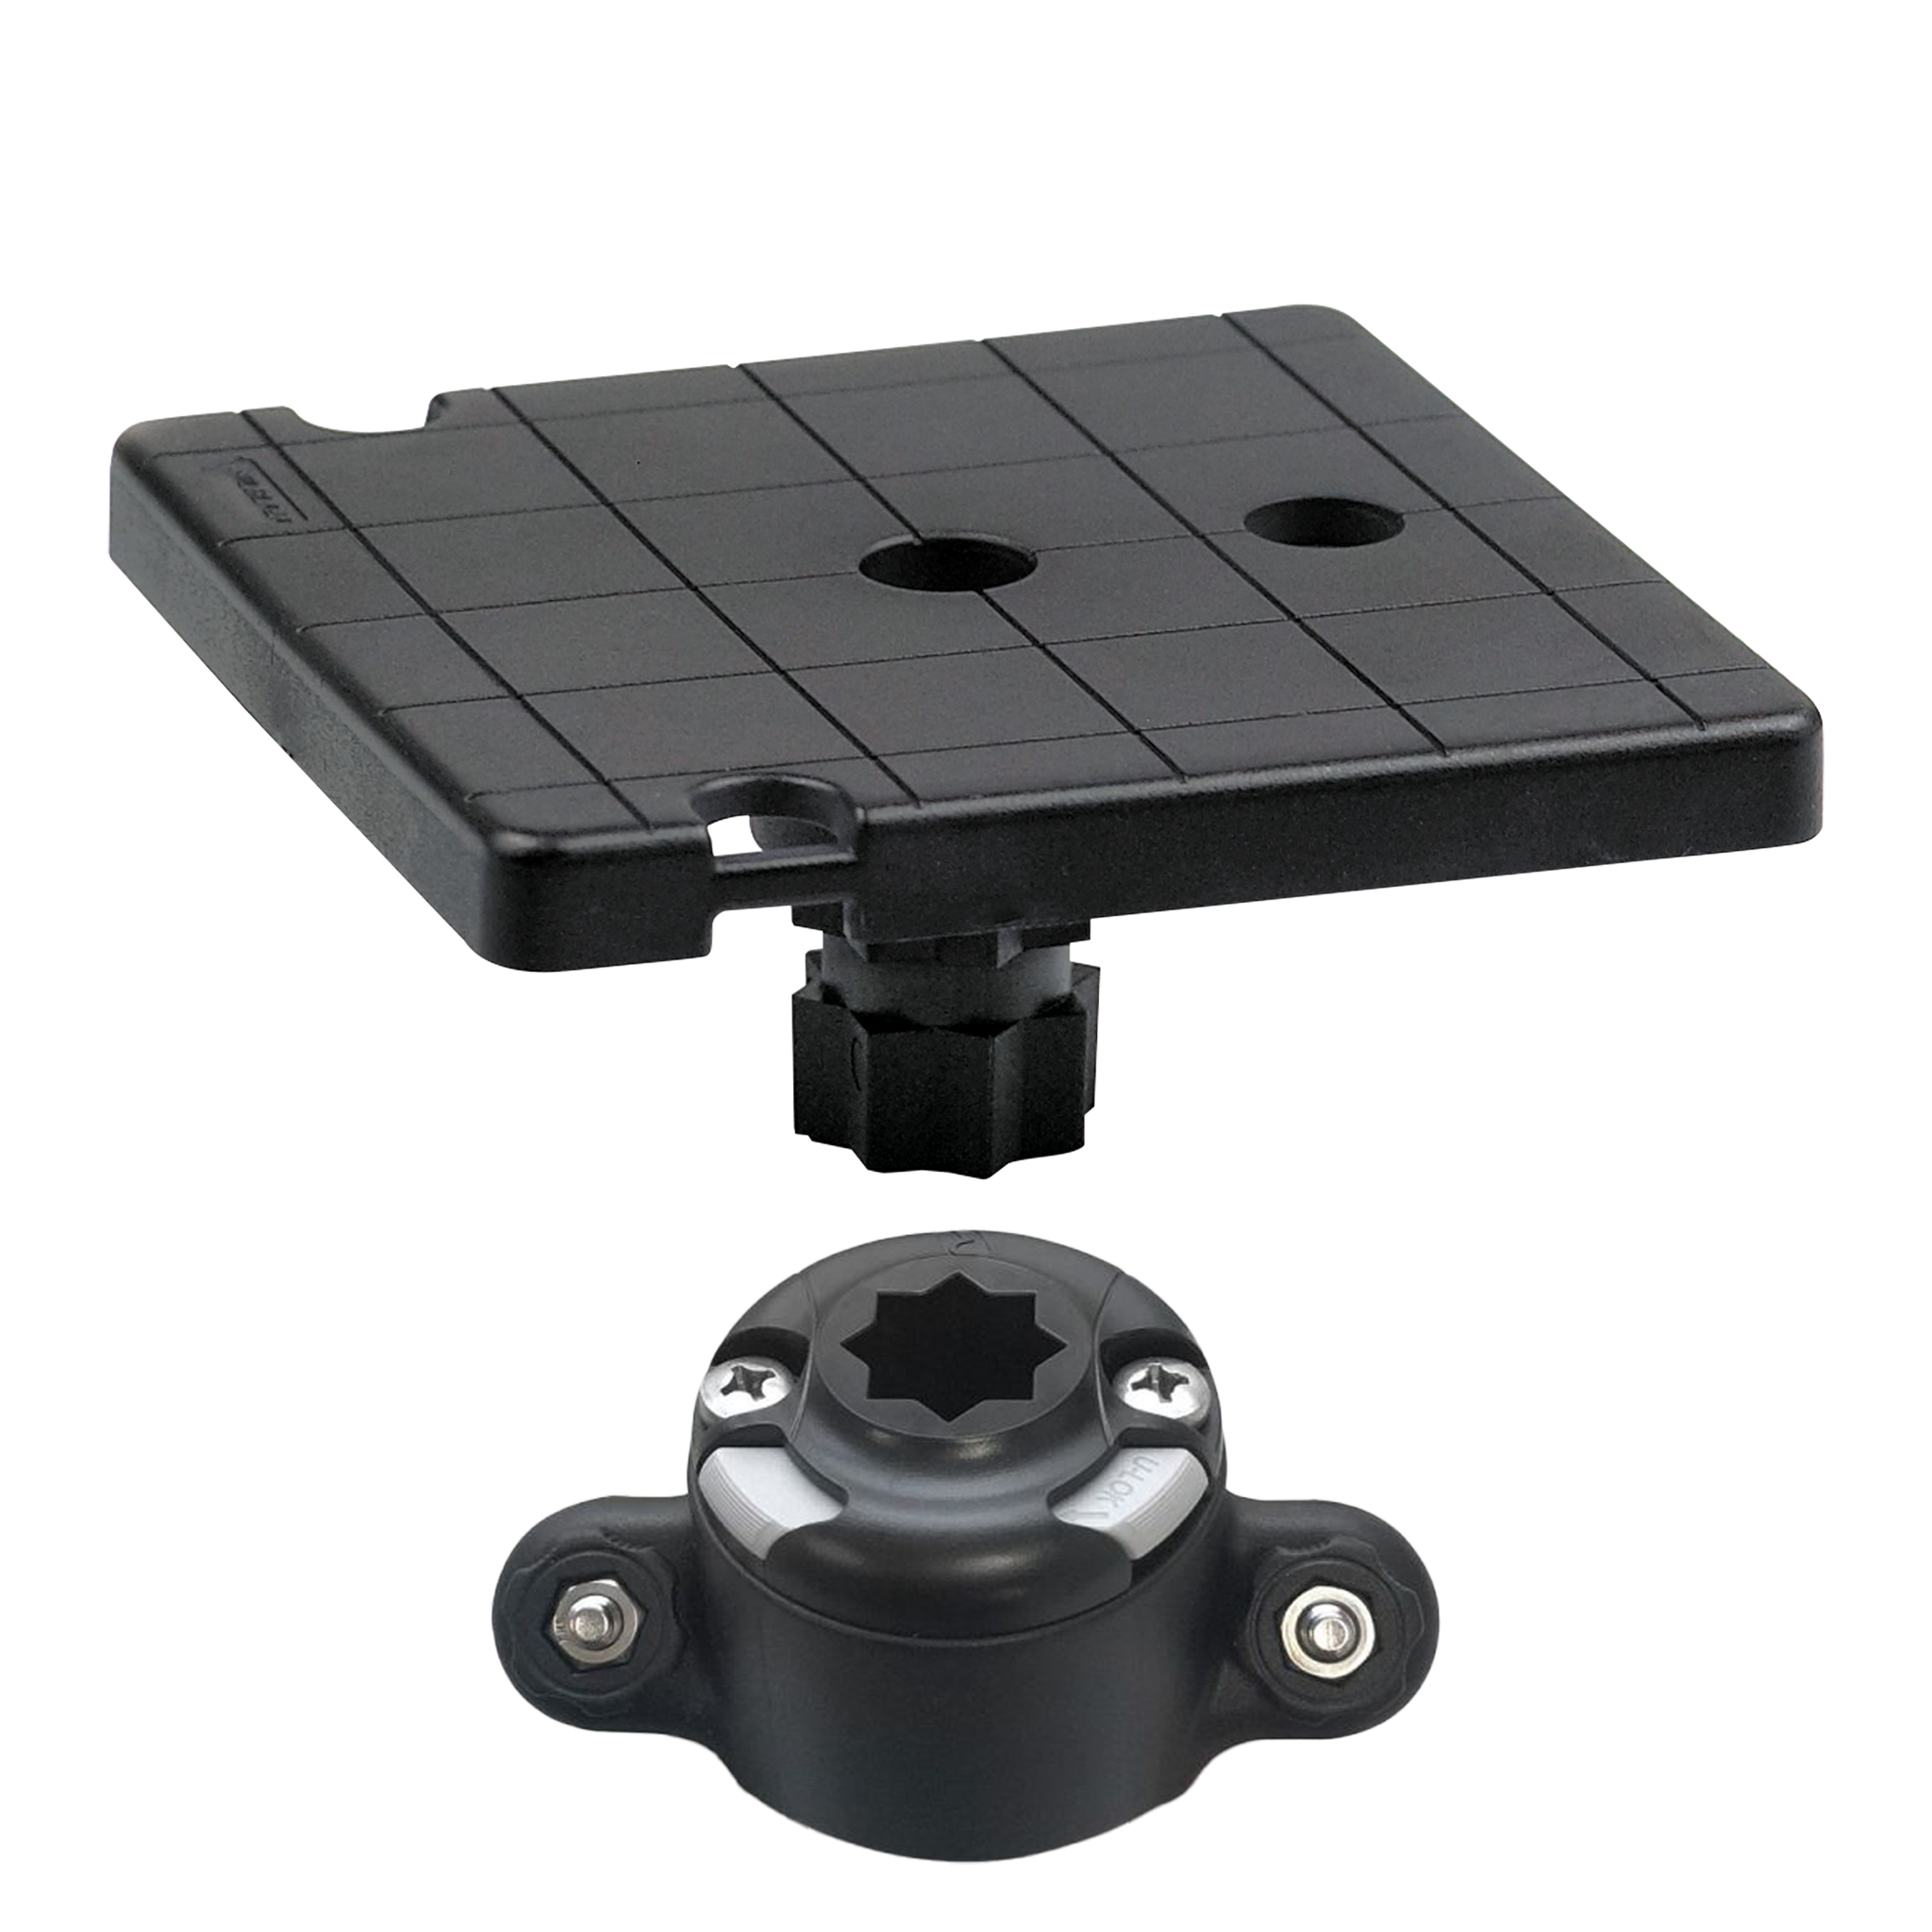
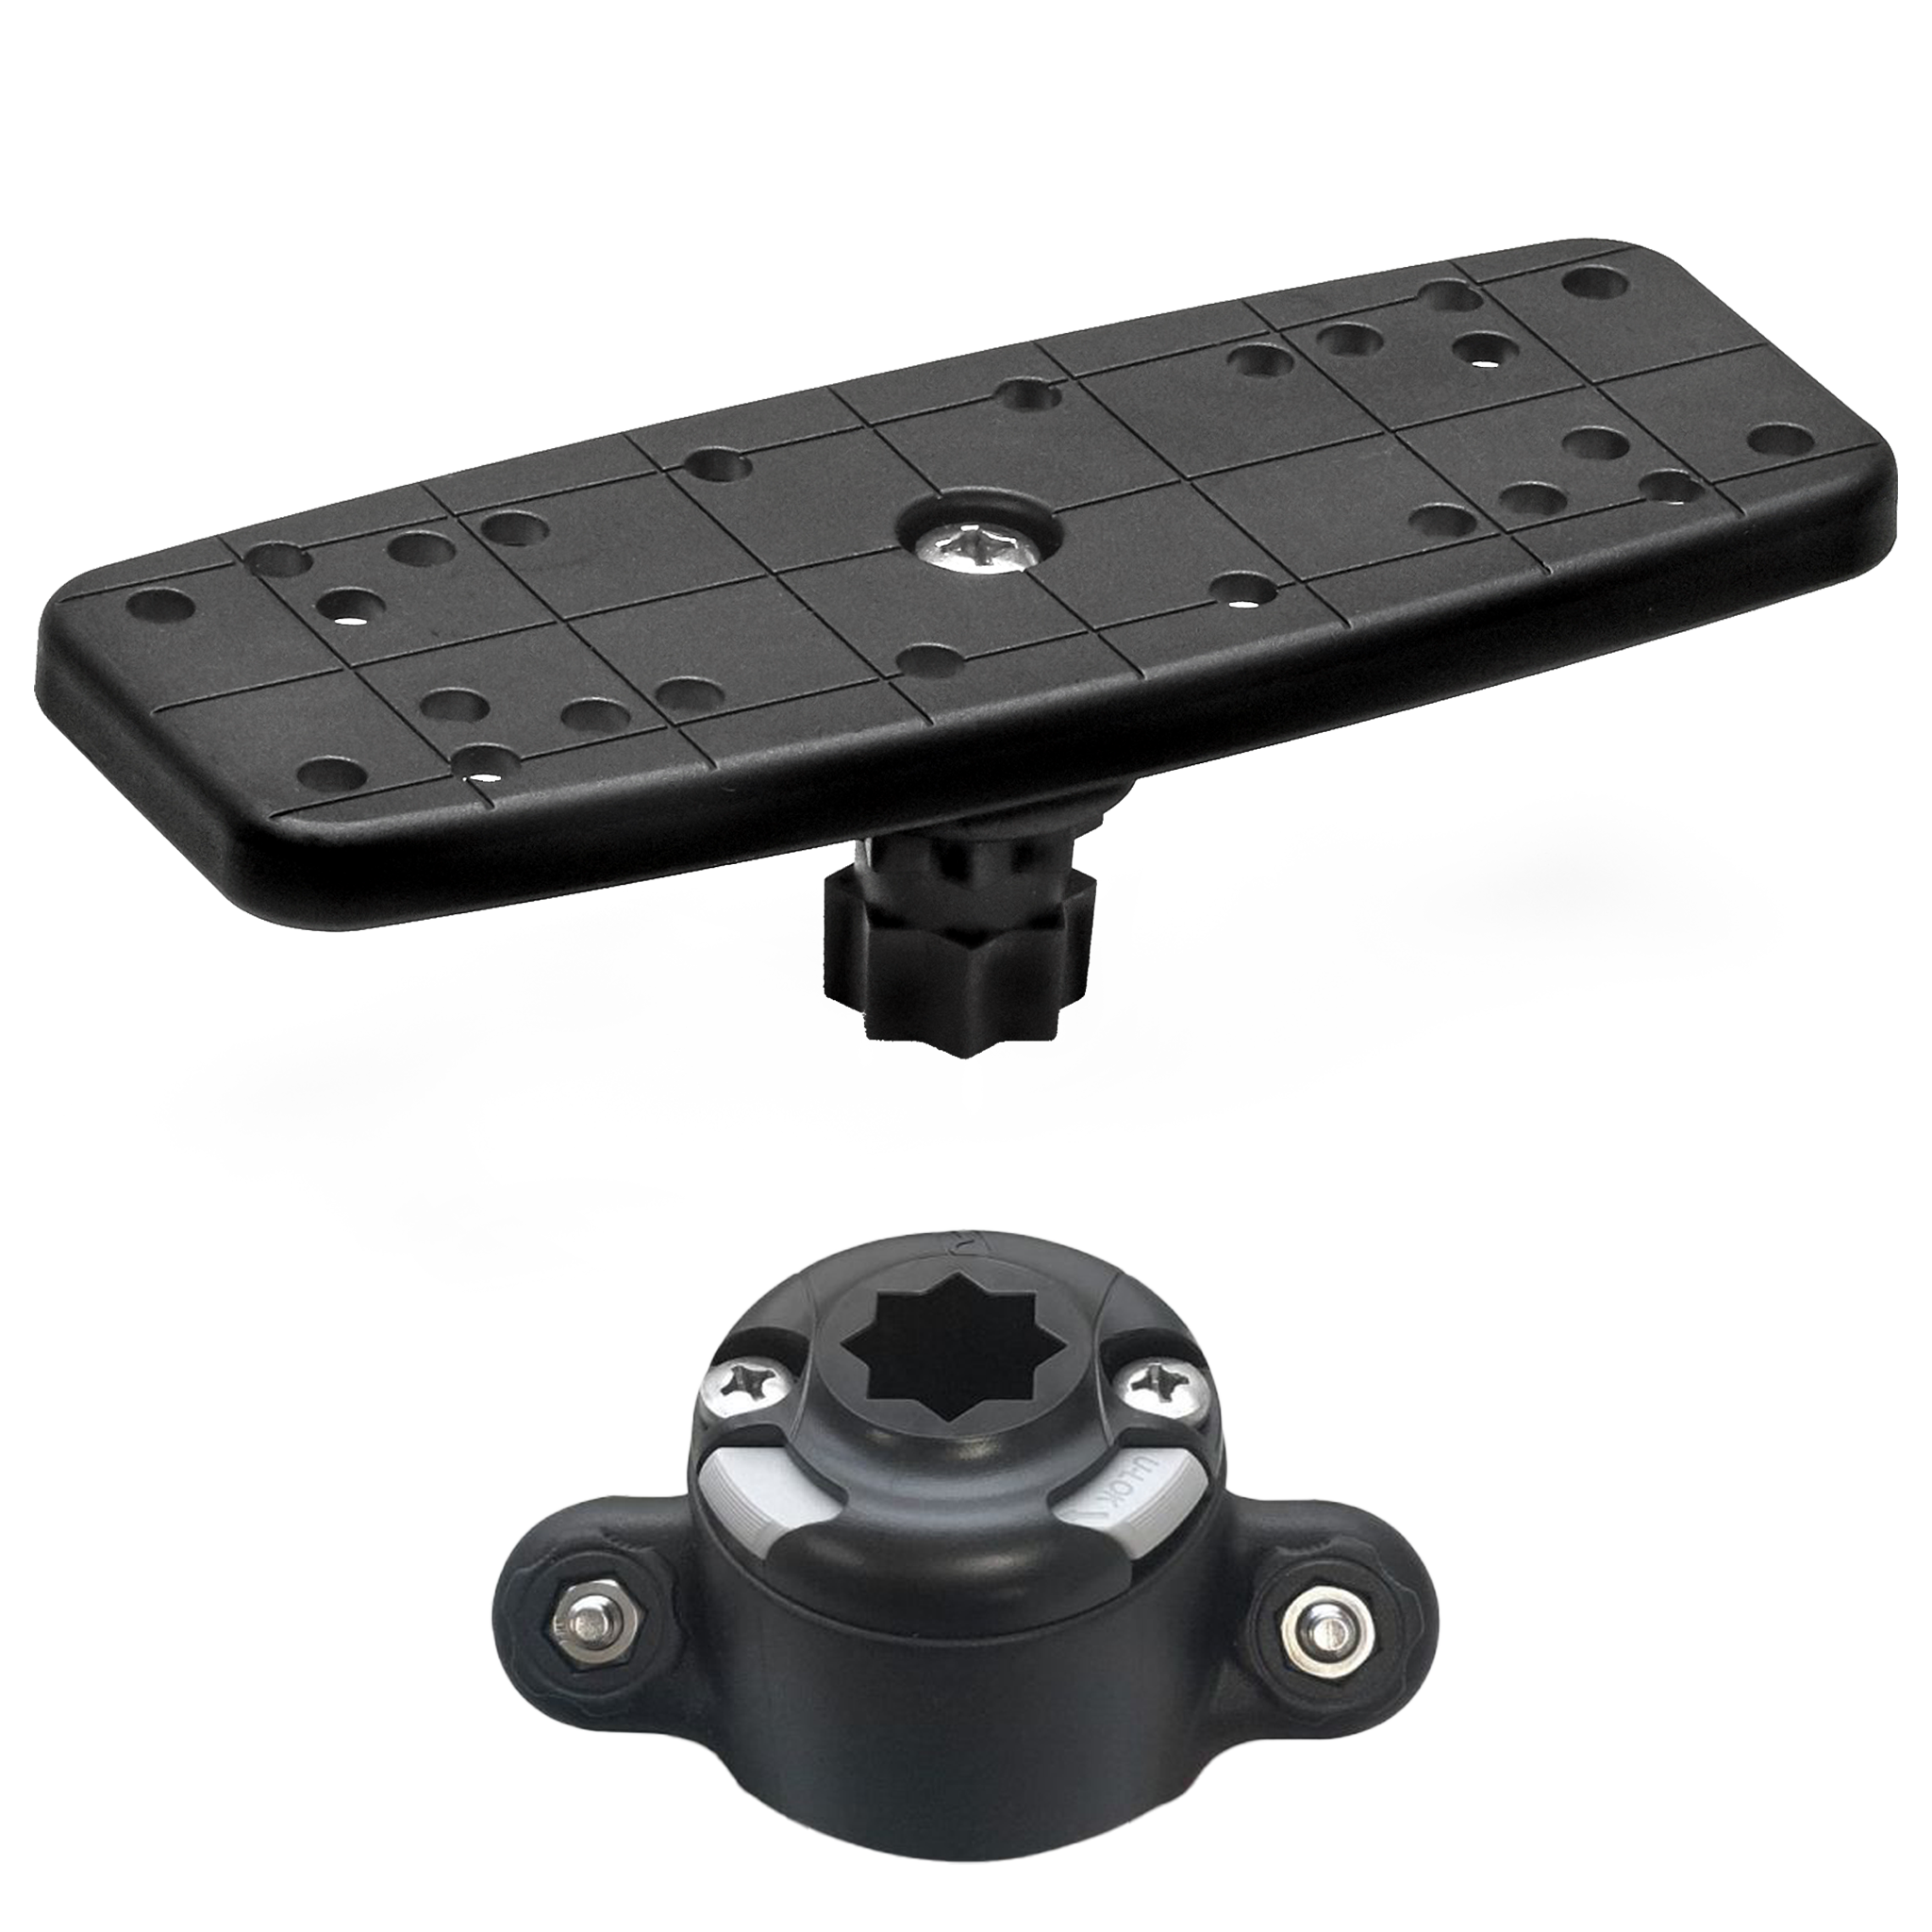
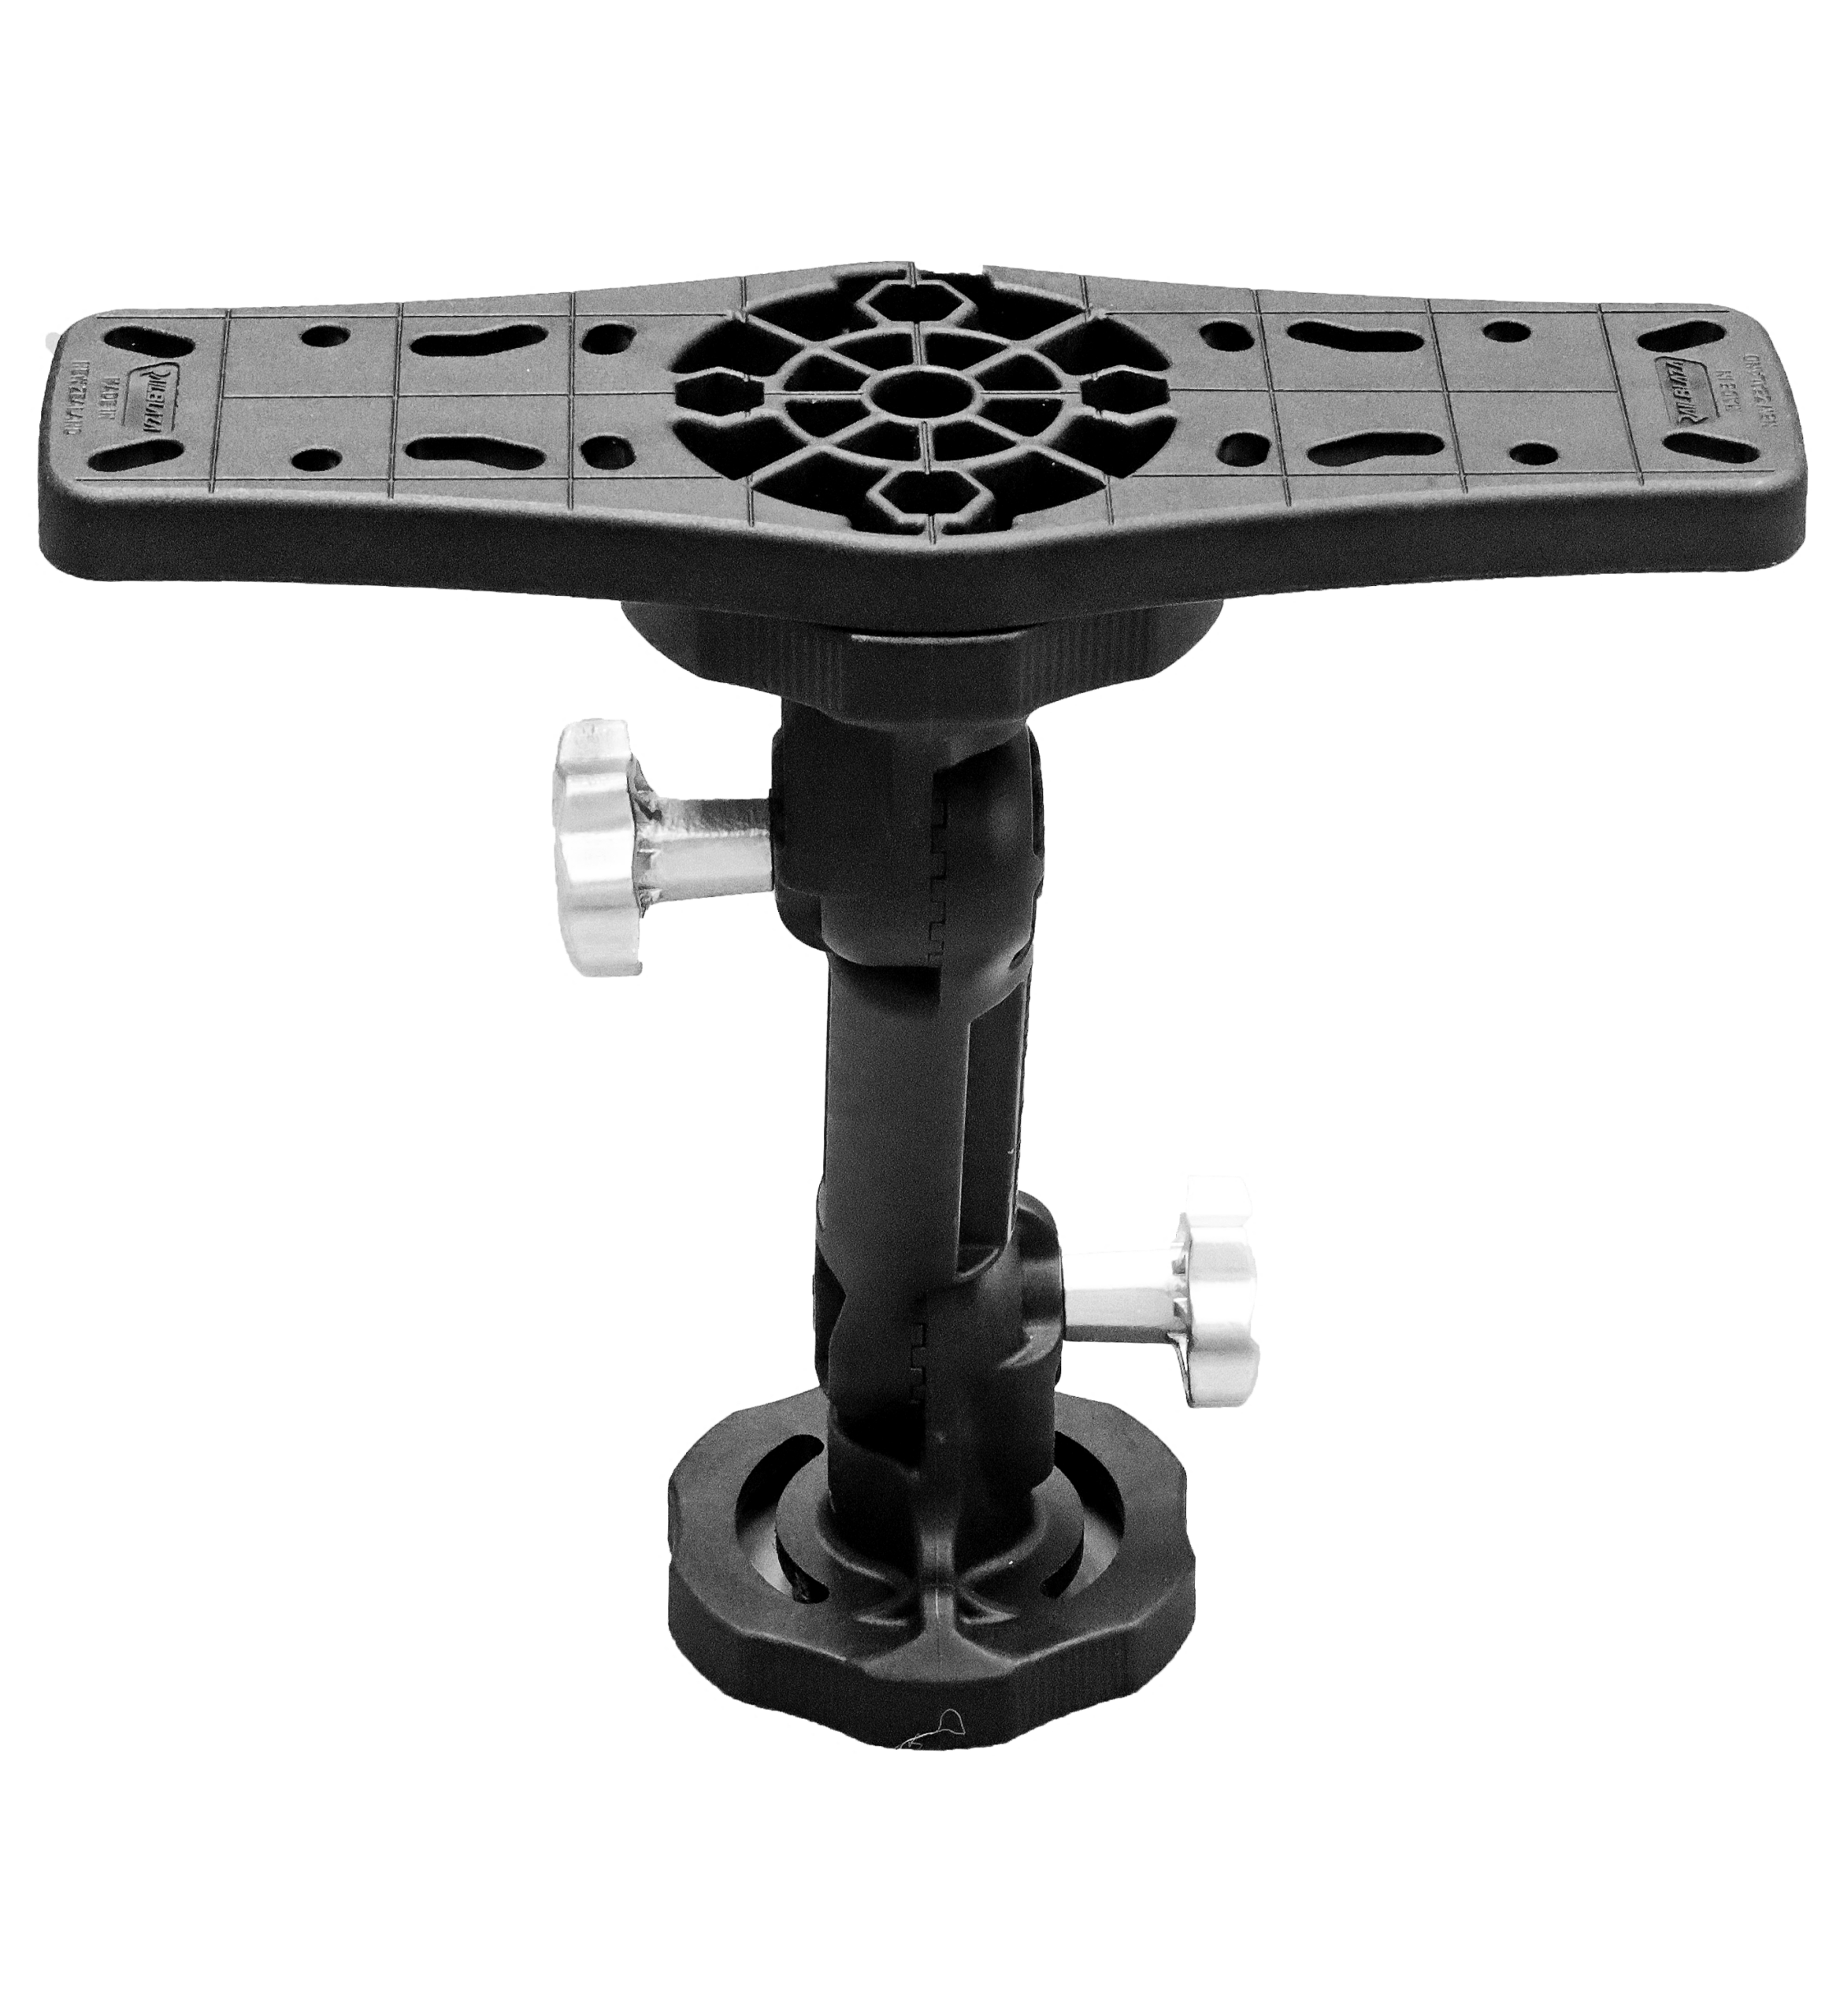
This picture shows a single Railblaza Starport mounted to the front of the Sierra 10 holding a Railblaza Tracport Dash 350. The Railblaza Tracport Dash 350 is exceptionally stable when holding a lot of items.
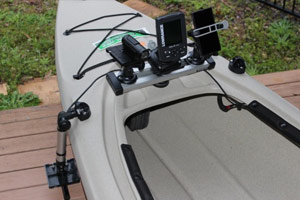
In this image, I have used a similar idea from a Custom Kayak Console article I read in the BLADE Kayak Magazine by Dave Brace and tweaked it to suit this kayak.
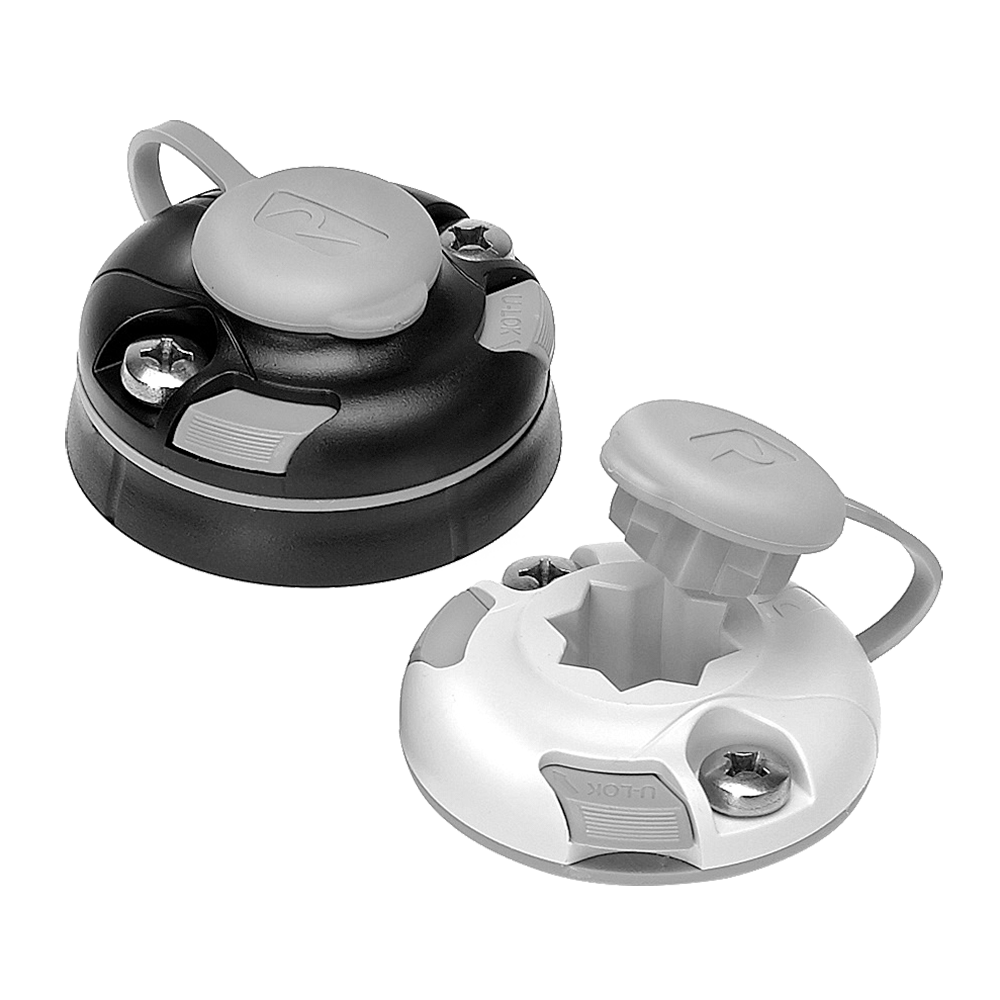
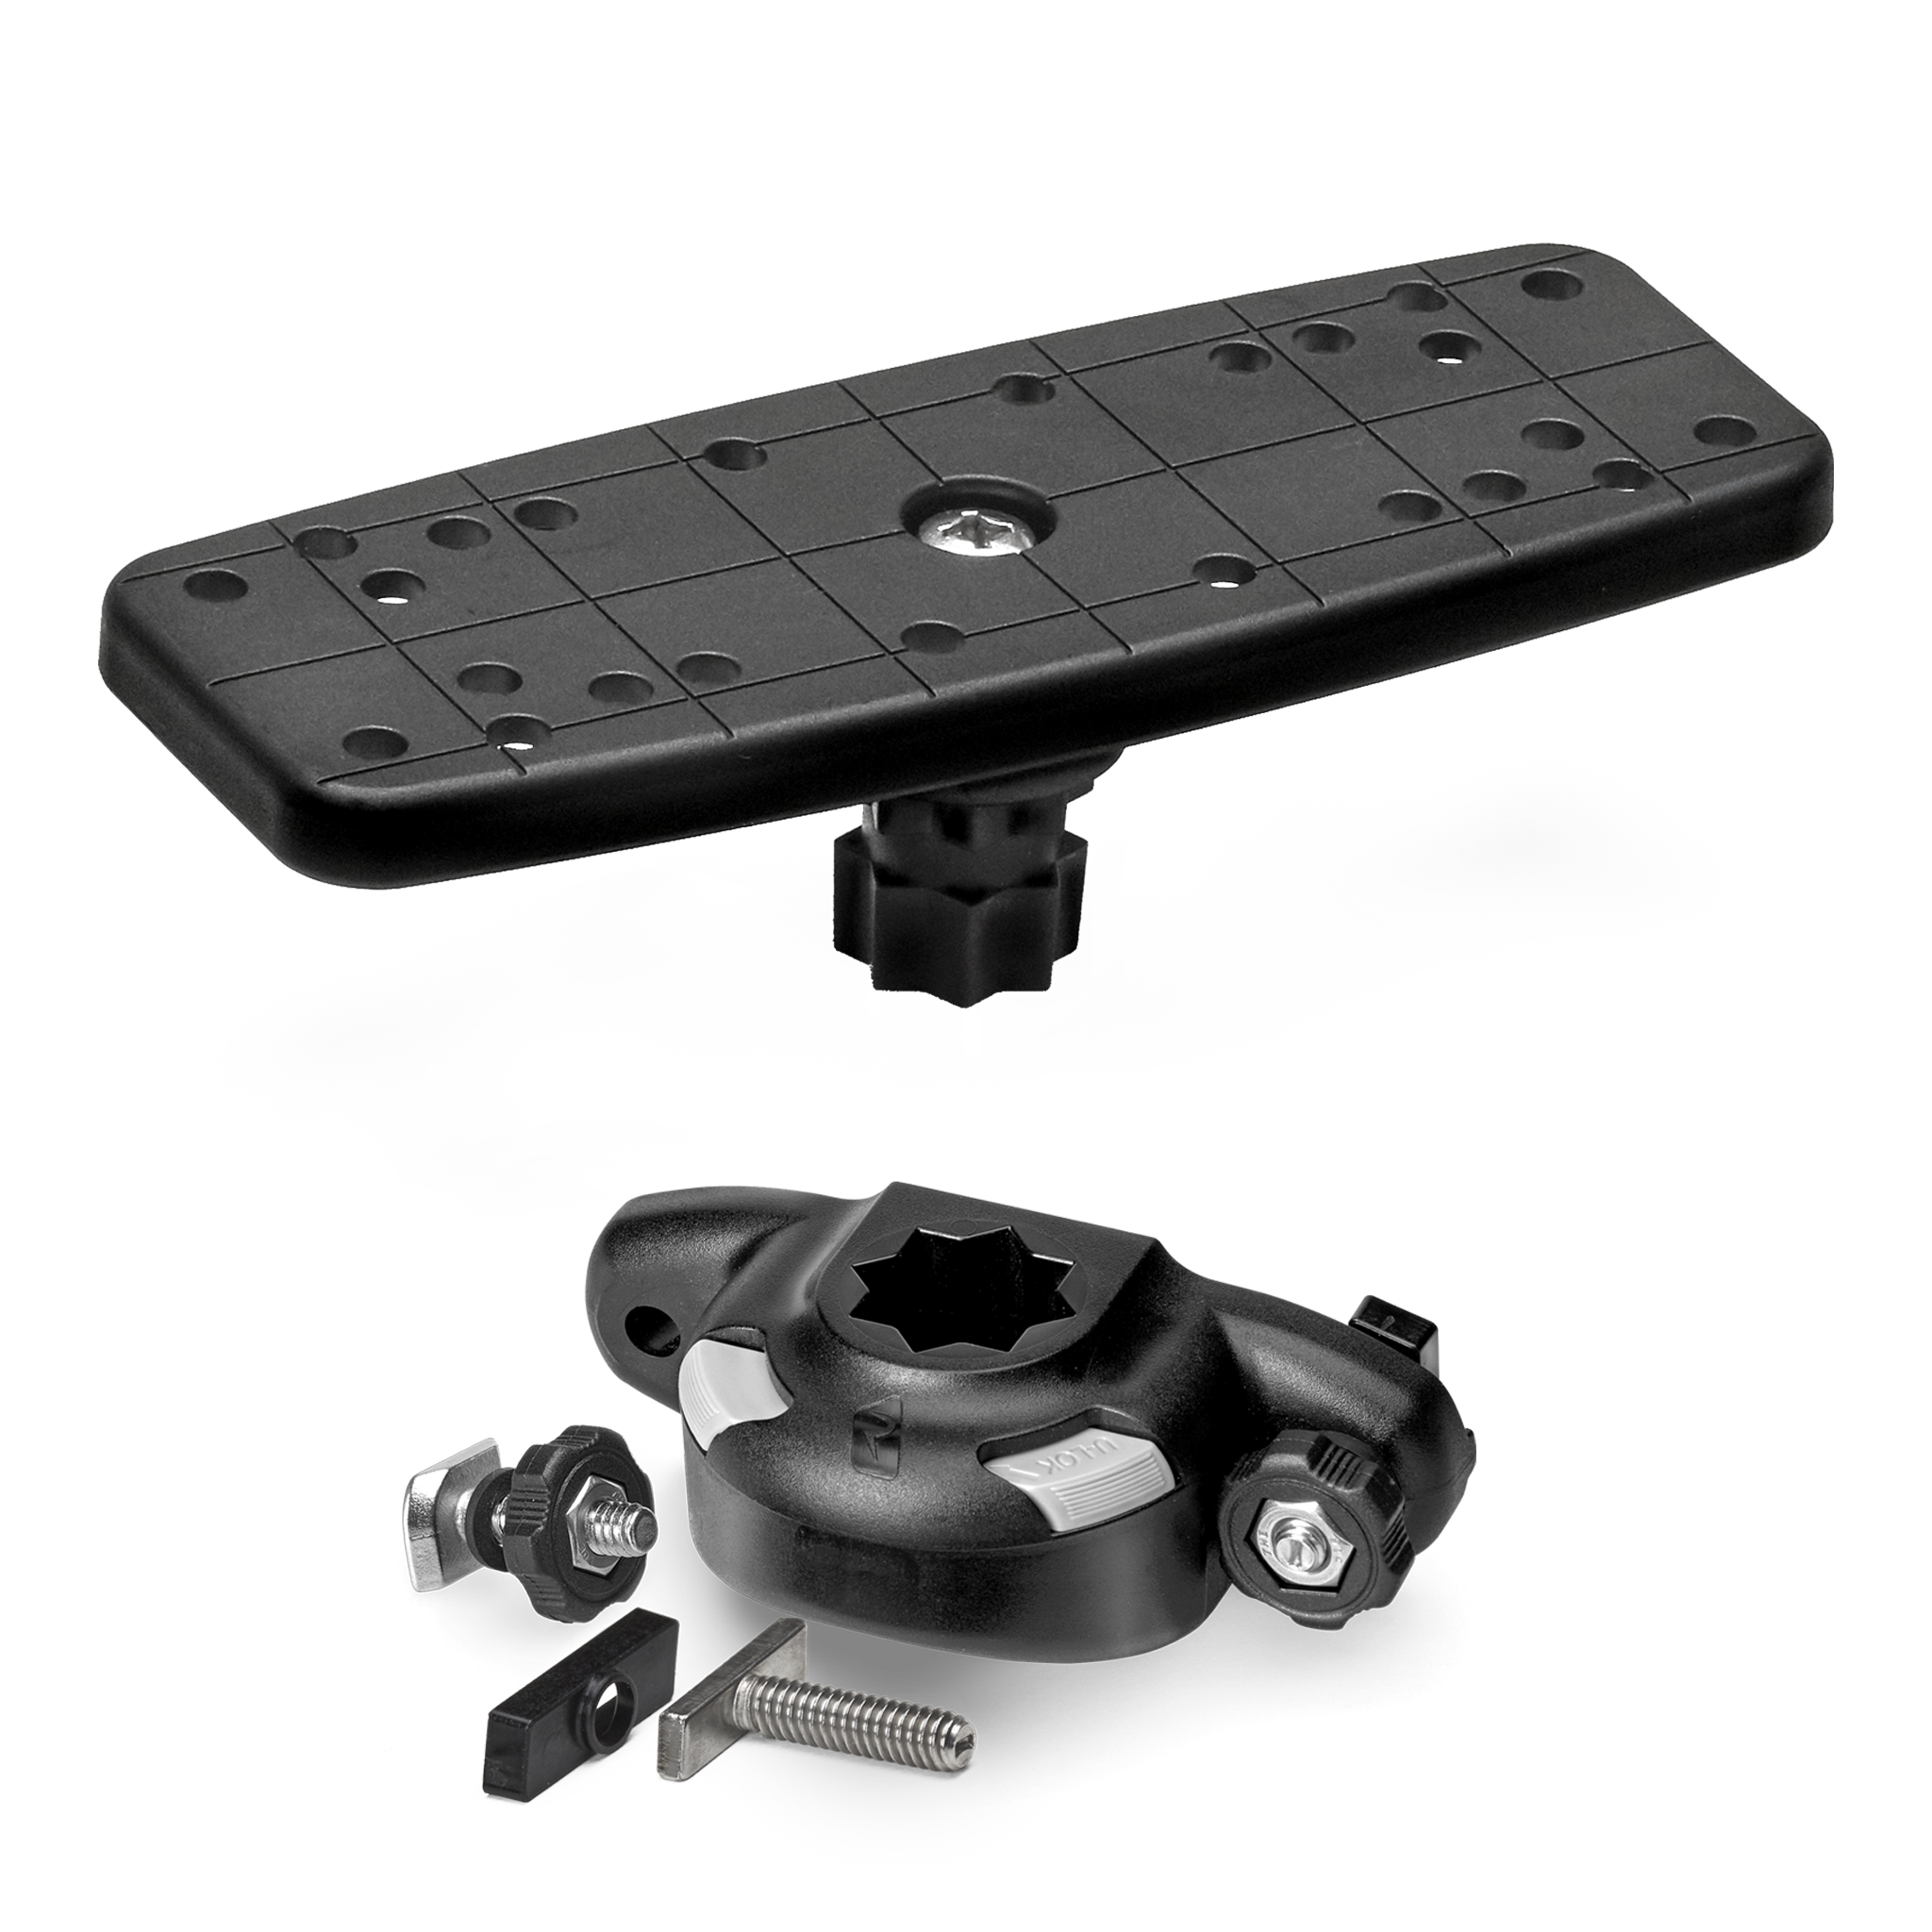
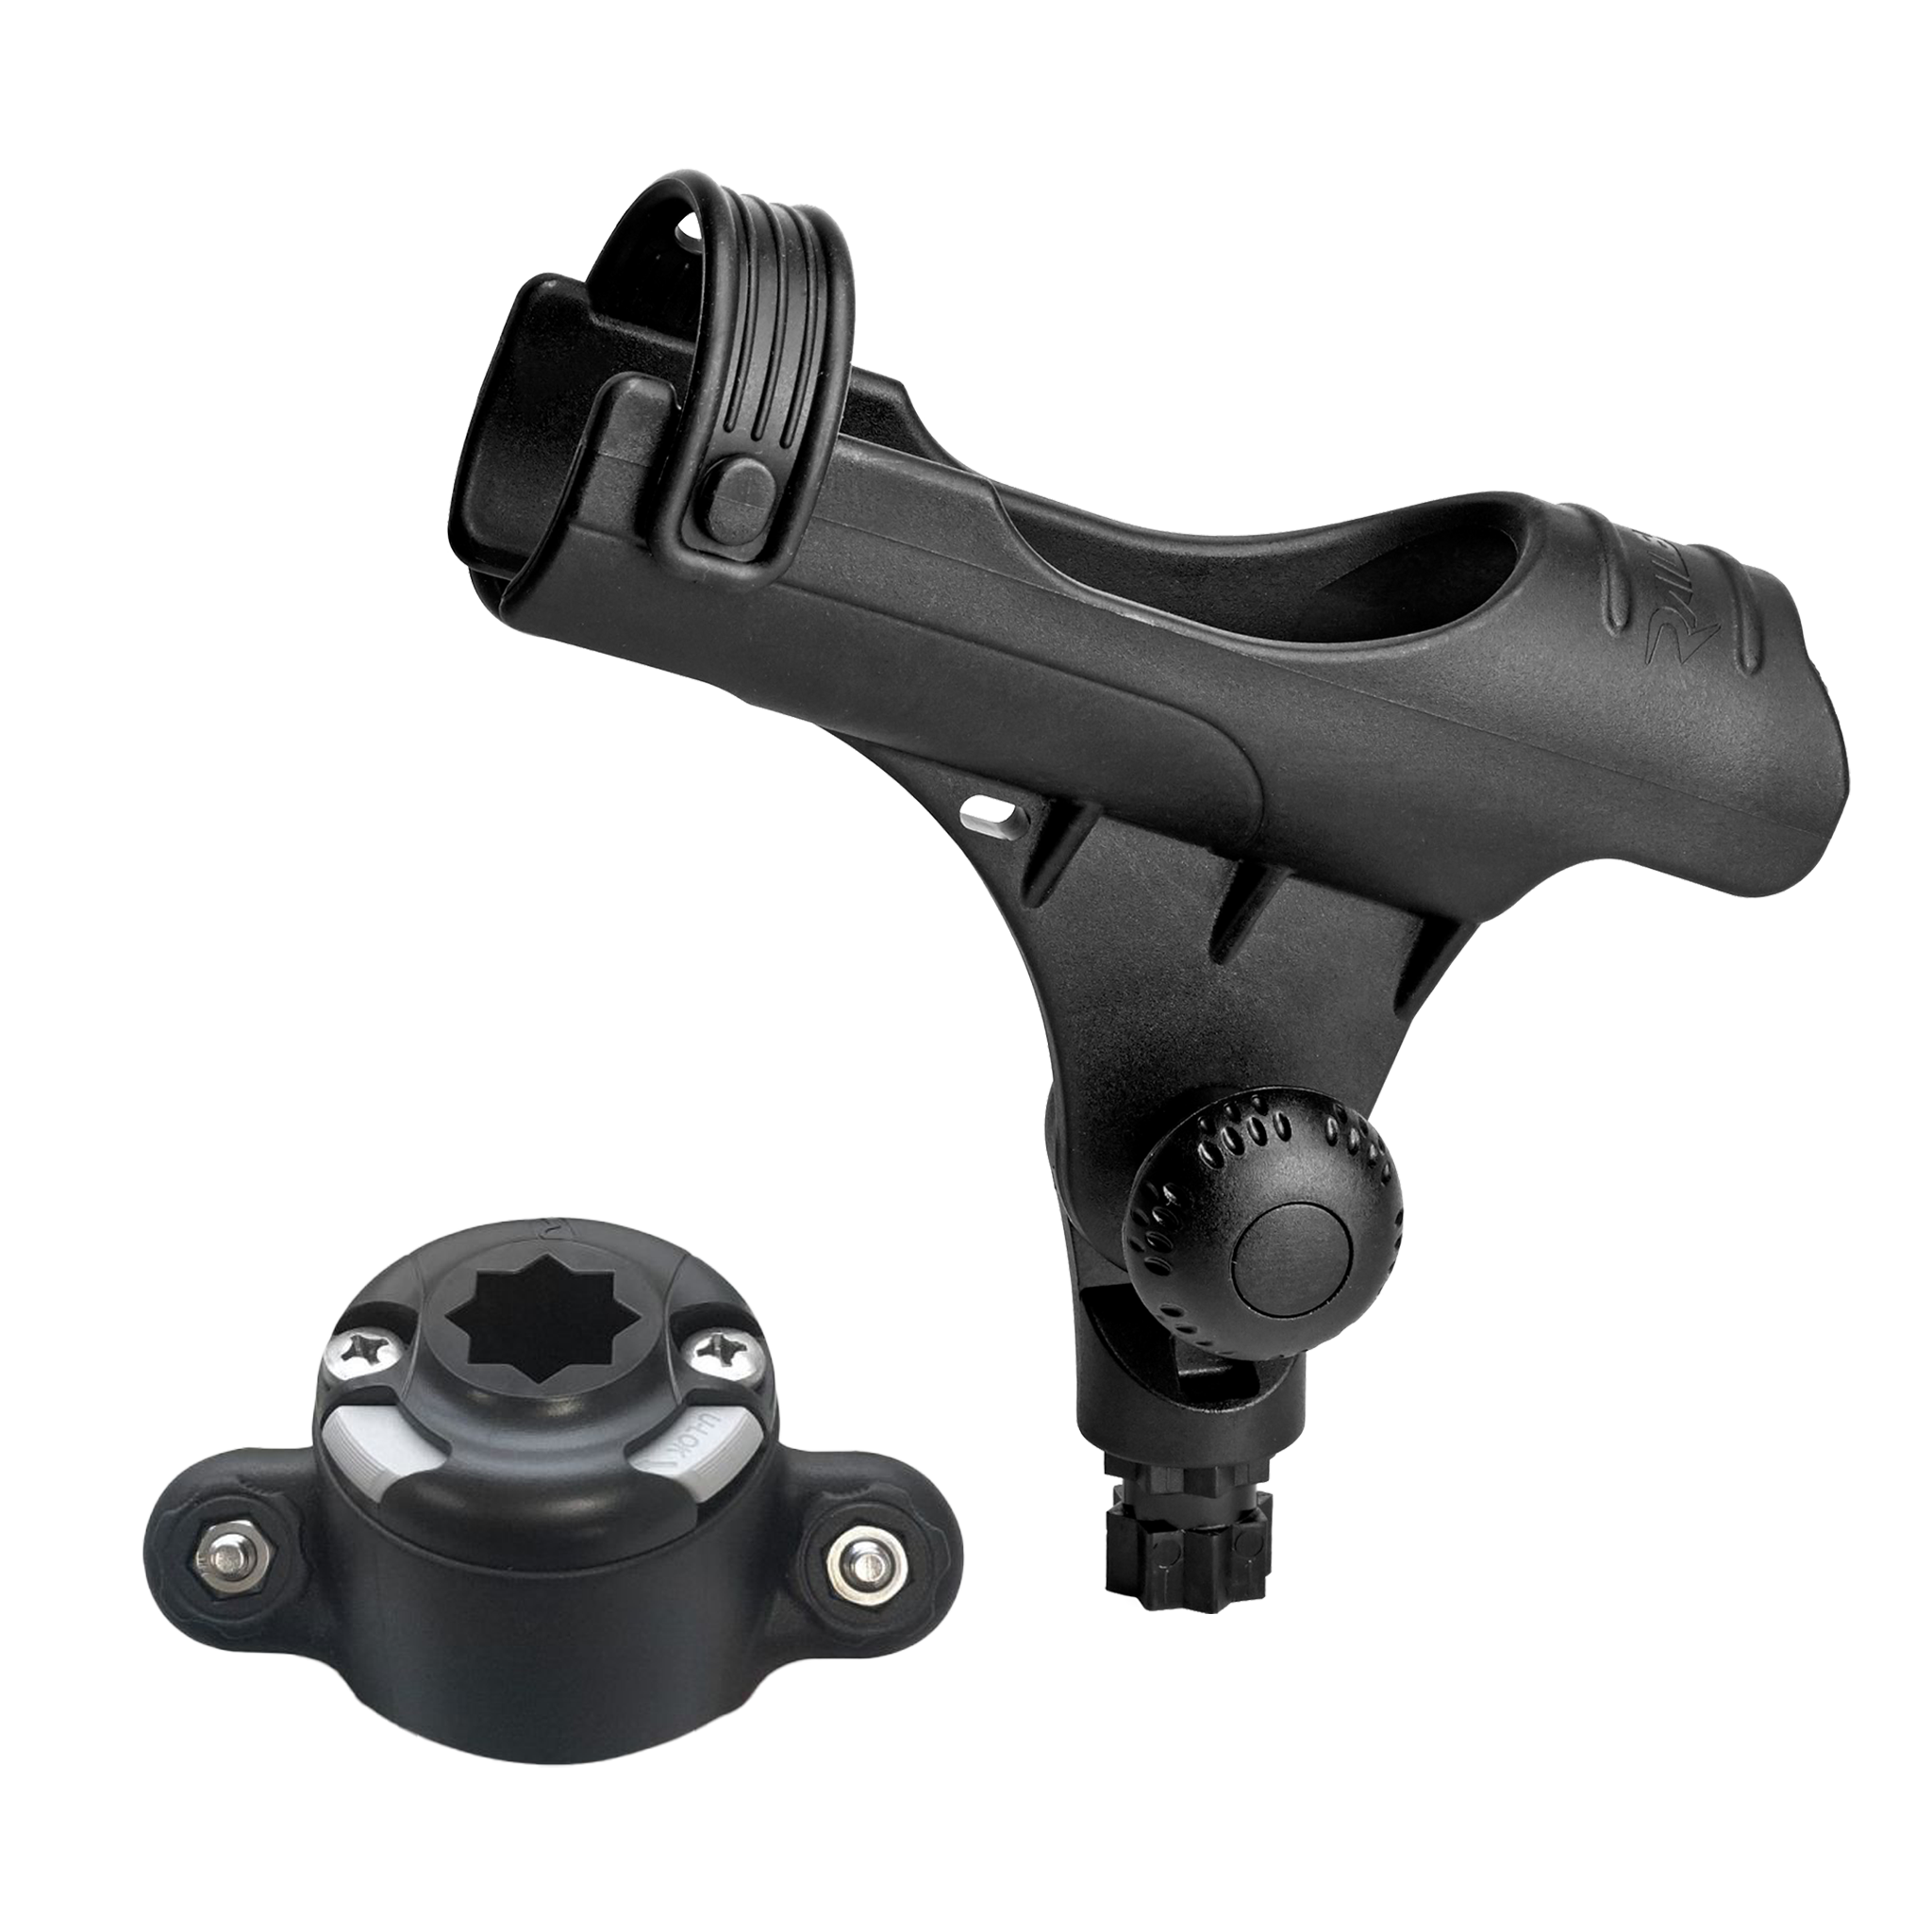
To begin, I attached two Railblaza SidePorts to the front of the kayak, one on the left and the other on the right. This gave me the option of having the transducer situated on either side which could be very helpful in certain areas.
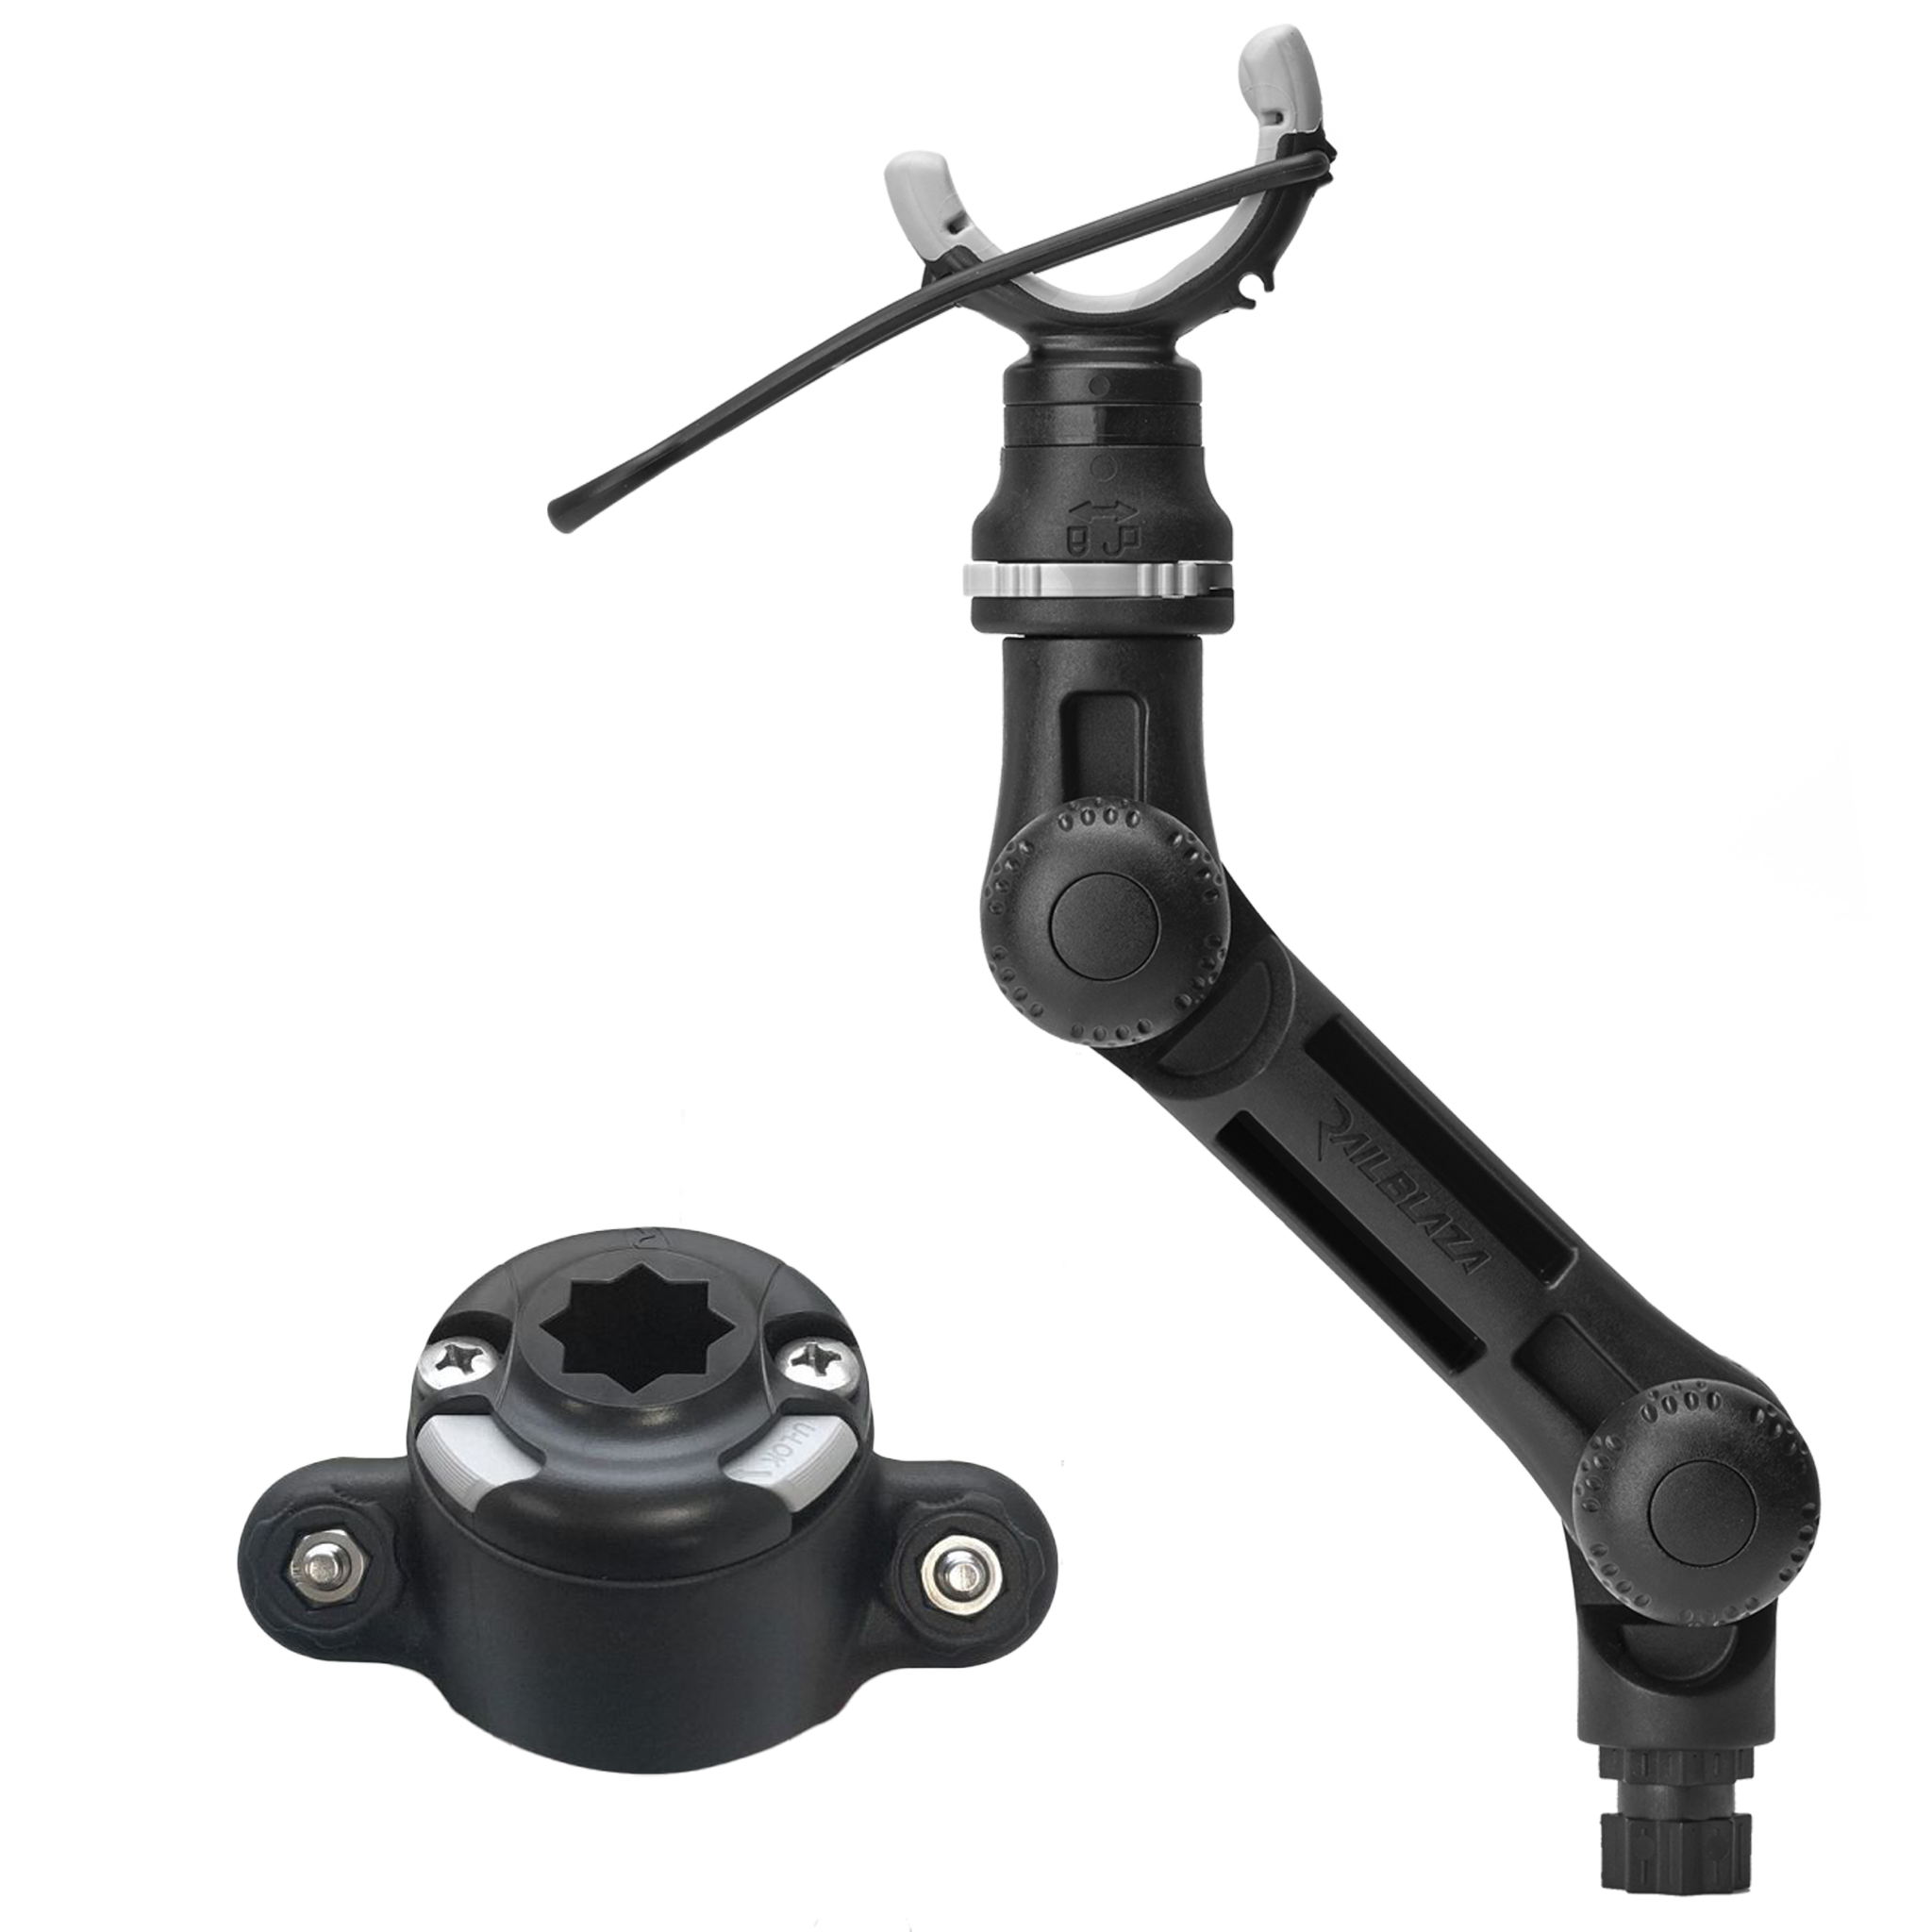
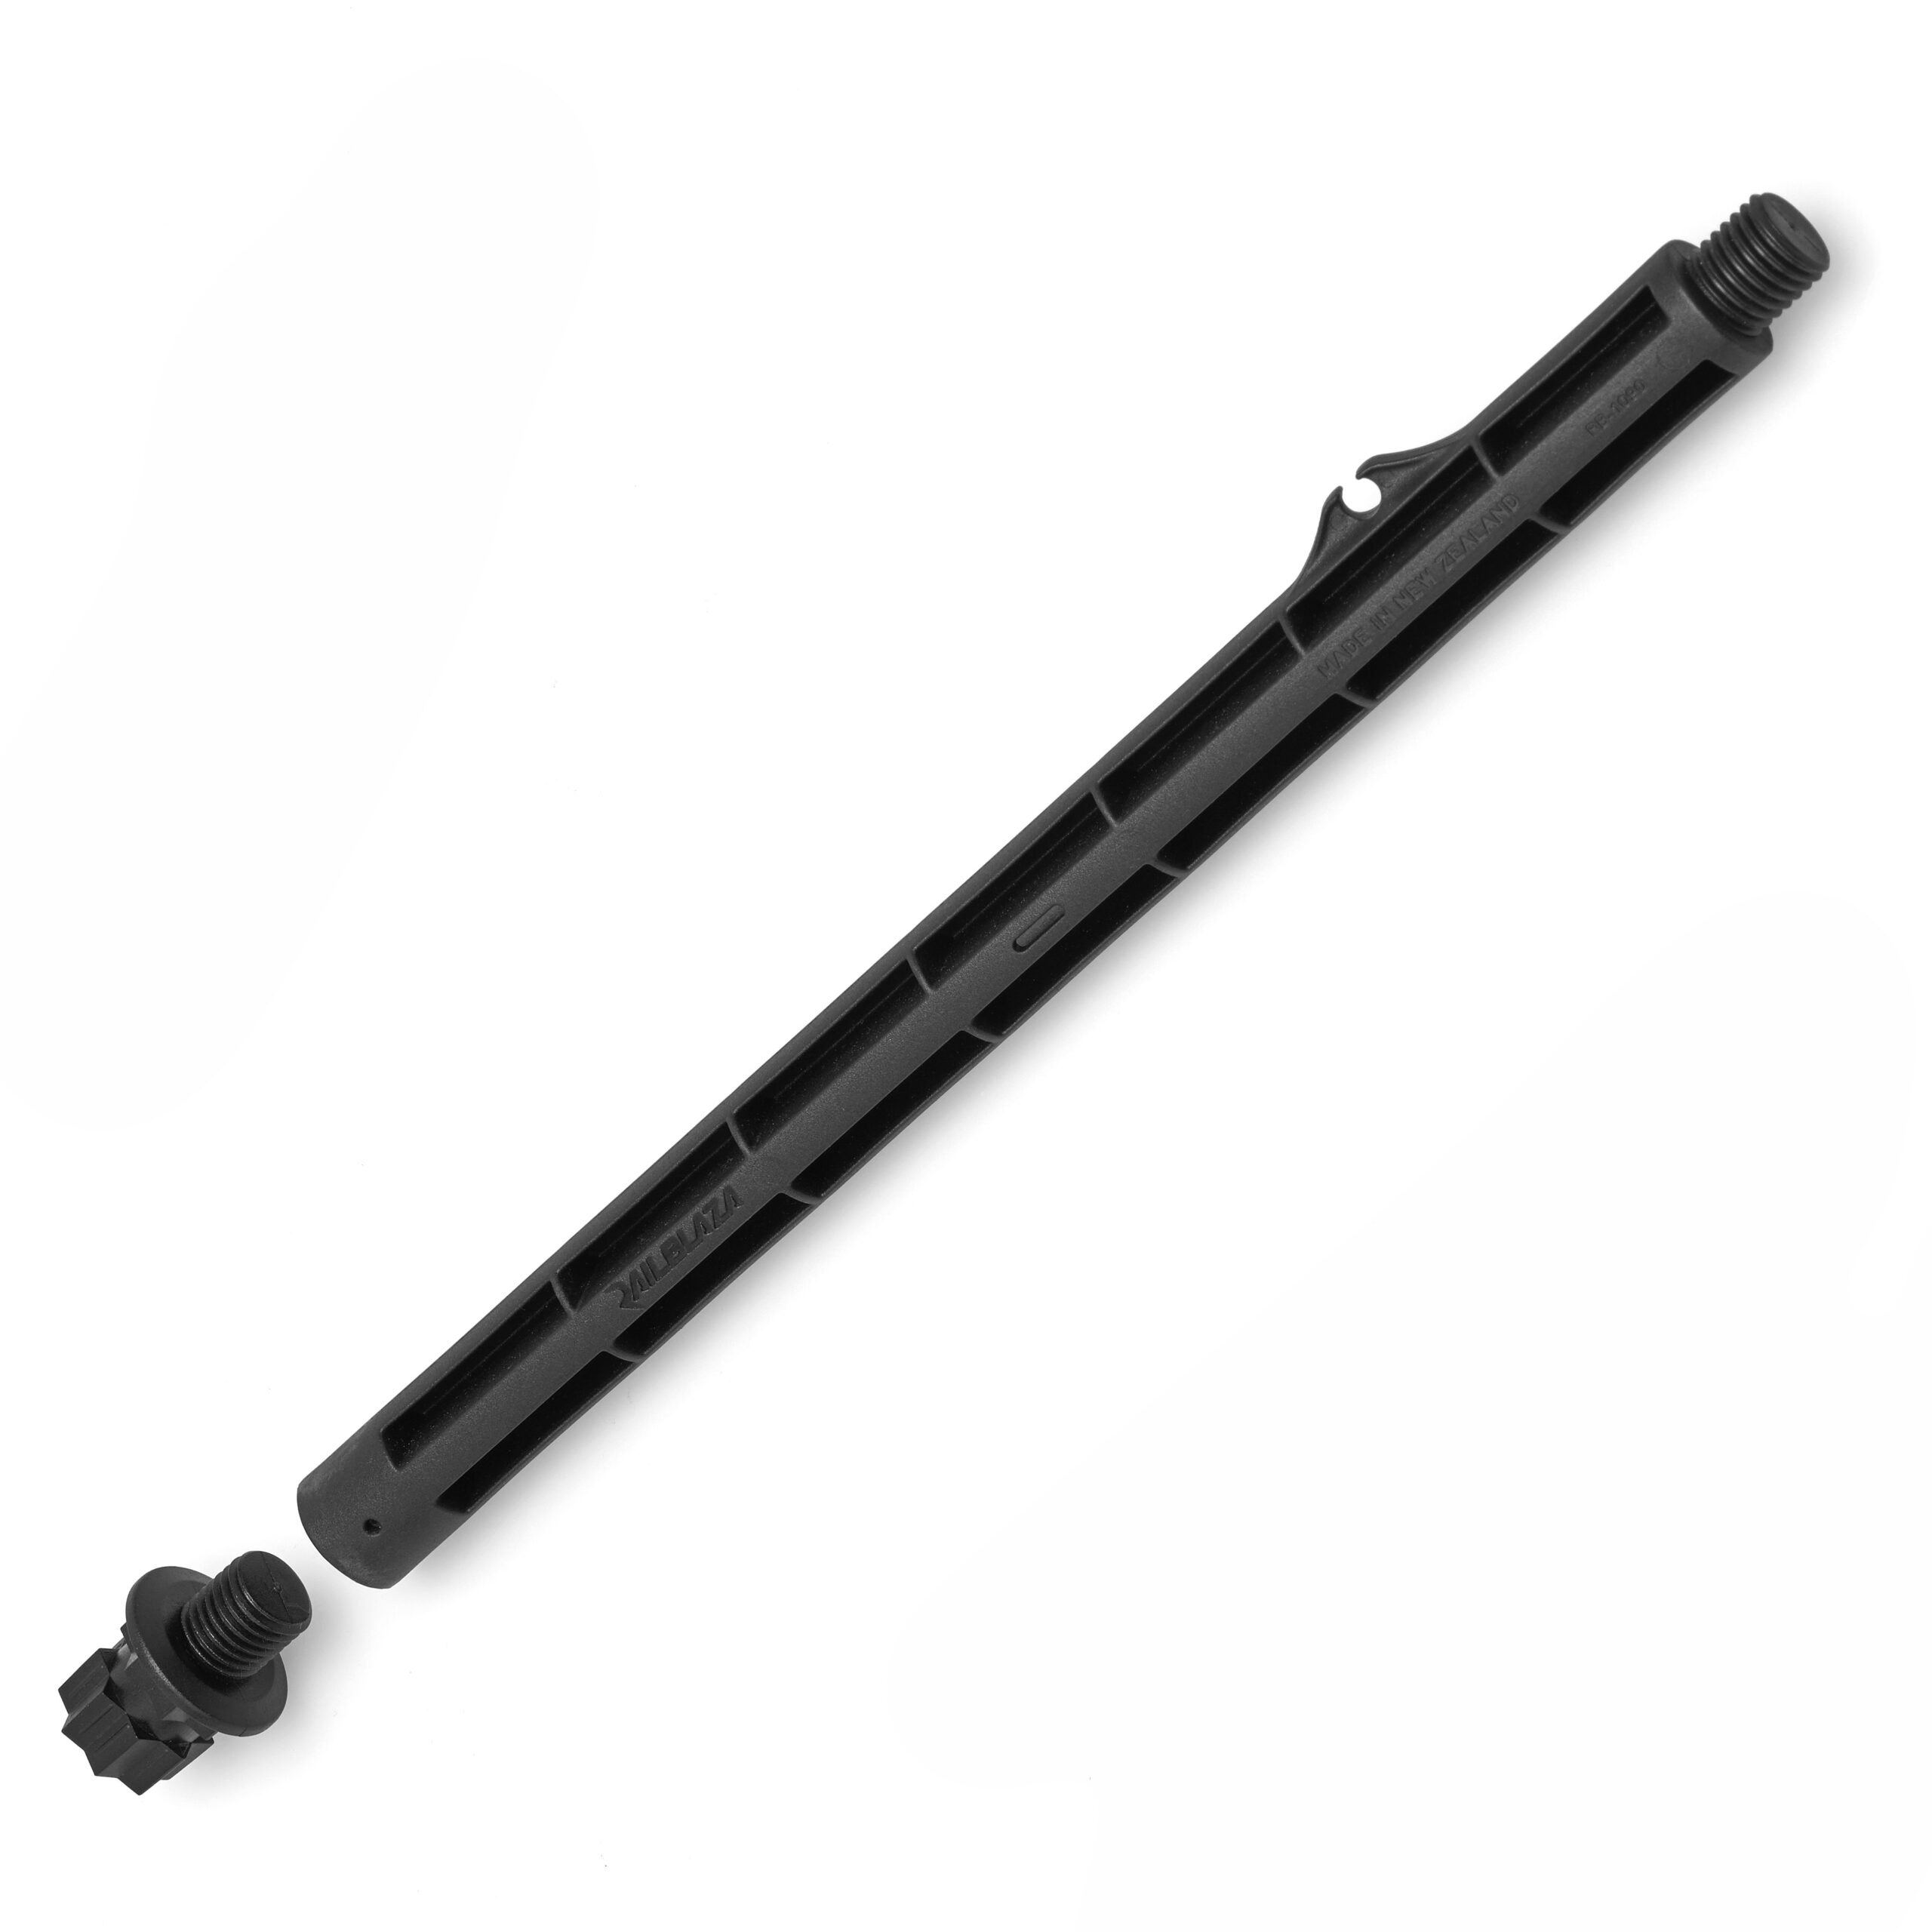
Using the Railblaza Camera Boom 150 is such a great way when trying to mount a transducer to a kayak, especially if you want the sounder to be removable. It is very sturdy and doesn’t move so you get an accurate reading every time.
*Note: This has all been placed well out of the paddles way.
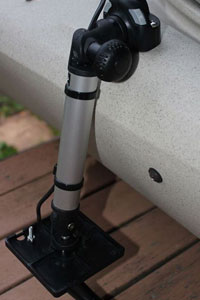
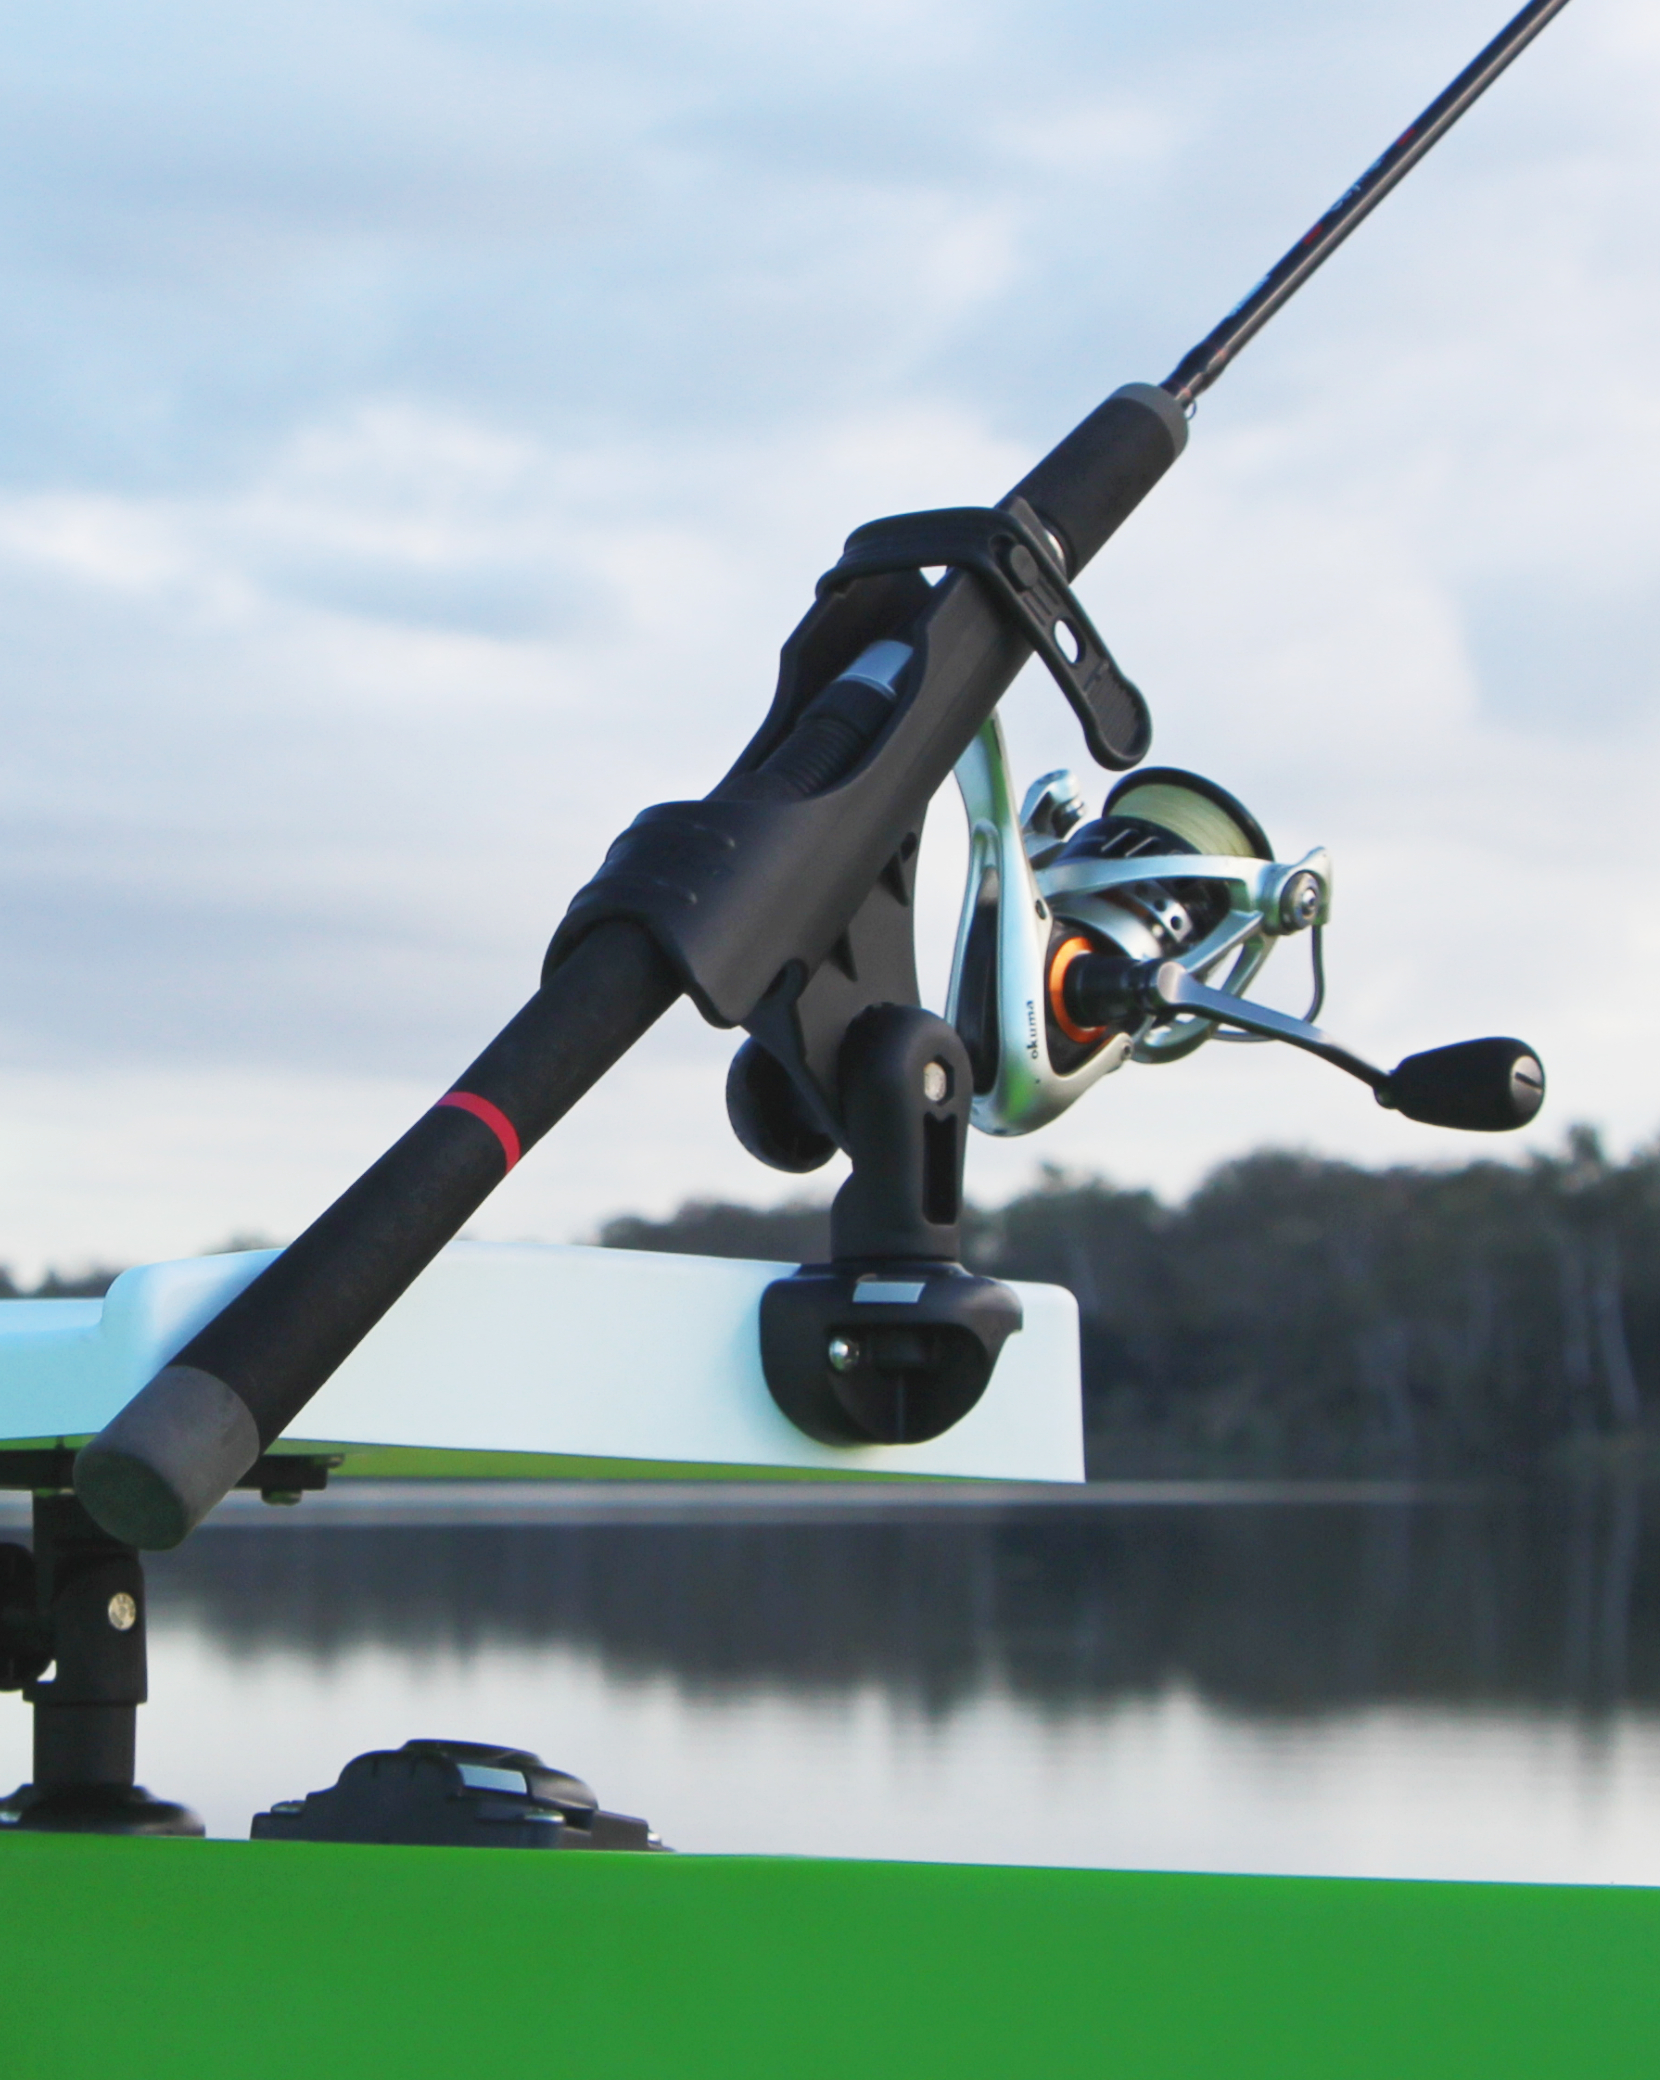
Here’s a close up of the Railblaza Camera Boom 150 connected to one of the Railblaza SidePorts with the Lowrance Elite-4 DSI transducer ready to go for a swim.

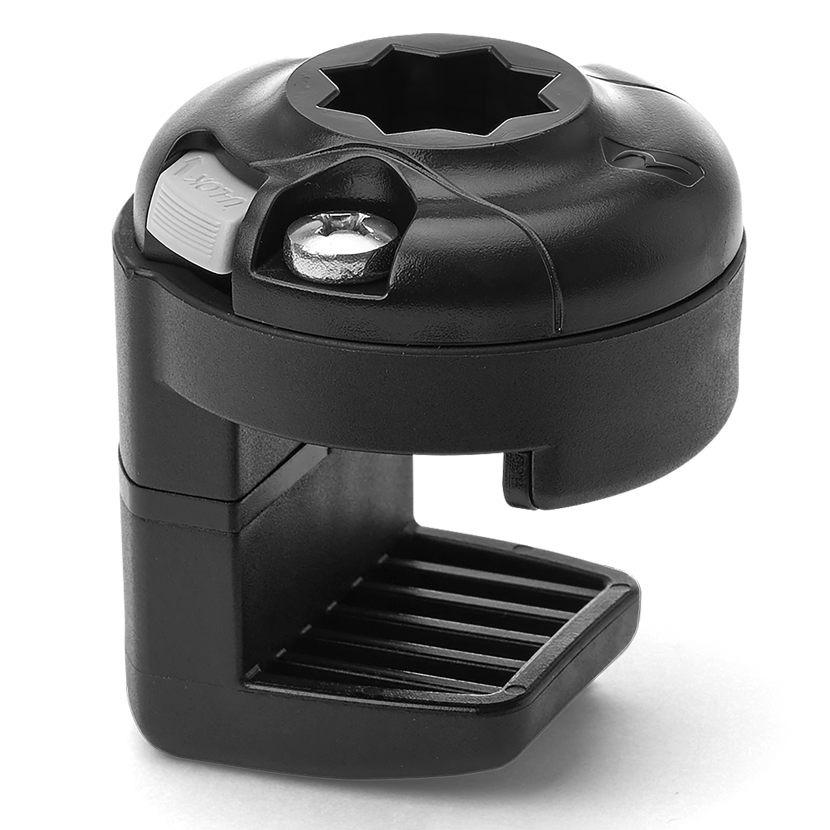
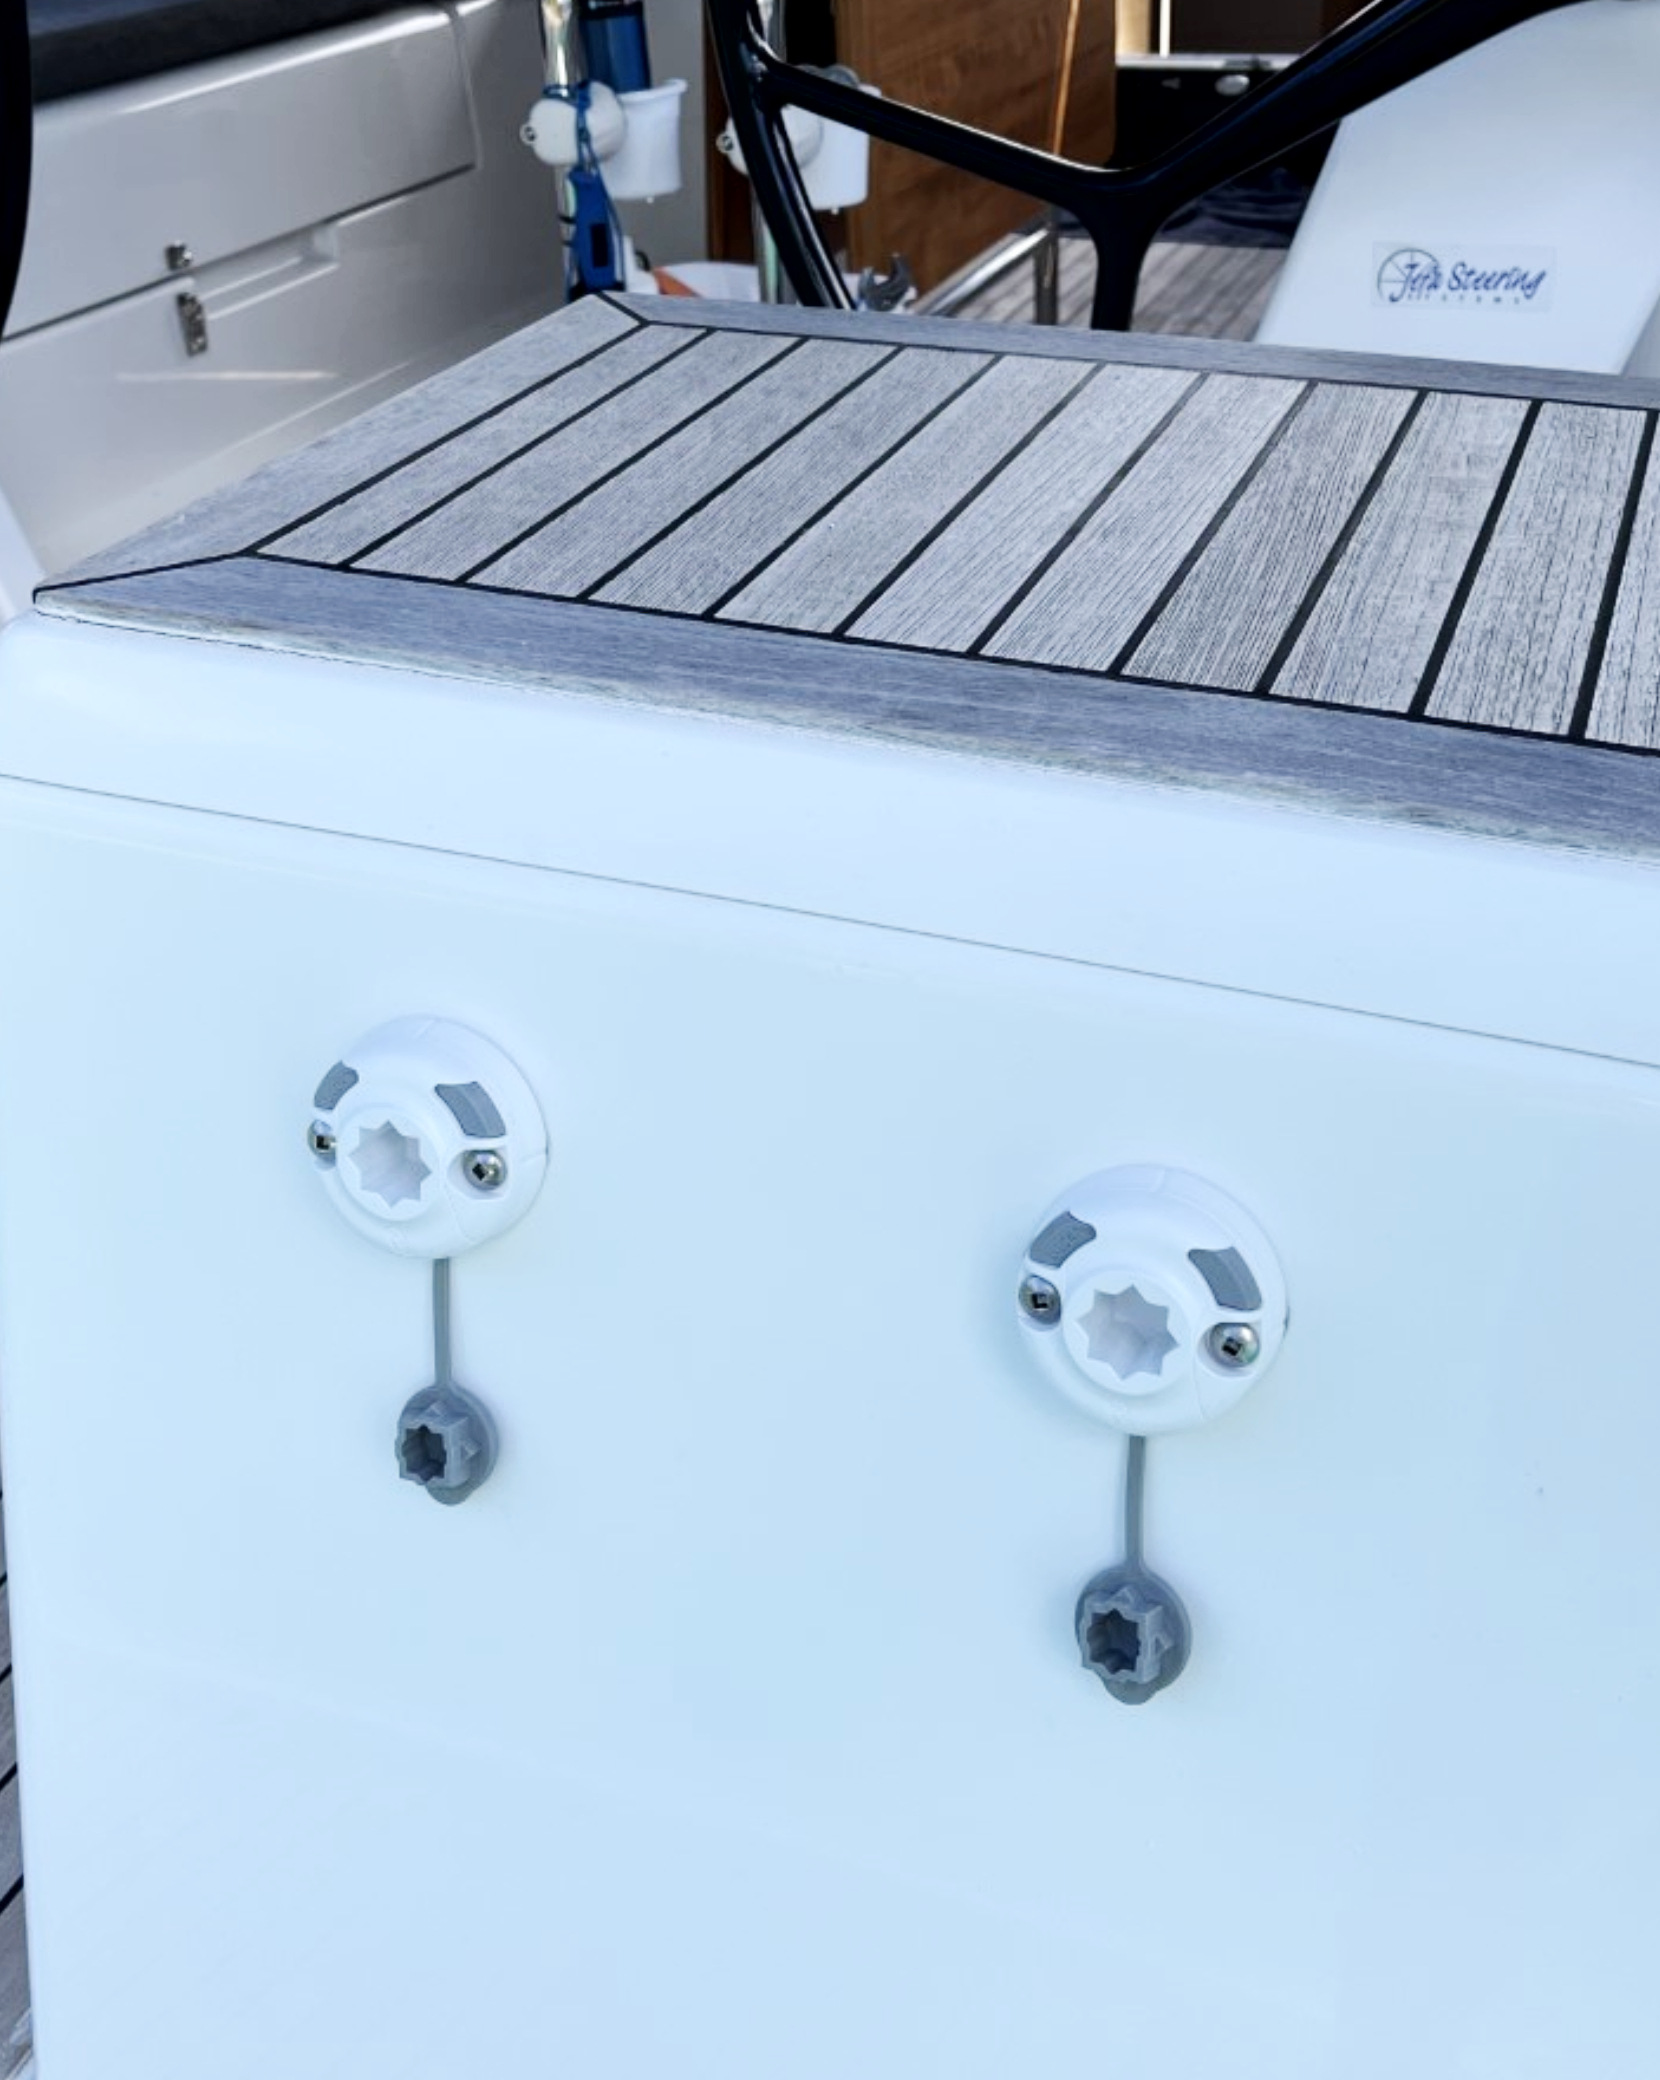
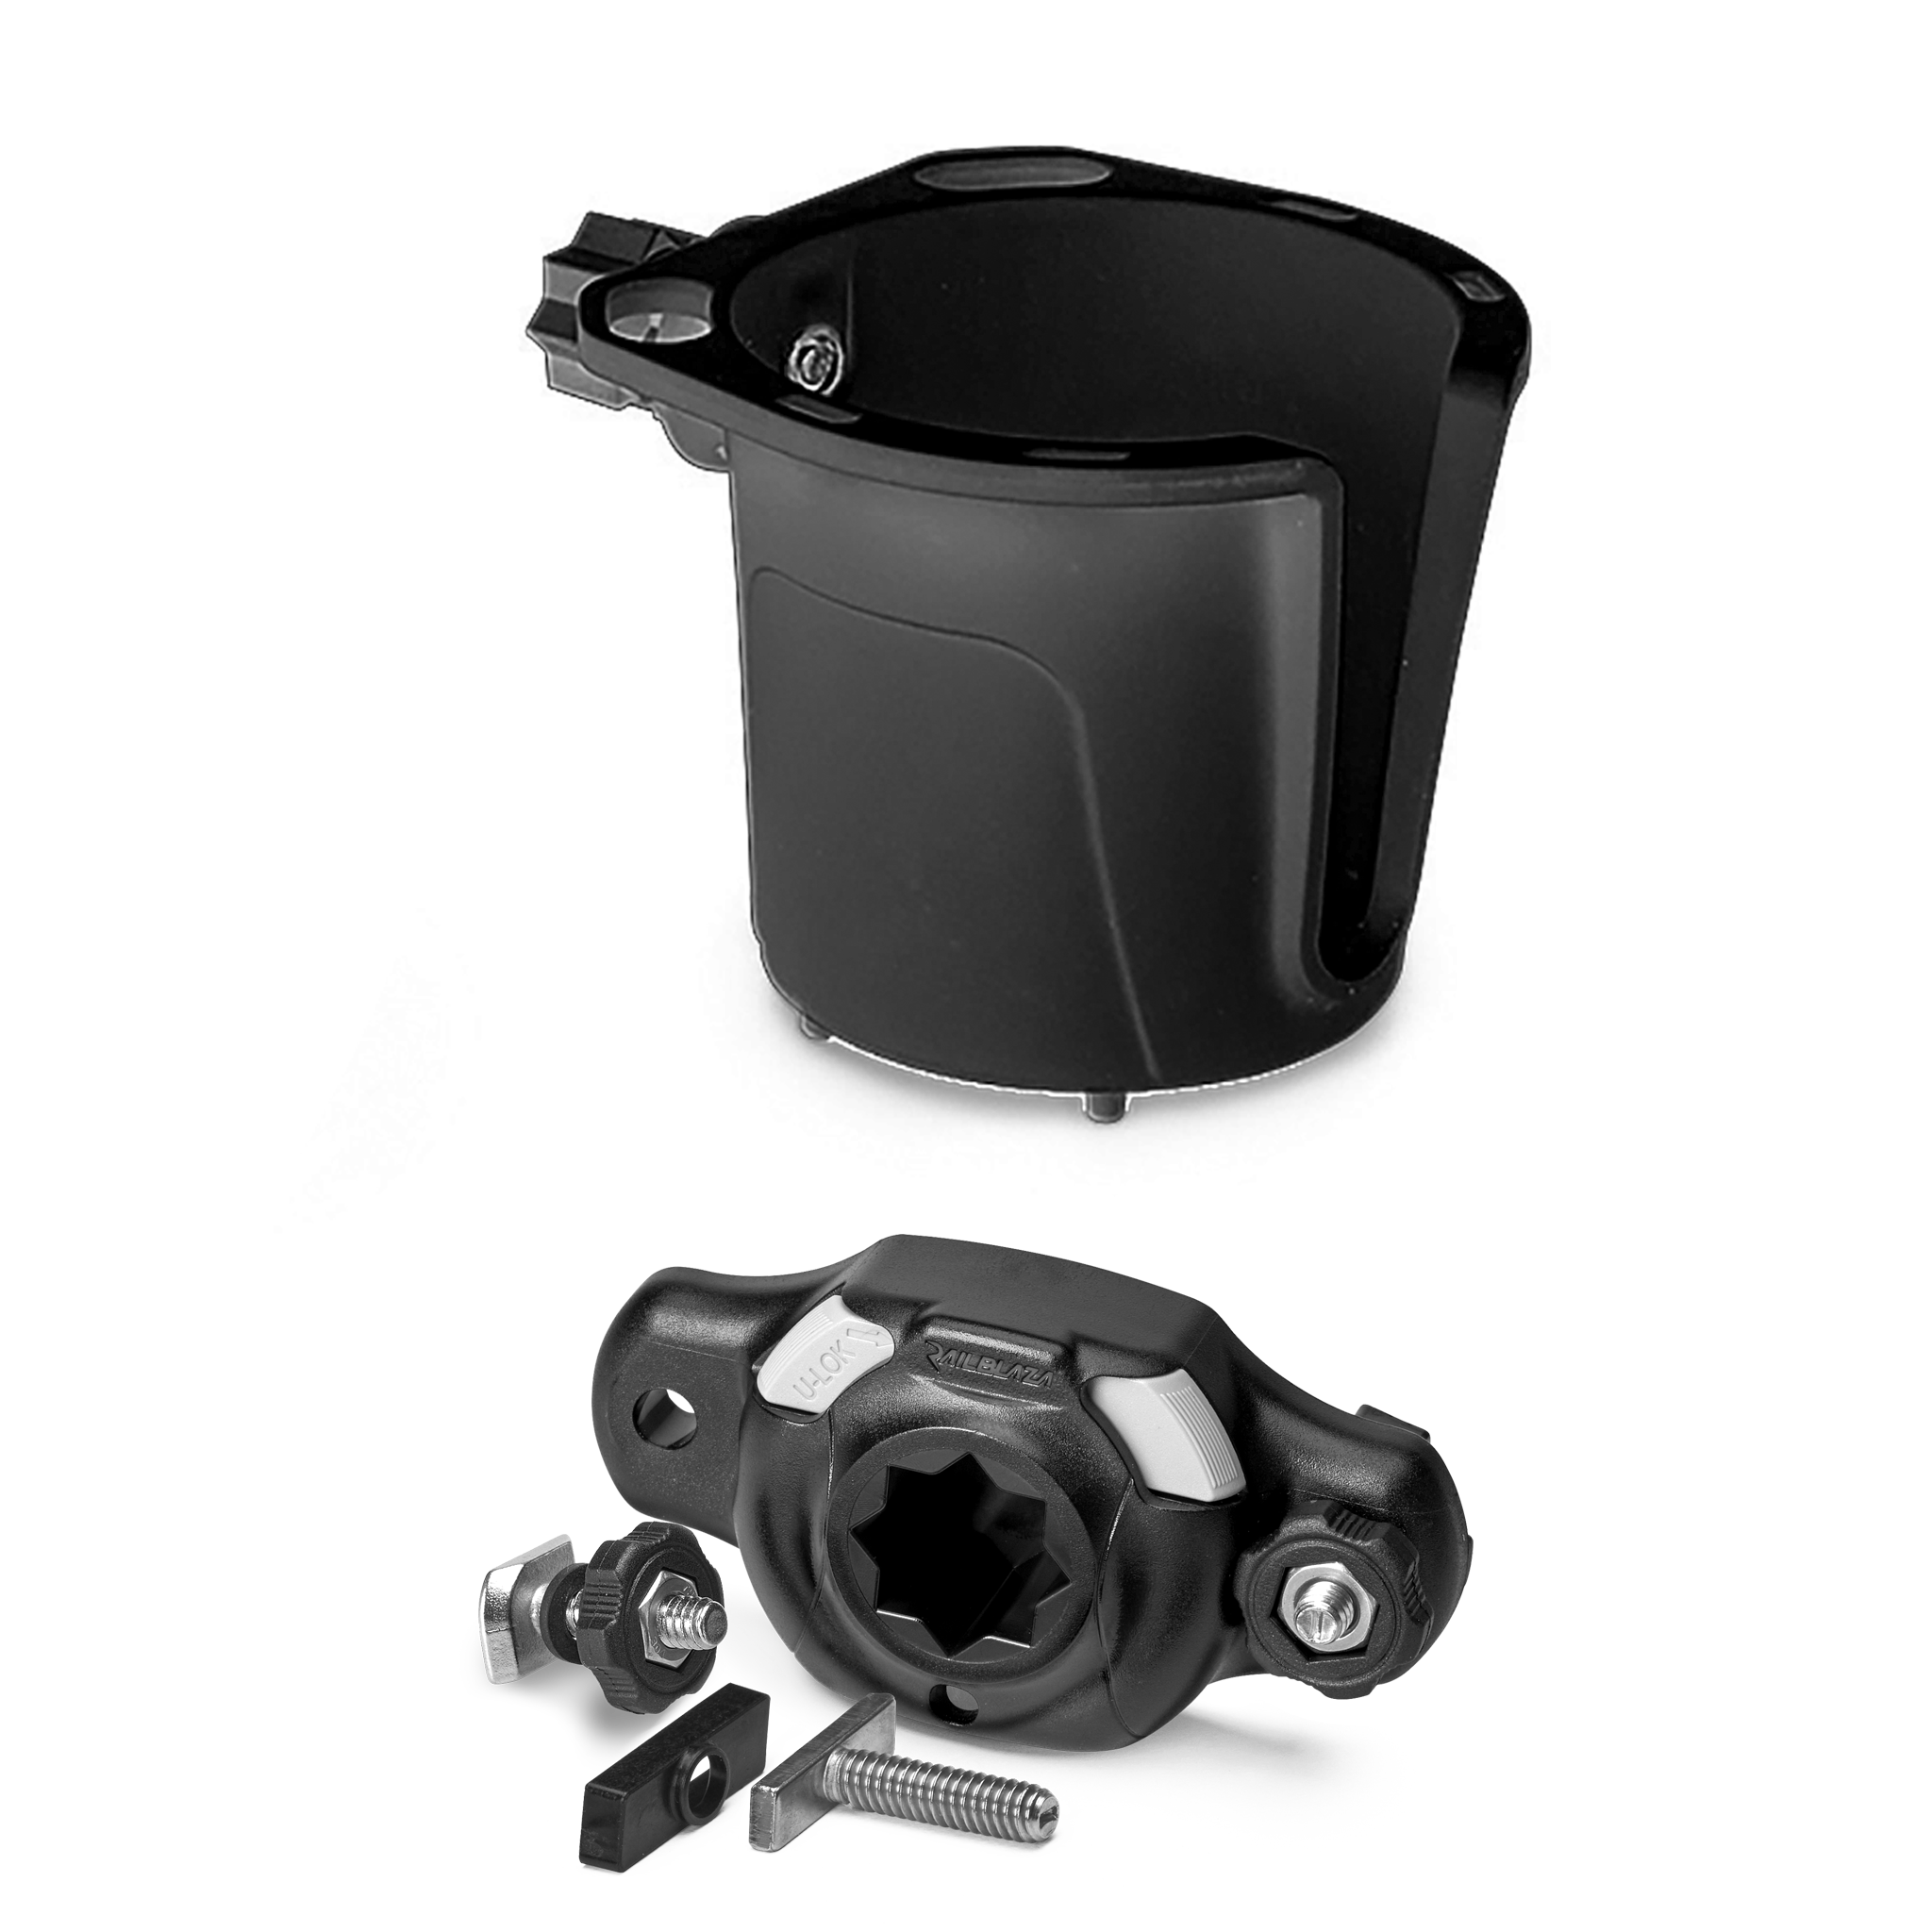
Here’s a close up of one of the Railblaza Sideports. Notice that I have utilised the Sierra 10’s pre-moulded flat mounting option. These are located at the front of both sides of the kayak and works extremely well with the Railblaza Sideports, providing an excellent surface mounting area for them.
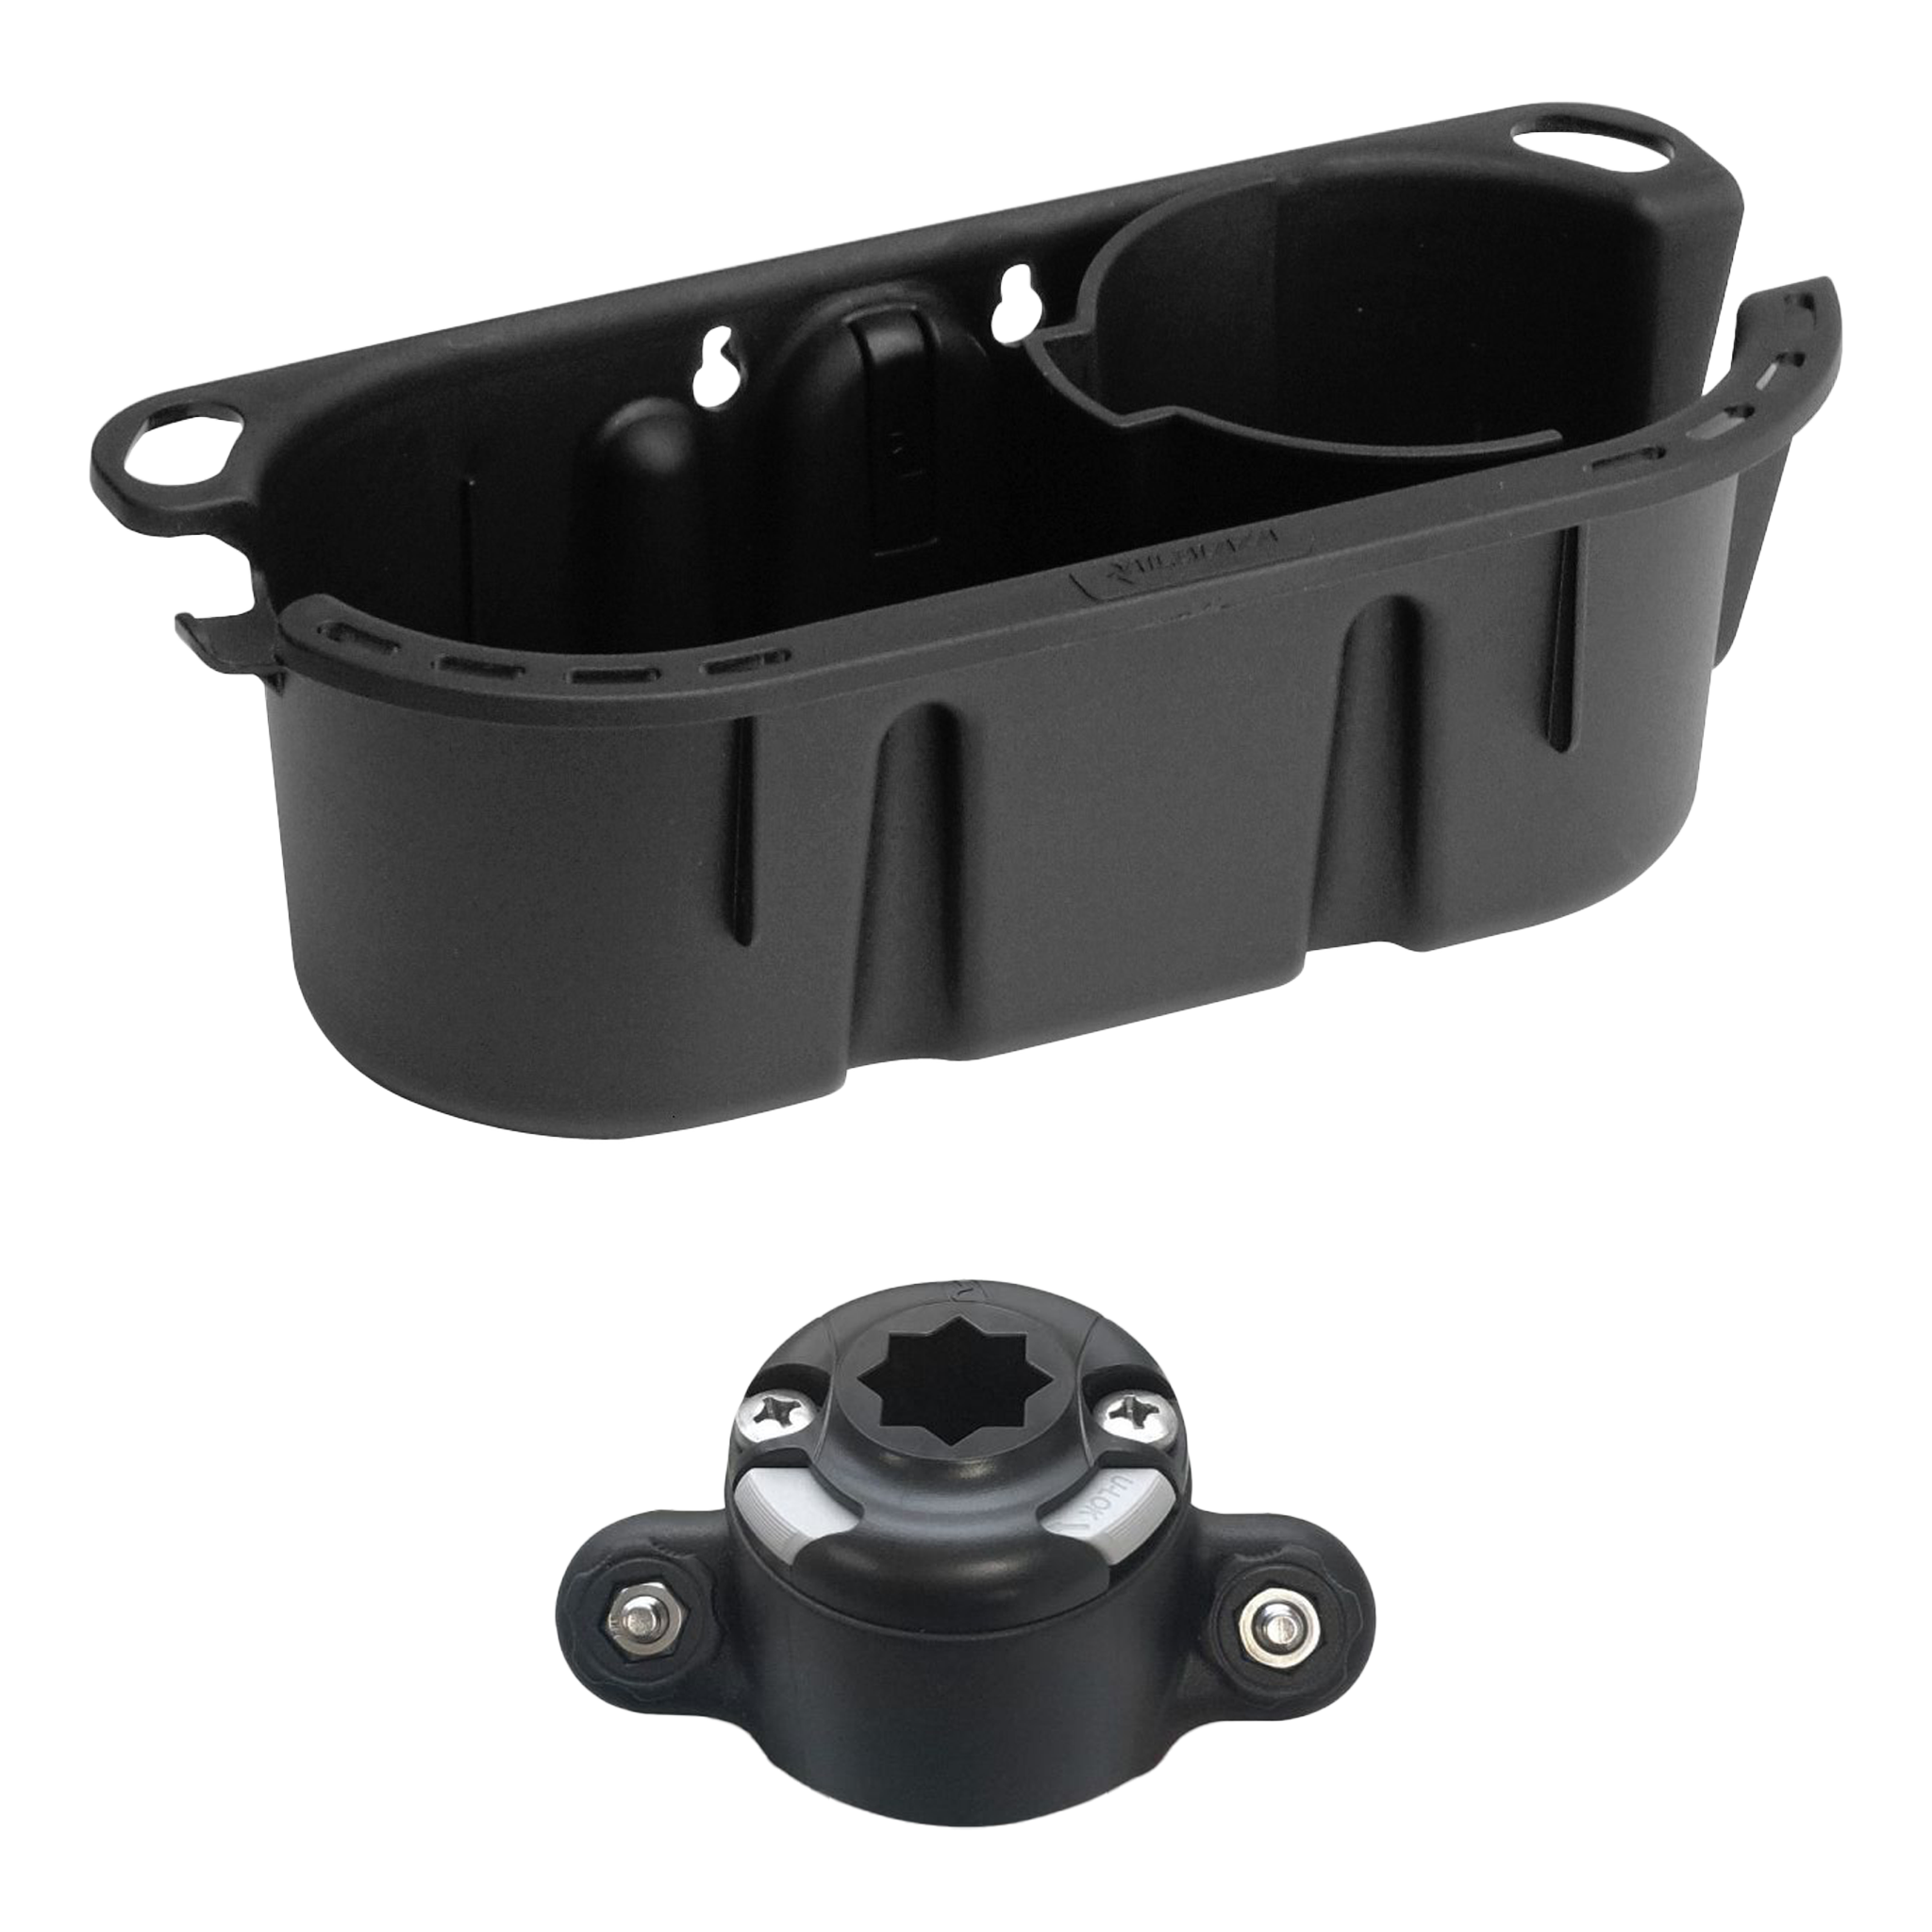
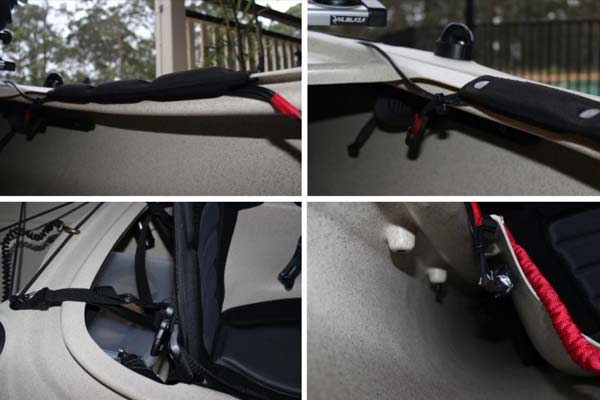
Concealing excess wires in these 4 steps
I started by running the wires from the sounder underneath the thigh padding around the lip of the kayak giving me an excellent area to conceal them and it kept them firmly in place. They eventually run into a container behind the back of the seat to the battery. This provides more room in the front. It’s so easy to do and it’s all removable!
I trailed this design yesterday expecting good results. I received such a clear and crisp reading and was so happy how it all turned out. I did a couple of other tests one being the speed and tracking test (obviously for drag) and a running into obstacles test.
The transducer is flush with the bottom of the kayak and I found that this helped with minimizing drag. But, if the transducer was any lower than the kayak or further from the kayak (of my style of kayak) it would probably affect the way it tracked. Other kayak styles will have varied results.
The other test I successfully achieved was the obstacles test. I purposely and cautiously scraped into the bank and collided with some underwater structure and it wasn’t affected by either. When scraping the bank, the boom 150 platform is that extra bit wider, so it comes into contact with it first.
The underwater structure was also nothing to worry about if you do find yourself in that situation, because the kayak and the transducer are flush with each other and the boom 150 is almost directly vertical, I found that my kayak was hitting the structure rather than the transducer and the camera boom.
Note* To give you and idea; when its deployed, it doesn’t even come close to extending out past the width of the kayak, so its a nice flush design.
To conclude, it will never be permanently fixed in the water, except when I reach an area where I would like to start scanning and start looking for structure. It is extremely easy to adjust the camera boom back so it is sitting on the kayaks deck keeping it out of the way when it’s not in use.
Thanks to:
By Joshua Macey