Free shipping over $75 (before tax) to the lower 48
Free shipping over $75 (before tax) to the lower 48

Select your boat, and we'll show you products that fit your Make & Model.
Our product is made from at least
75% recycled polyester fibres.
Our product is made from at least
75% recycled polyester fibres.
Our product is made from at least
75% recycled polyester fibres.
Please select your local RAILBLAZA website.
This great little bit of DIY action was sent into us by Shane Edyvane from Brisbane Australia…Shane runs a very successful QLD kayak competition called KayakFishingTournament
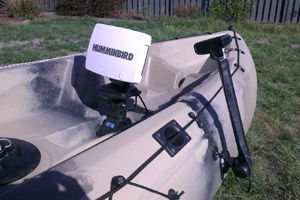
Here’s what Shane had to say about this transducer DIY mount on his, Australian made, Extreme Kayaks Fish Bandit
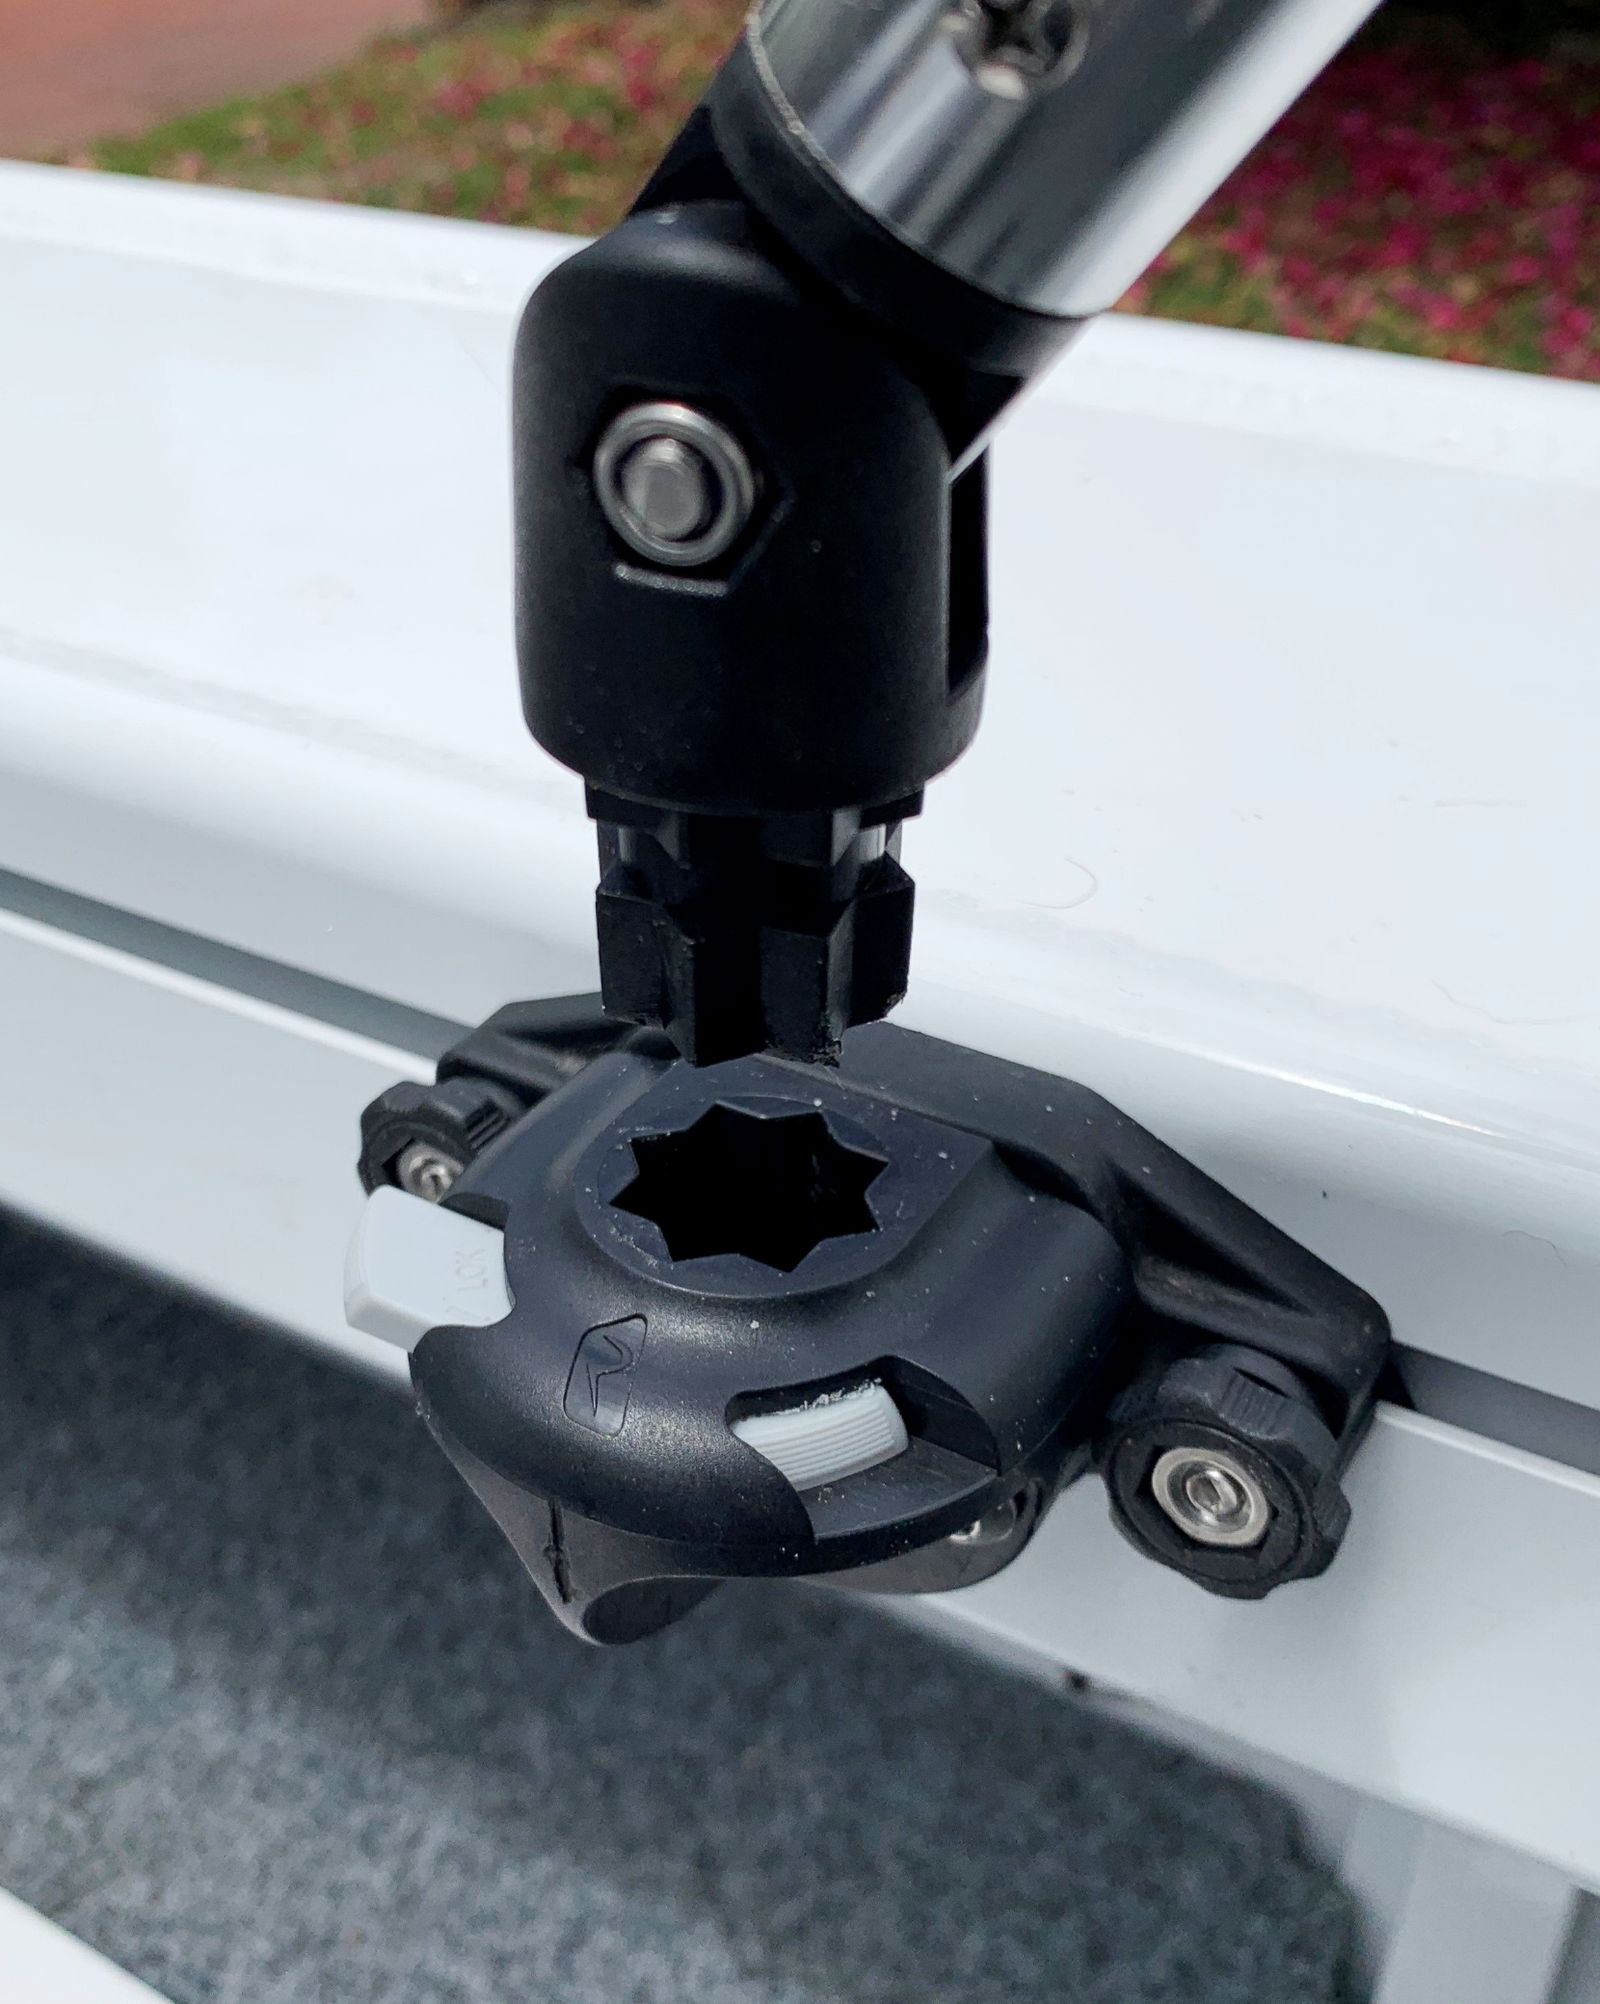
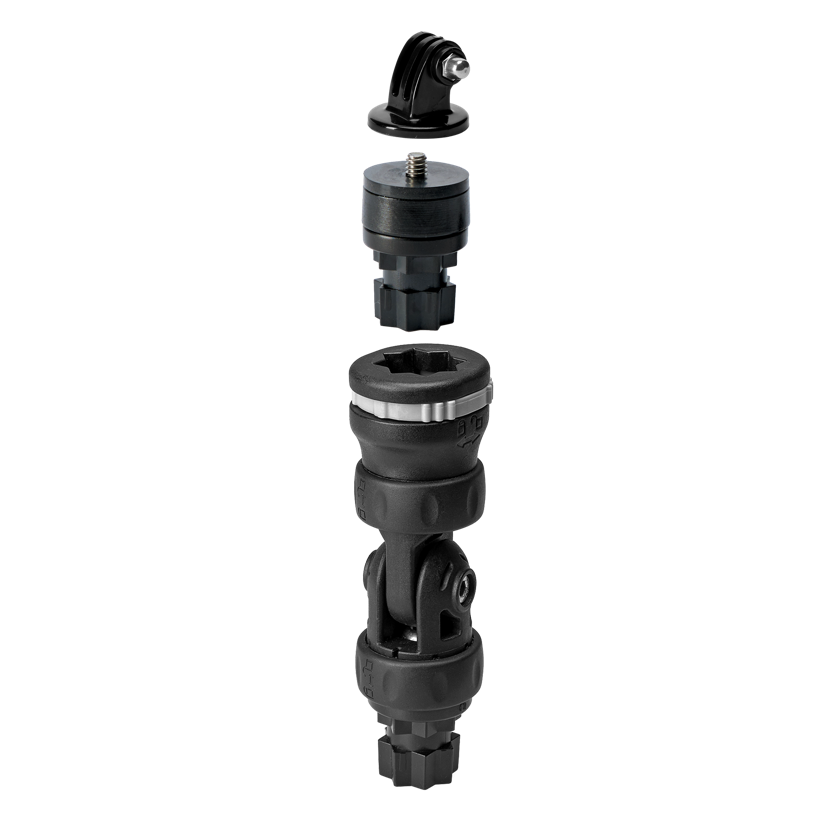
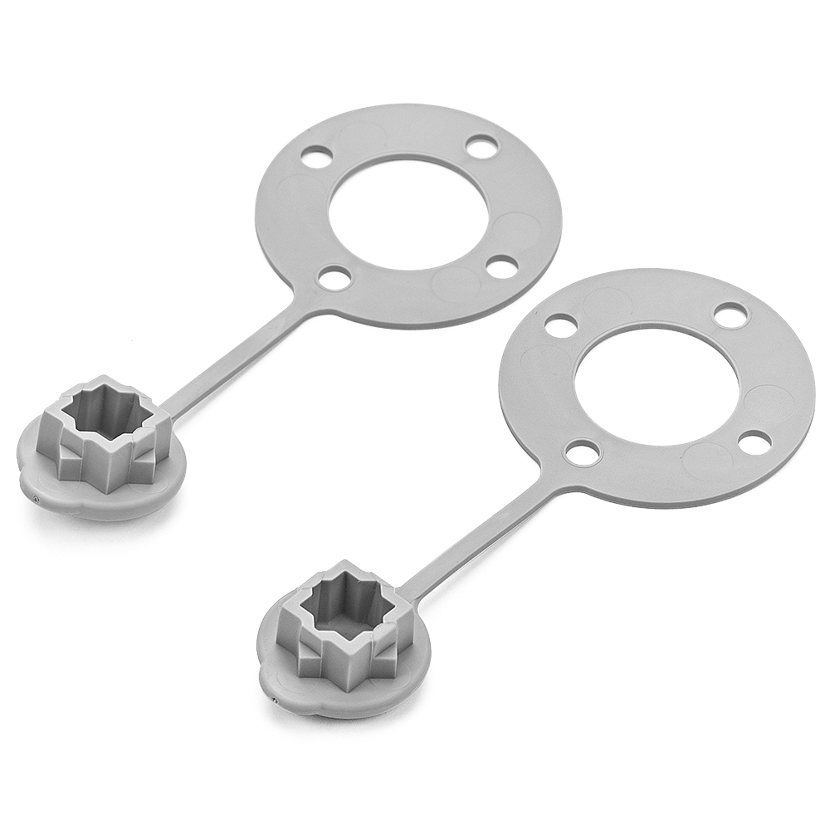
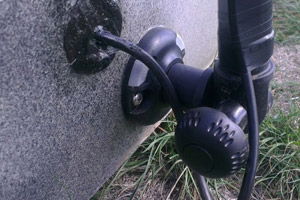
Using a RAILBLAZA StarPort you can either flush mount or surface mount to the side of your kayak, if you’re a bit nervous about drilling out a big hole simply using plenty of silicone will keep the water out.
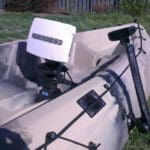
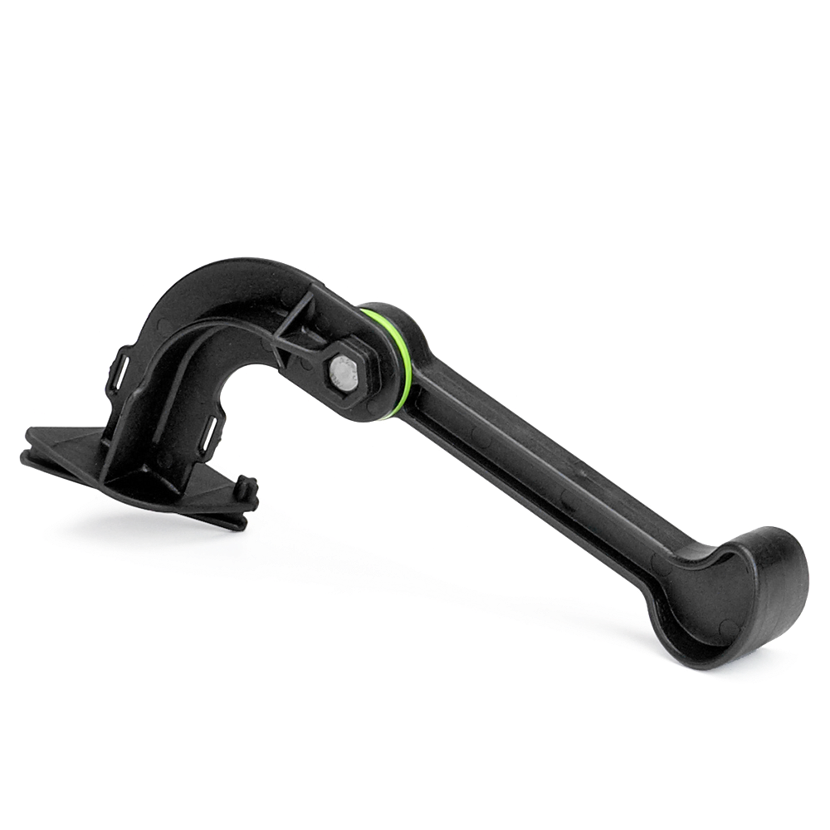
Next you’ll need to tap on a suitable length of aluminium pole so that the transducer is well clear of the lowest point of the hull, remember a side scan transducer needs clear access to get that great detail.
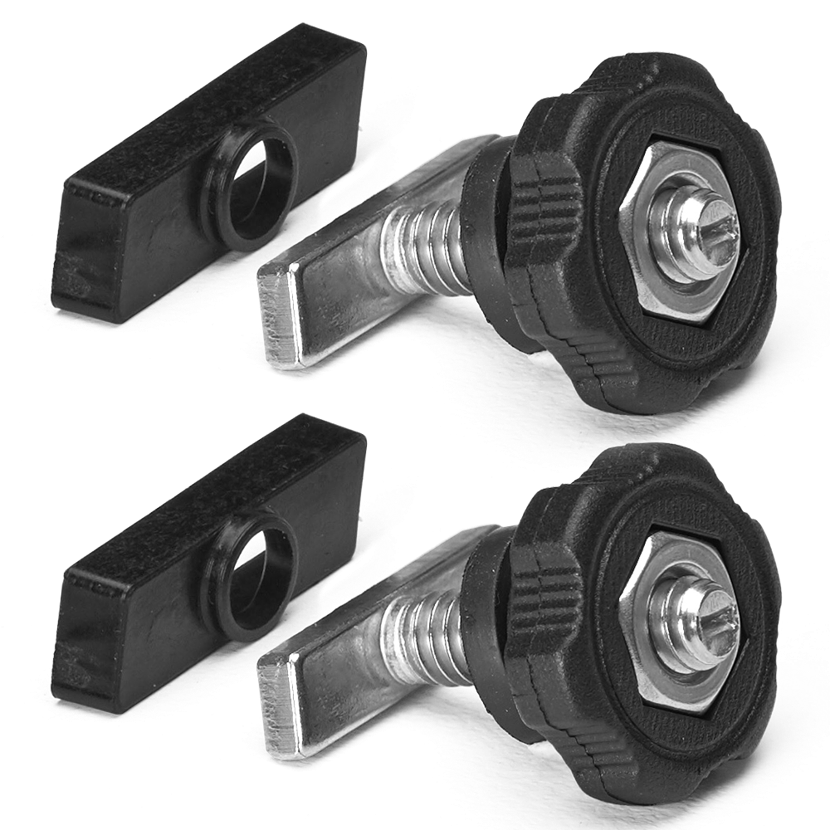
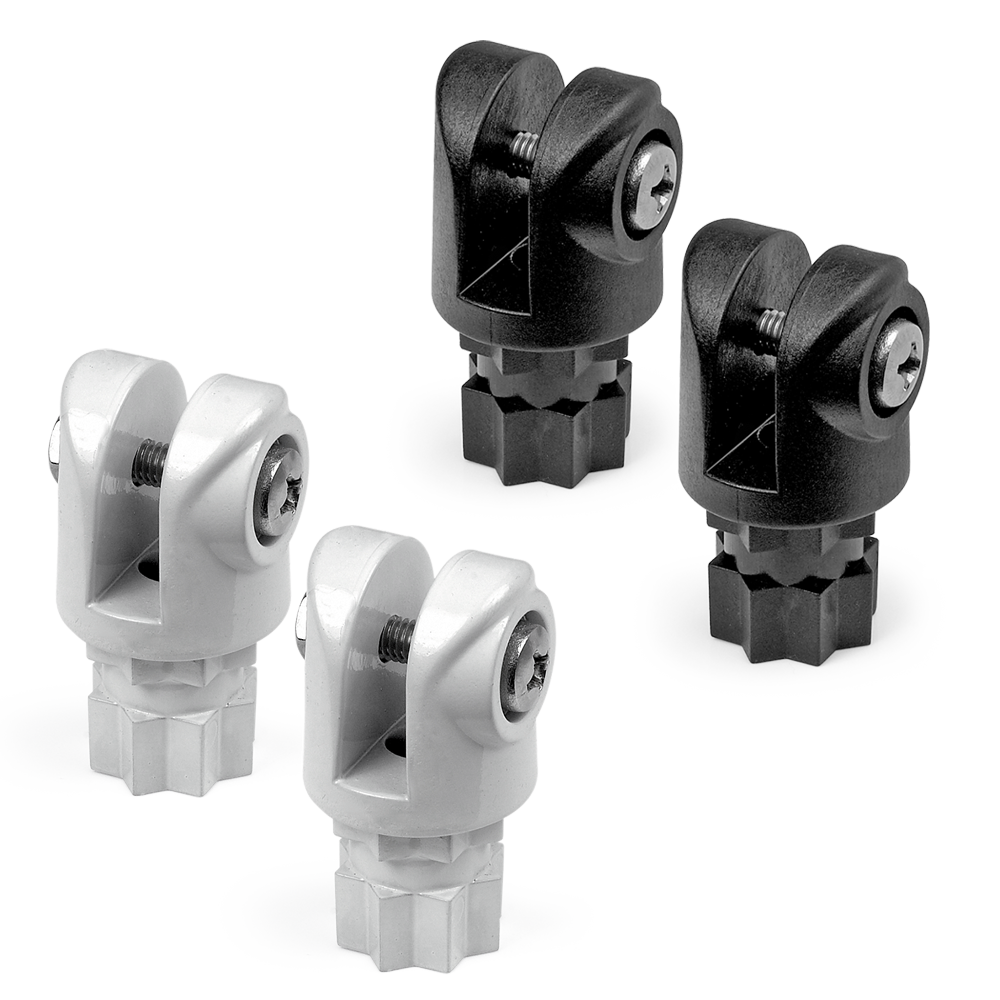
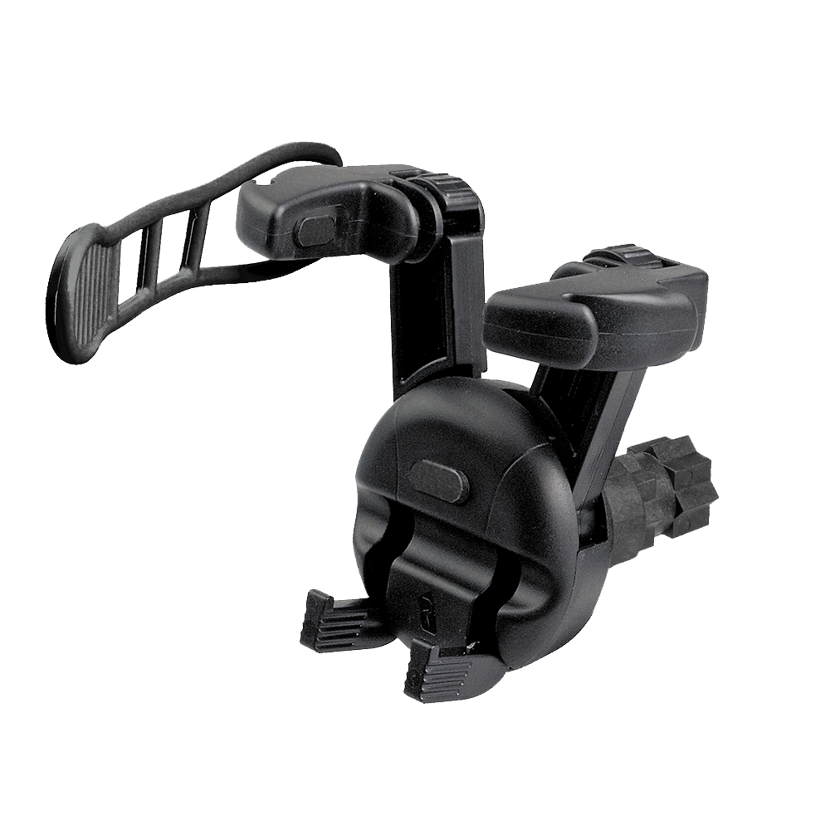
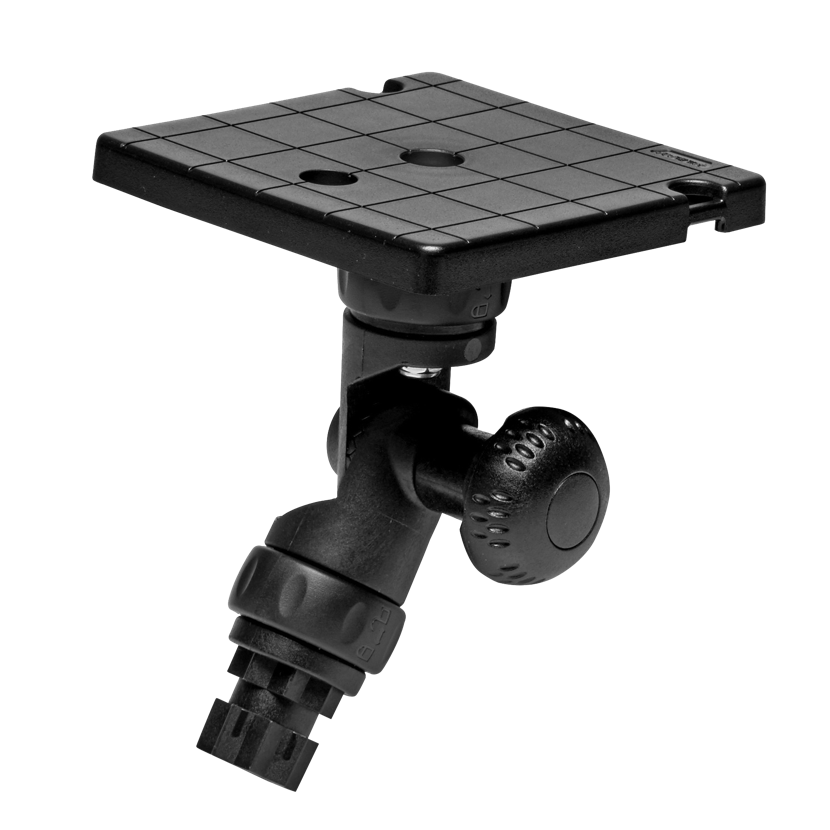
I used some 25mm tube I found from a damaged adjustable tent pole laying around, it was a tight fit so take your time tapping in down over the StartPort section of the RAILBLAZA Adjustable Platform (you will need to of these sections in order to make the adjustable elbow.
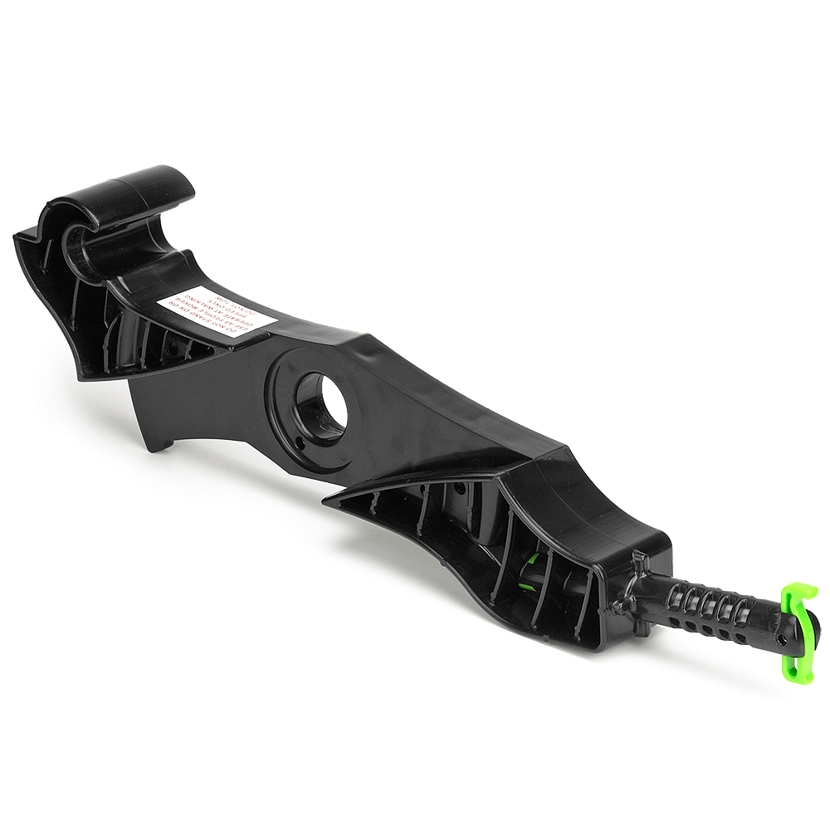
At the open end of the pole cut out a section so that the transducer can slide into, mark where to drill a hole and then you will be ready to drill and then bolt the transducer to the pole.
Tape the transducer cable up along the back side of the pole to protect it from any knocks. I also drilled a hole in the side of the kayak to pass the transducer cable through and then silicone it in with a rubber boot I made from a bike tube. You can run your cable over the top of the kayak but I chose to keep it all internal to keep my deck clean. Shane Edyvane
RAILBLAZA Parts used in this DIY install

For more ideas on “Blazing” your Extreme Kayak see the video below